


Making your own DIY flower arrangement is easier and far less expensive than going to the florist—and, it’s the perfect gift idea!
We’re not big gift-givers on Valentine’s Day, but flowers? Um, yes, always an amazing little surprise. Whether it’s V-Day or not! It’s just the perfect way to say “I love you and appreciate you and wanted you to know it” in my opinion.
But, flowers can get pricey, right?! There’s no doubt that a florist can put together a gorgeous floral arrangement, but it’s not hard to make your own and cut down on costs a lot. Or, spend the same amount and get a whole heck of a lot more!
The other great thing is that you can really tailor your bouquet or flower arrangements to your taste. I’ve gotten some from online vendors in the past and they’re usually overpriced and filled with those not-so-pretty filler flowers.
Here’s my suggestion next time you buy flowers for Valentine’s Day, or for yourself—ditch the florist and head to Whole Foods, Trader Joe’s, a local flower market or any grocery store and make your own. They have amazing flowers (I’m always so impressed with TJs!) at better prices than the florist and you can get exactly what you want.
How to Make a Flower Arrangement Under $40
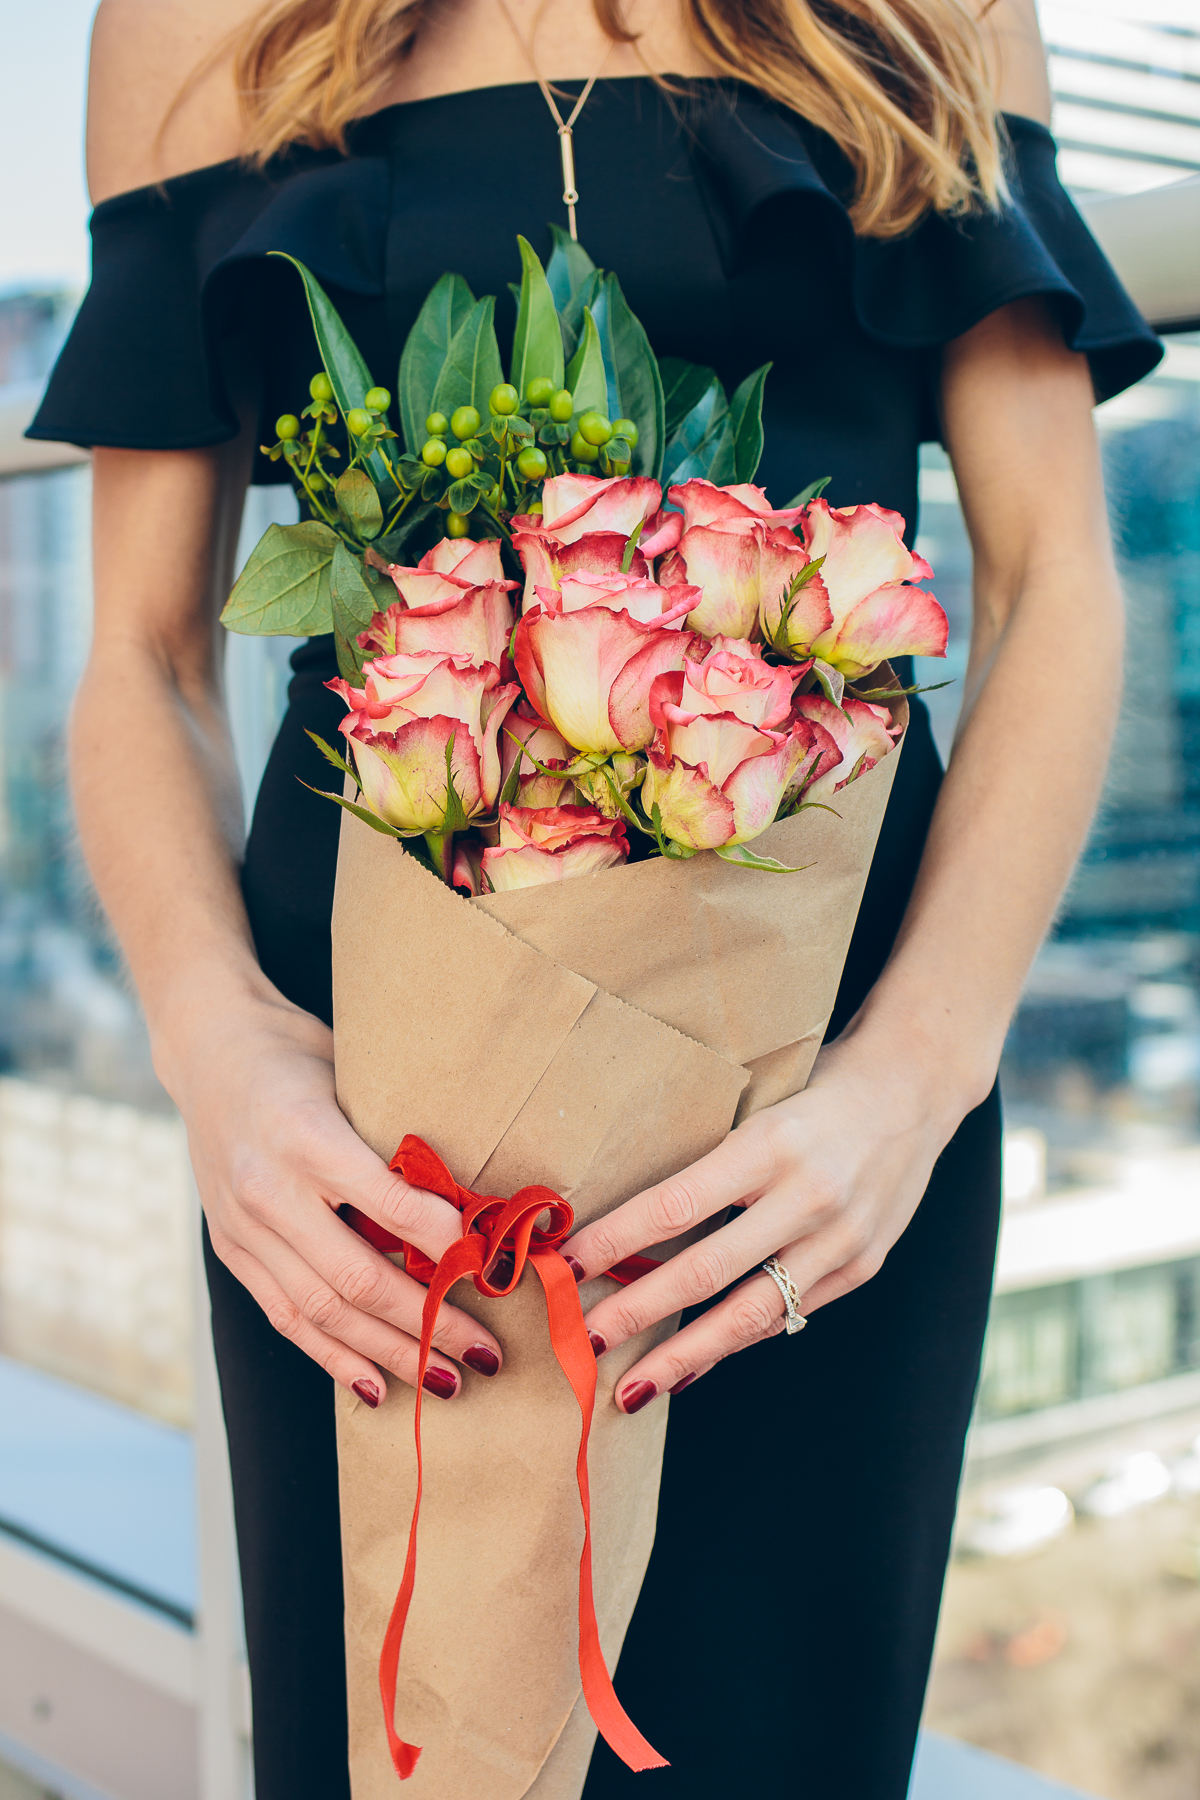
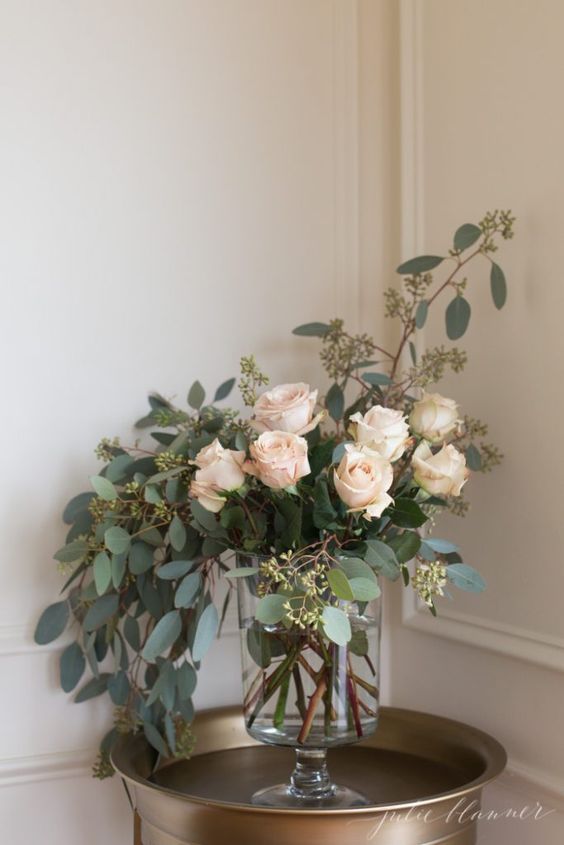
Depending on which flowers you get the price of your bouquet will go up or down, but here I bought roses that were $25 and greenery for $12, used an old shopping bag as the wrap and tied with ribbon I had on hand!
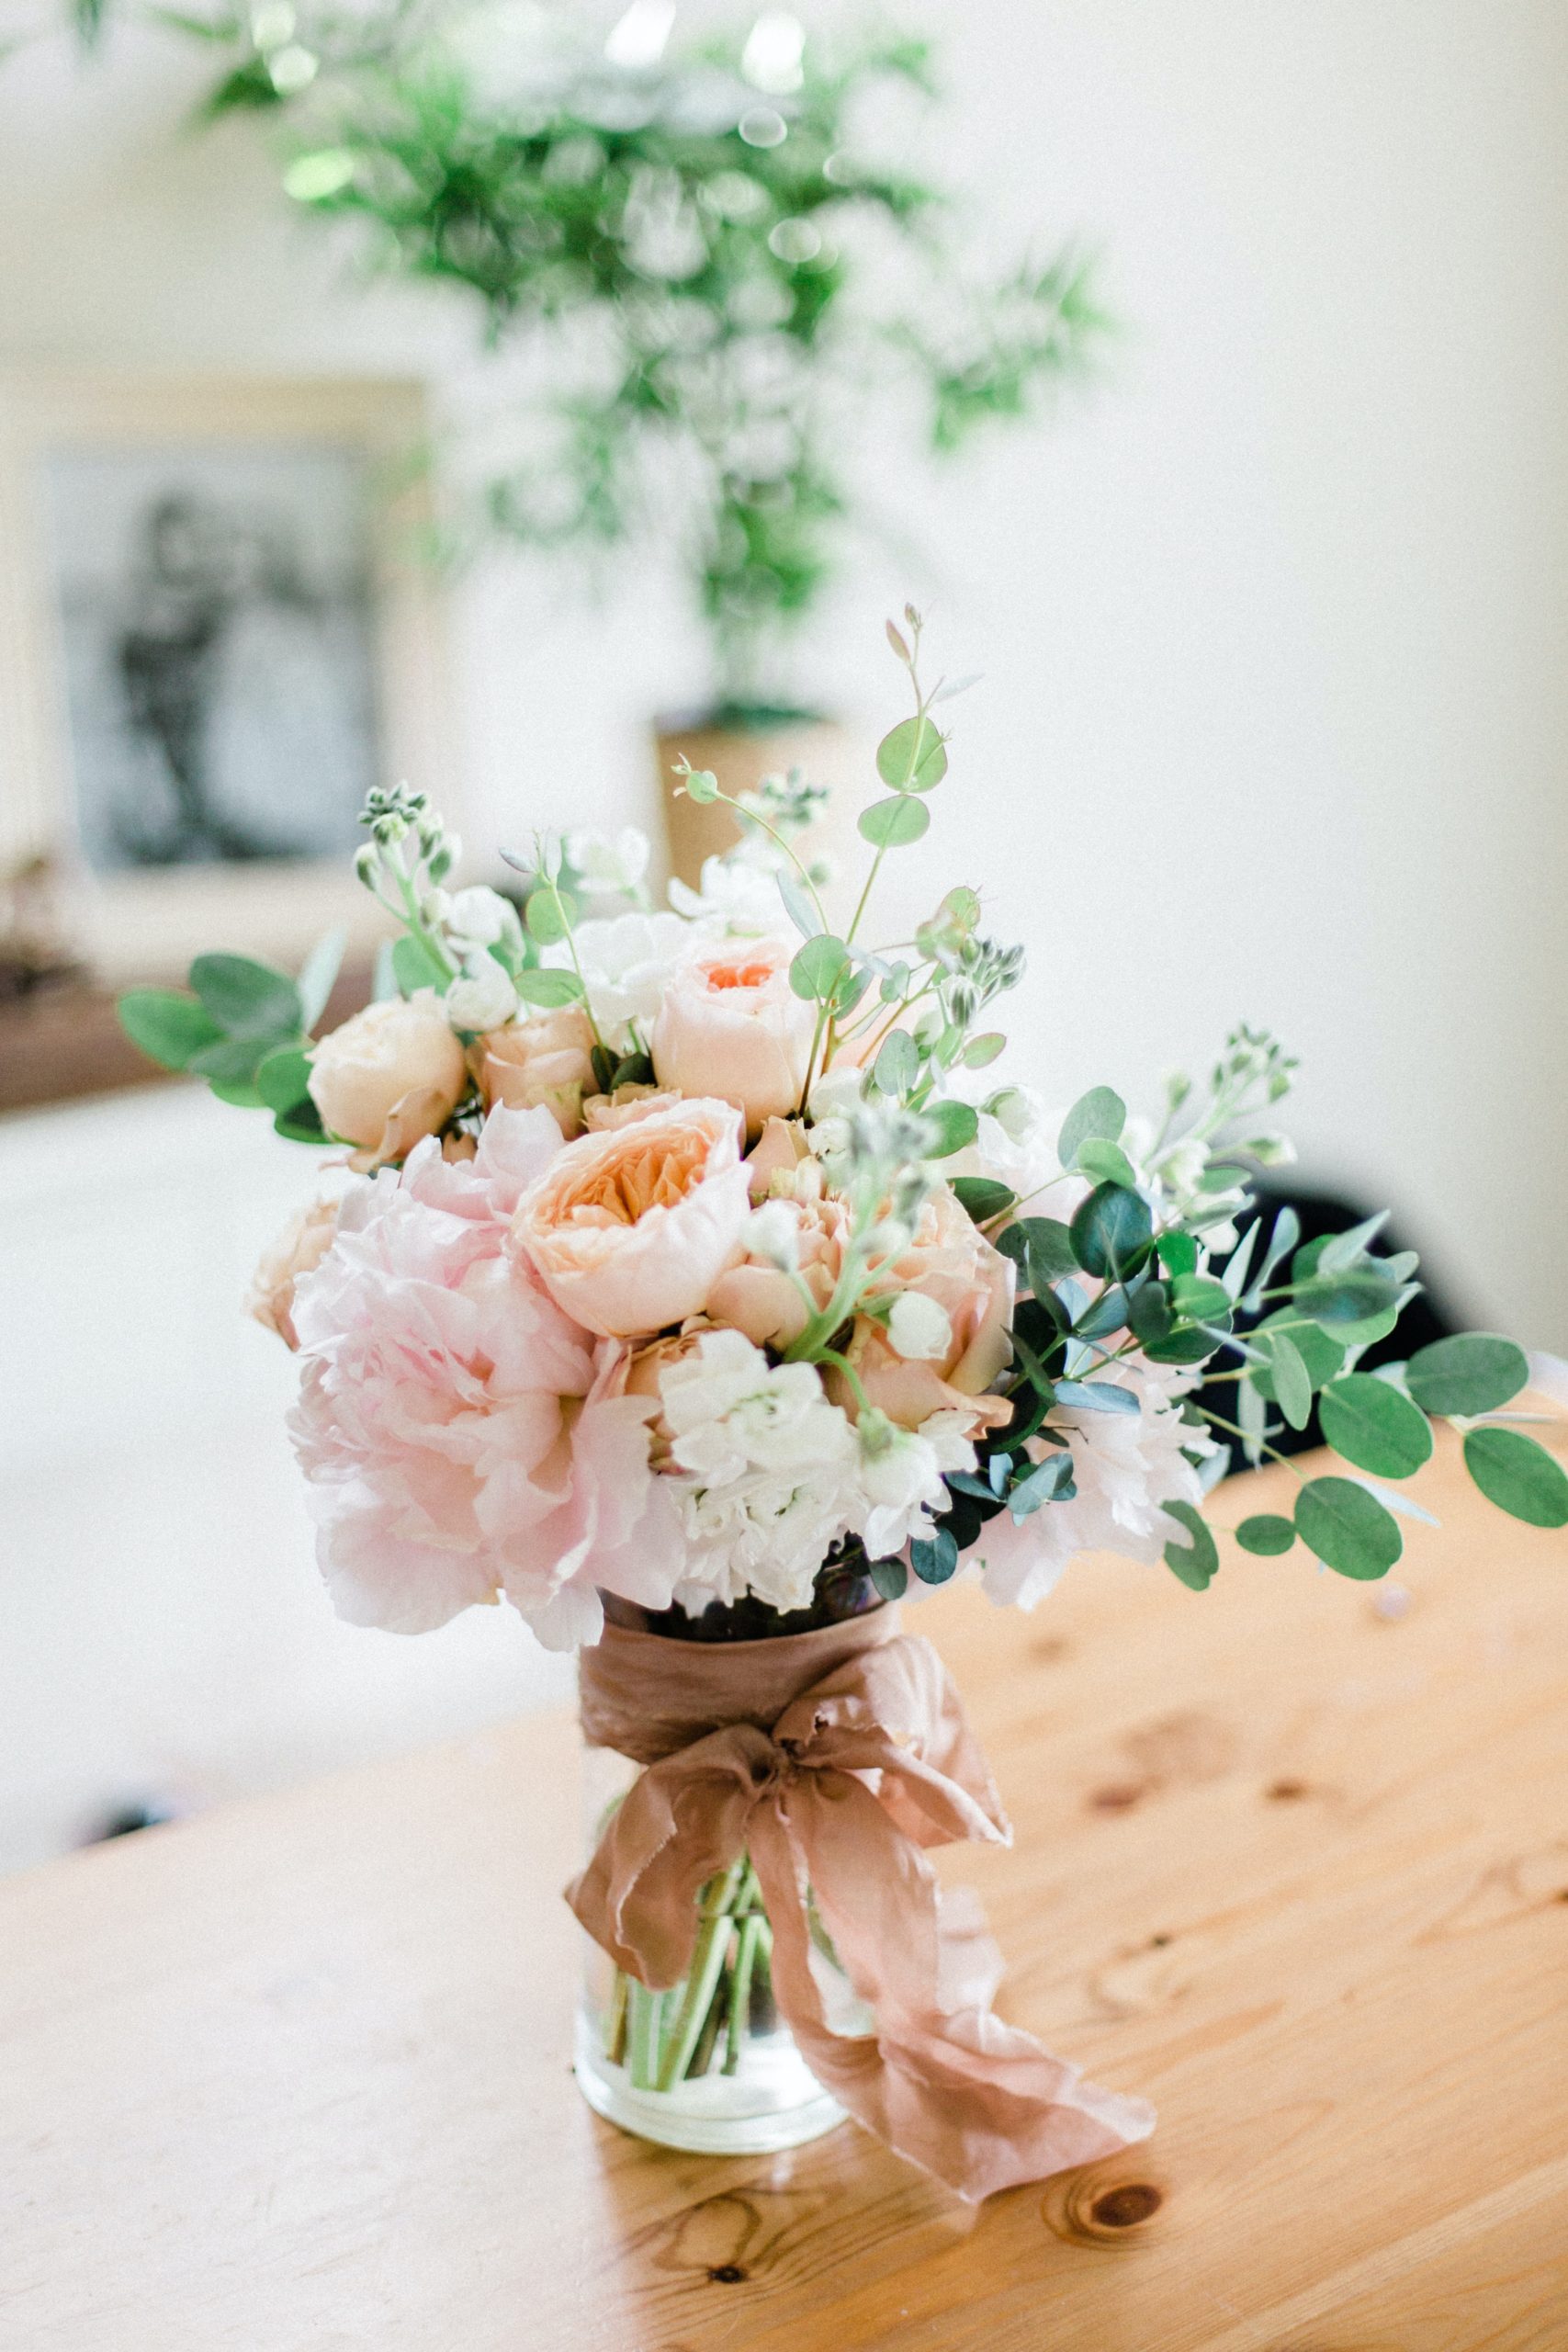
You can also make an actual arrangement with a vase or jar you already own—totally up to you how you want to present them—either way, they’ll end up in some vessel with water in them. I often keep marinara jars and reuse them as vases. Pitchers also work well, get creative with what you already have.
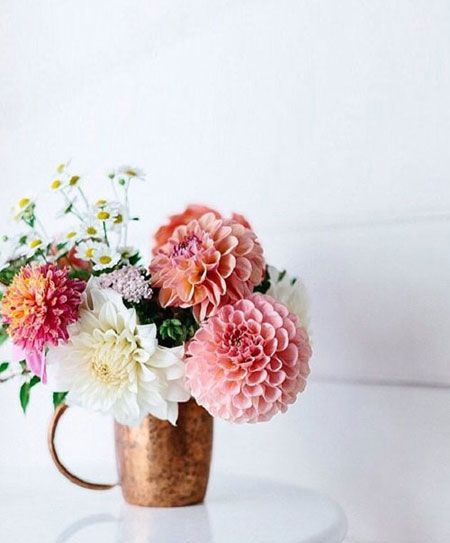
Pick A Color Scheme
White, blush pink, bright pink, red—you know what you like, so pick accordingly (or tell your guy). When in doubt, white never fails!
Pick a bunch (or two) depending on the price and size of the blooms. If you’re not sure what to get get, here are a few of my favorites: peonies, hydrangeas, English garden roses, roses and tulips.
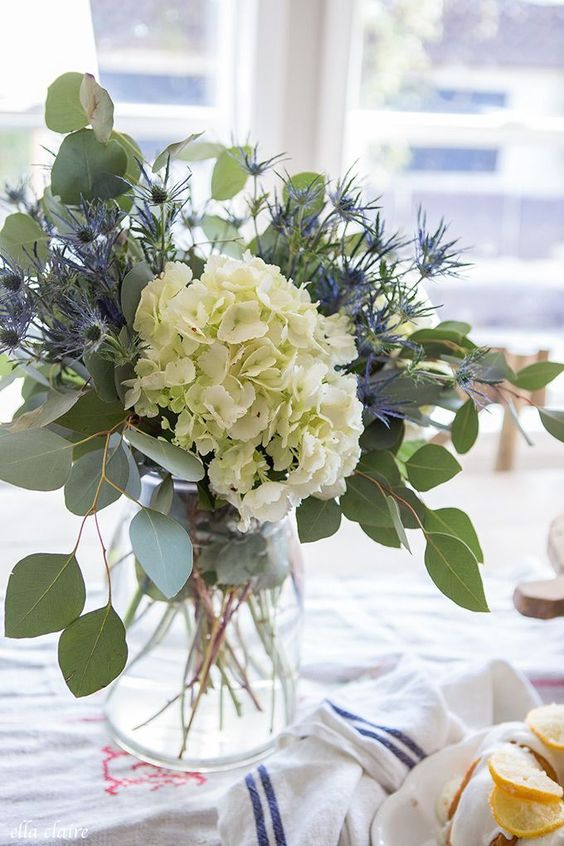
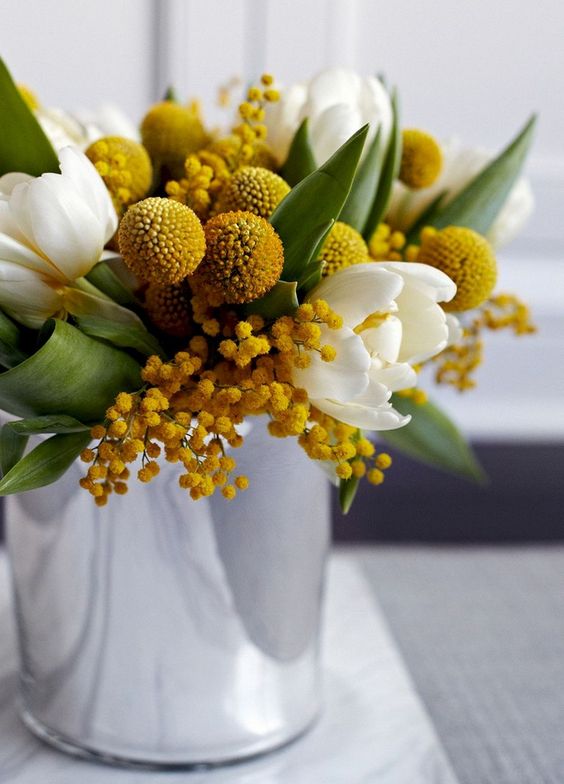
Add Greenery & Fillers
There are always several pails filled with gorgeous green leaves that add a nice, foraged element to a bouquet. As for fillers, billy balls, baby’s breath, simple leaves, lamb’s ear, dusty miller, eucalyptus or green berries always add a nice delicate and unique touch!
Personally, I’m partial to greenery—I love how lush it looks. Don’t be afraid to mix different textures and colors of green too, it makes the bouquet look more foraged and elegant. Make sure to grab some flower food too, it always makes them last longer.
Trim the Edges
Before you create your floral arrangement, you’ll want to trim the ends on an angle with a sharp pair of scissors or garden shears. This helps them absorb more water and last longer. I like to do this right before I put them in water.
I always start with one and put in my vase to see if I like the height. And I aim to have 2-3 inches of stem poking out the top. Too much and it looks amateur, too little and it gets too crowded! And, you want to leave a little room for another stem trimming after a few days to keep them fresh.
If you’re making a bouquet, you can skip this step since it won’t be going in water immediately.
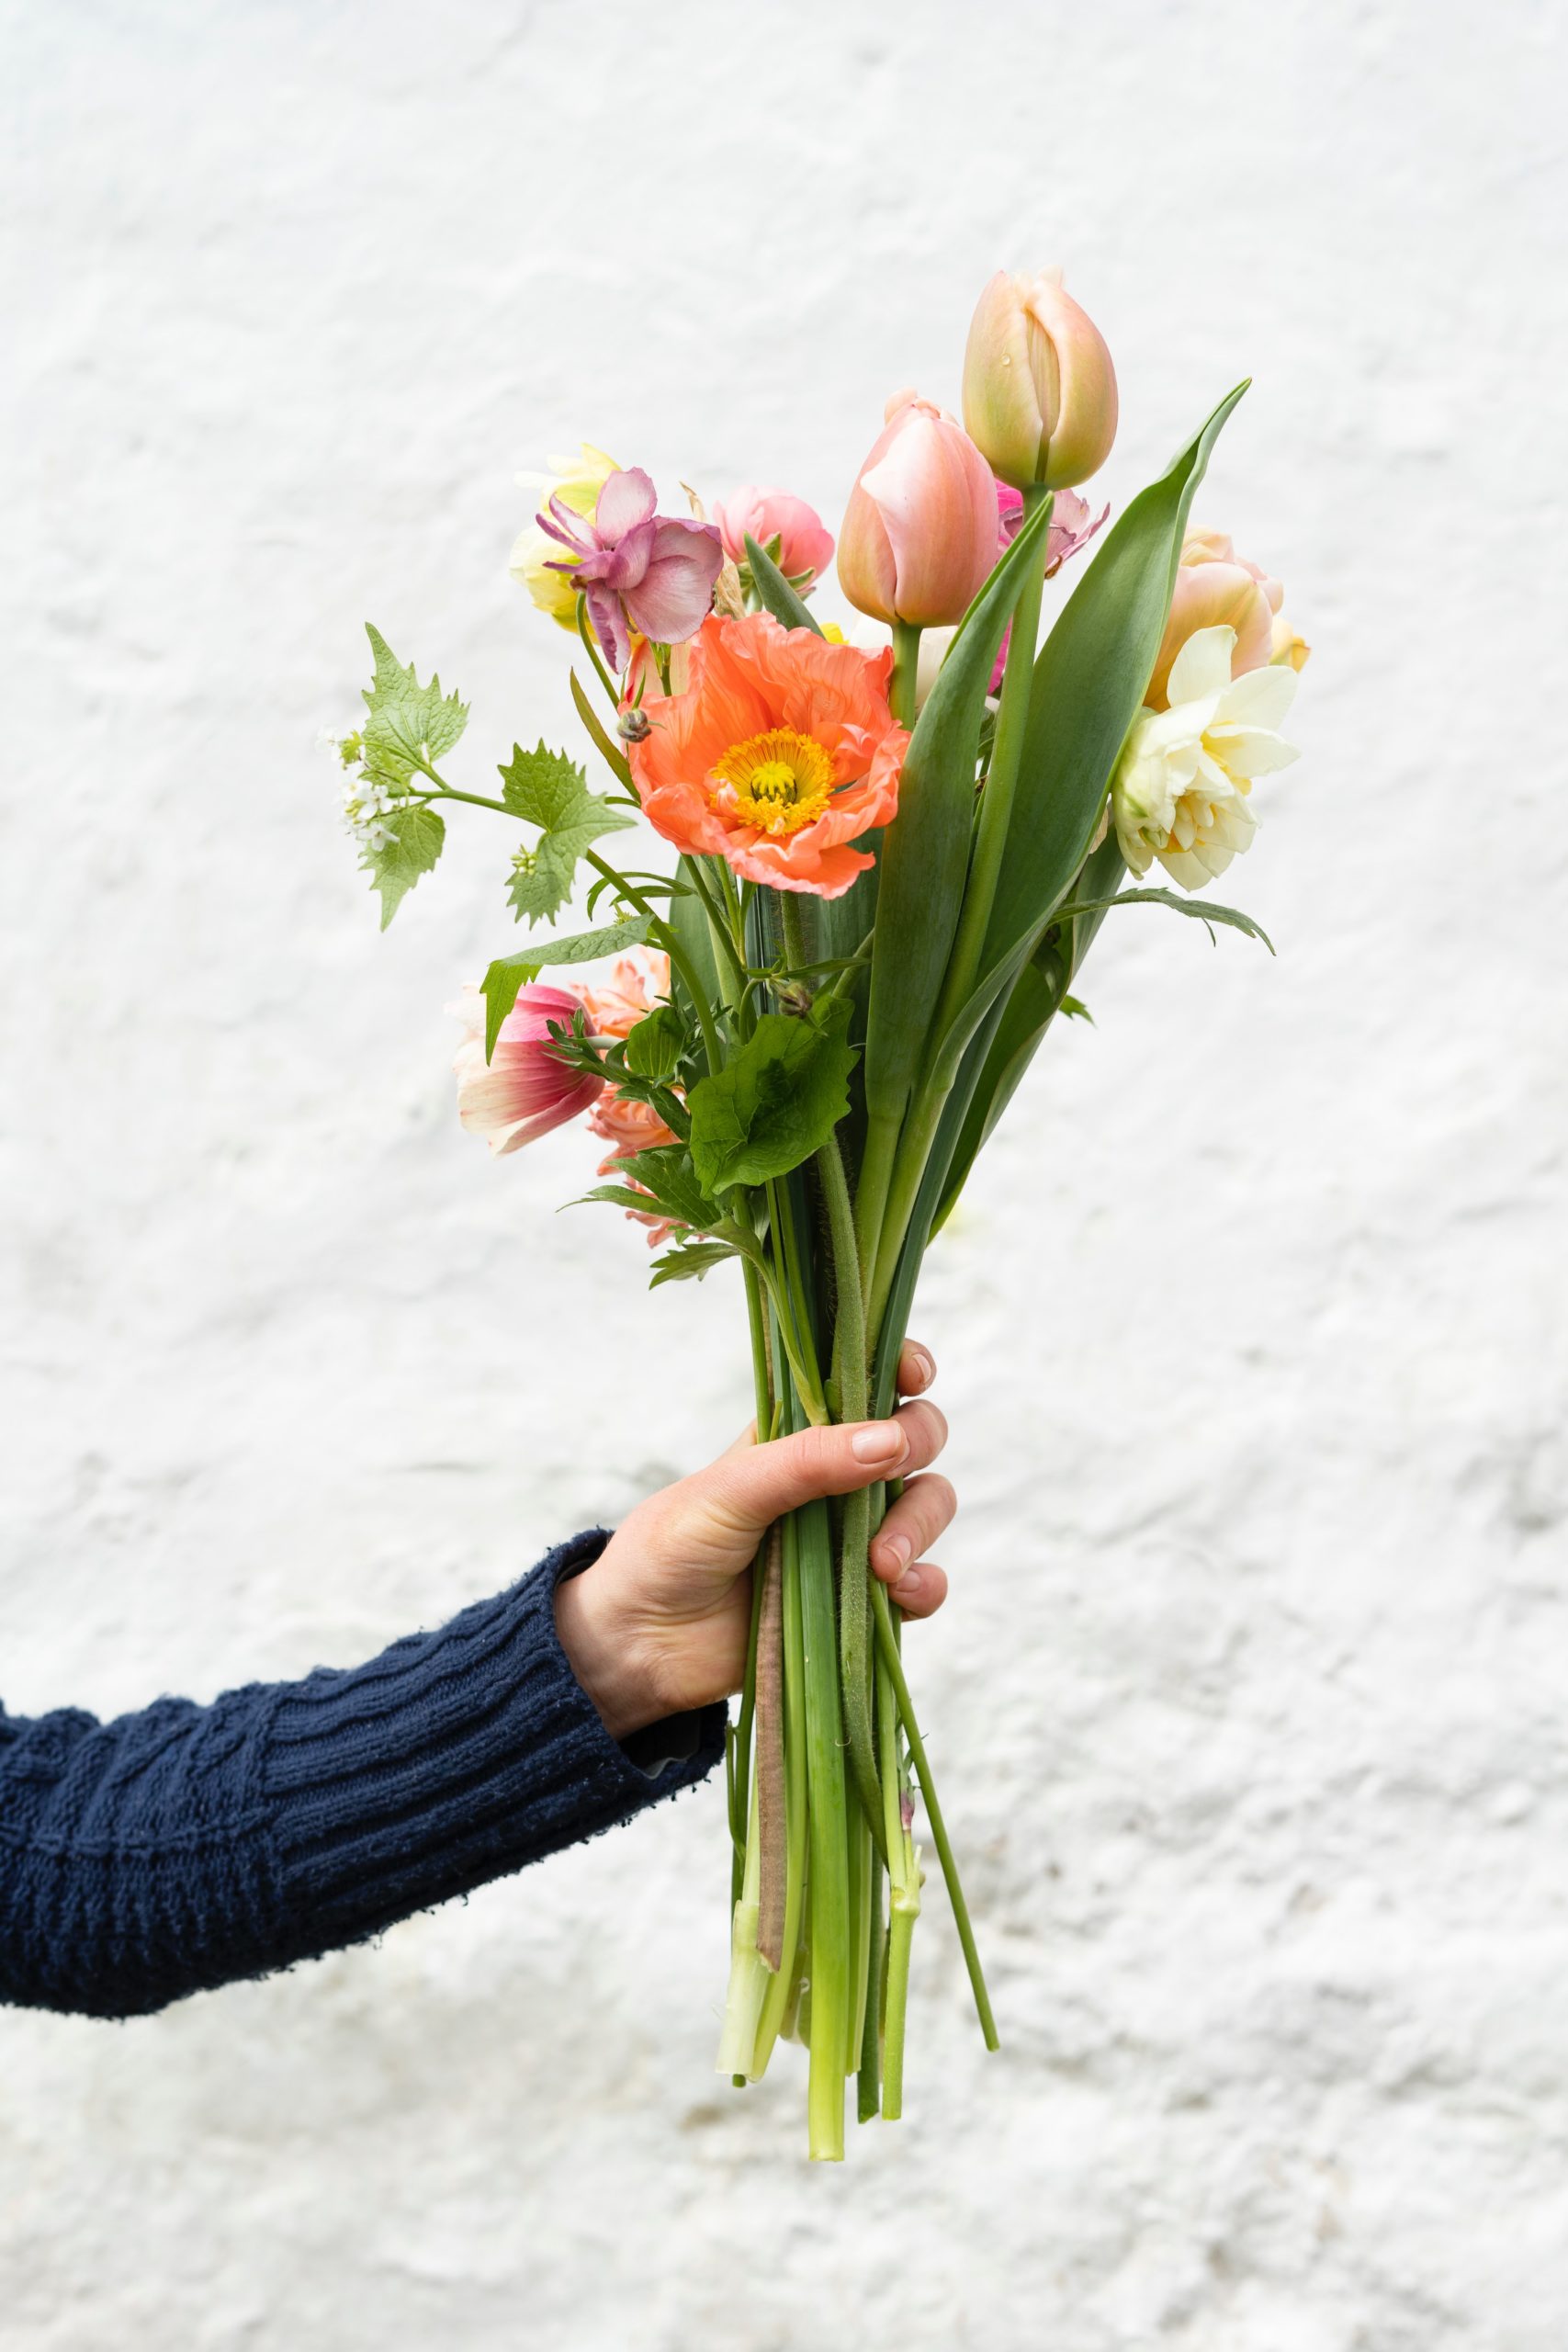
For a Bouquet, Wrap Them
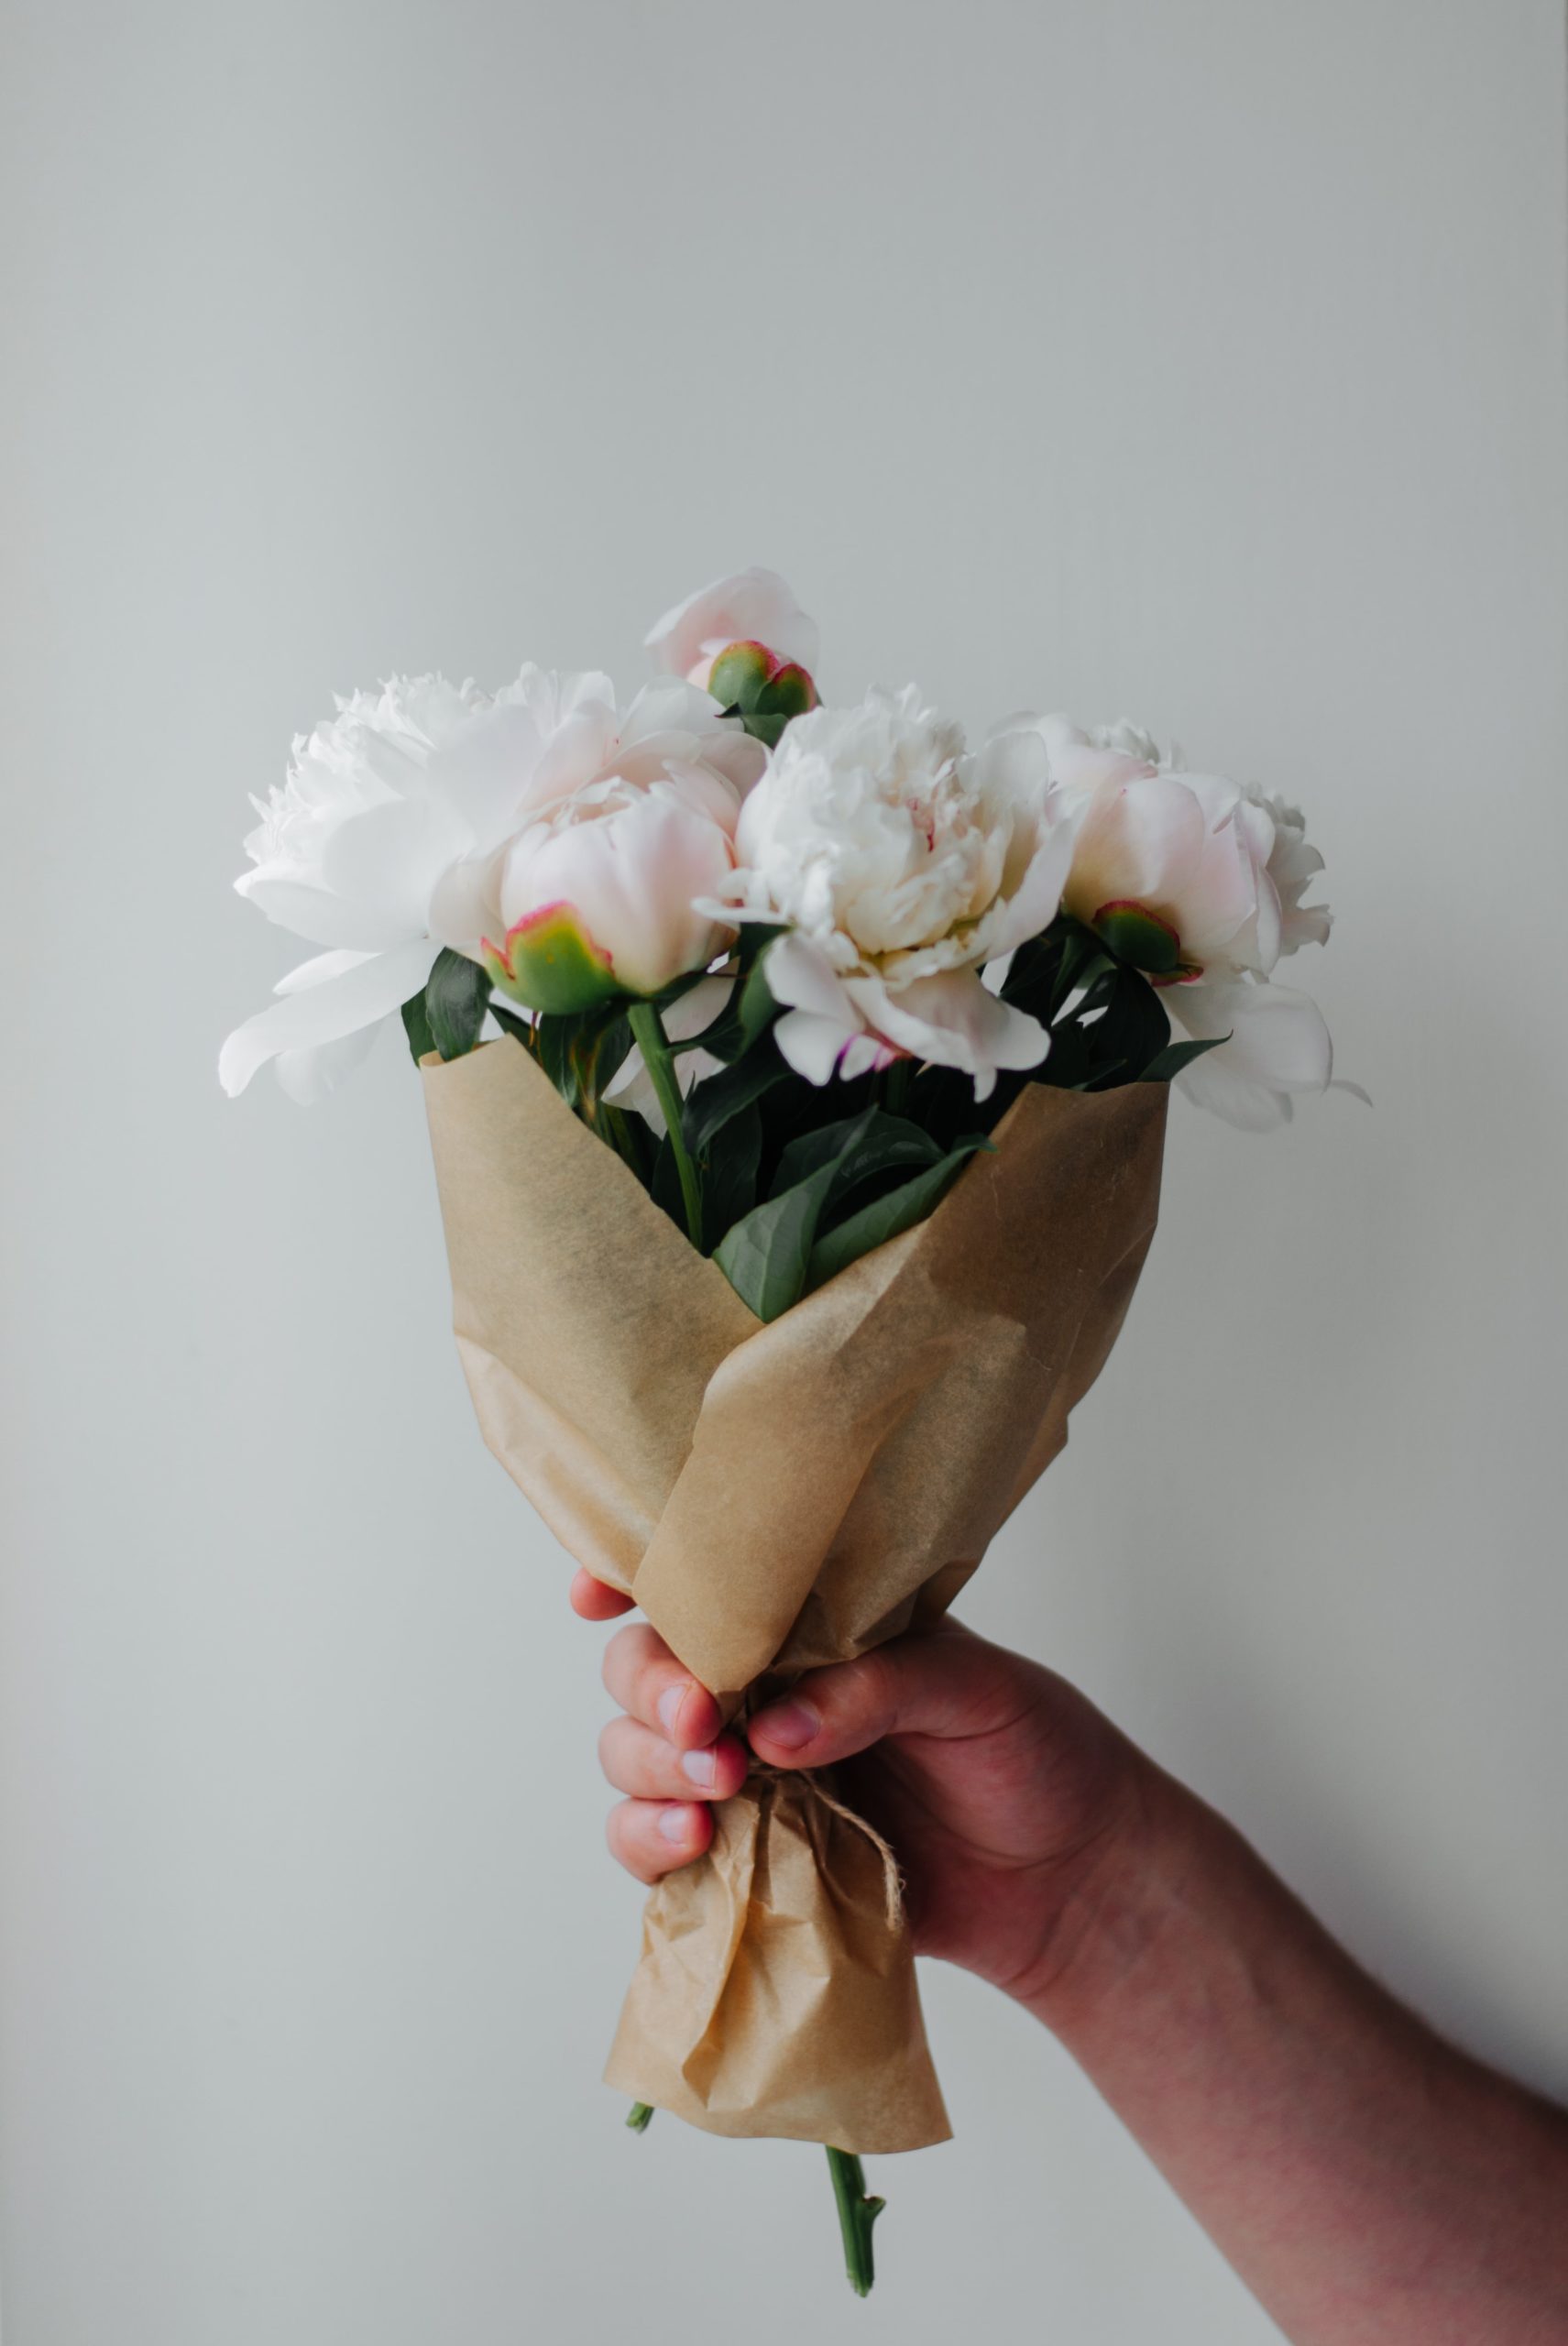
The hardest part is over! Now it’s time to assemble your bouquet. Lay down a square piece of butcher paper or use an old shopping bag like me. Wrap one side in and then the other with the bottom end tighter than the top. Tie with a ribbon or raffia and you’re all set.
I’d recommend doing this shortly before gifting the flowers as you don’t want them to be out of water for too long. You can always wrap the bottom with a damp paper towel and Ziploc bag. If you do this, just make sure to tuck the bottom edge of paper up to hide that!
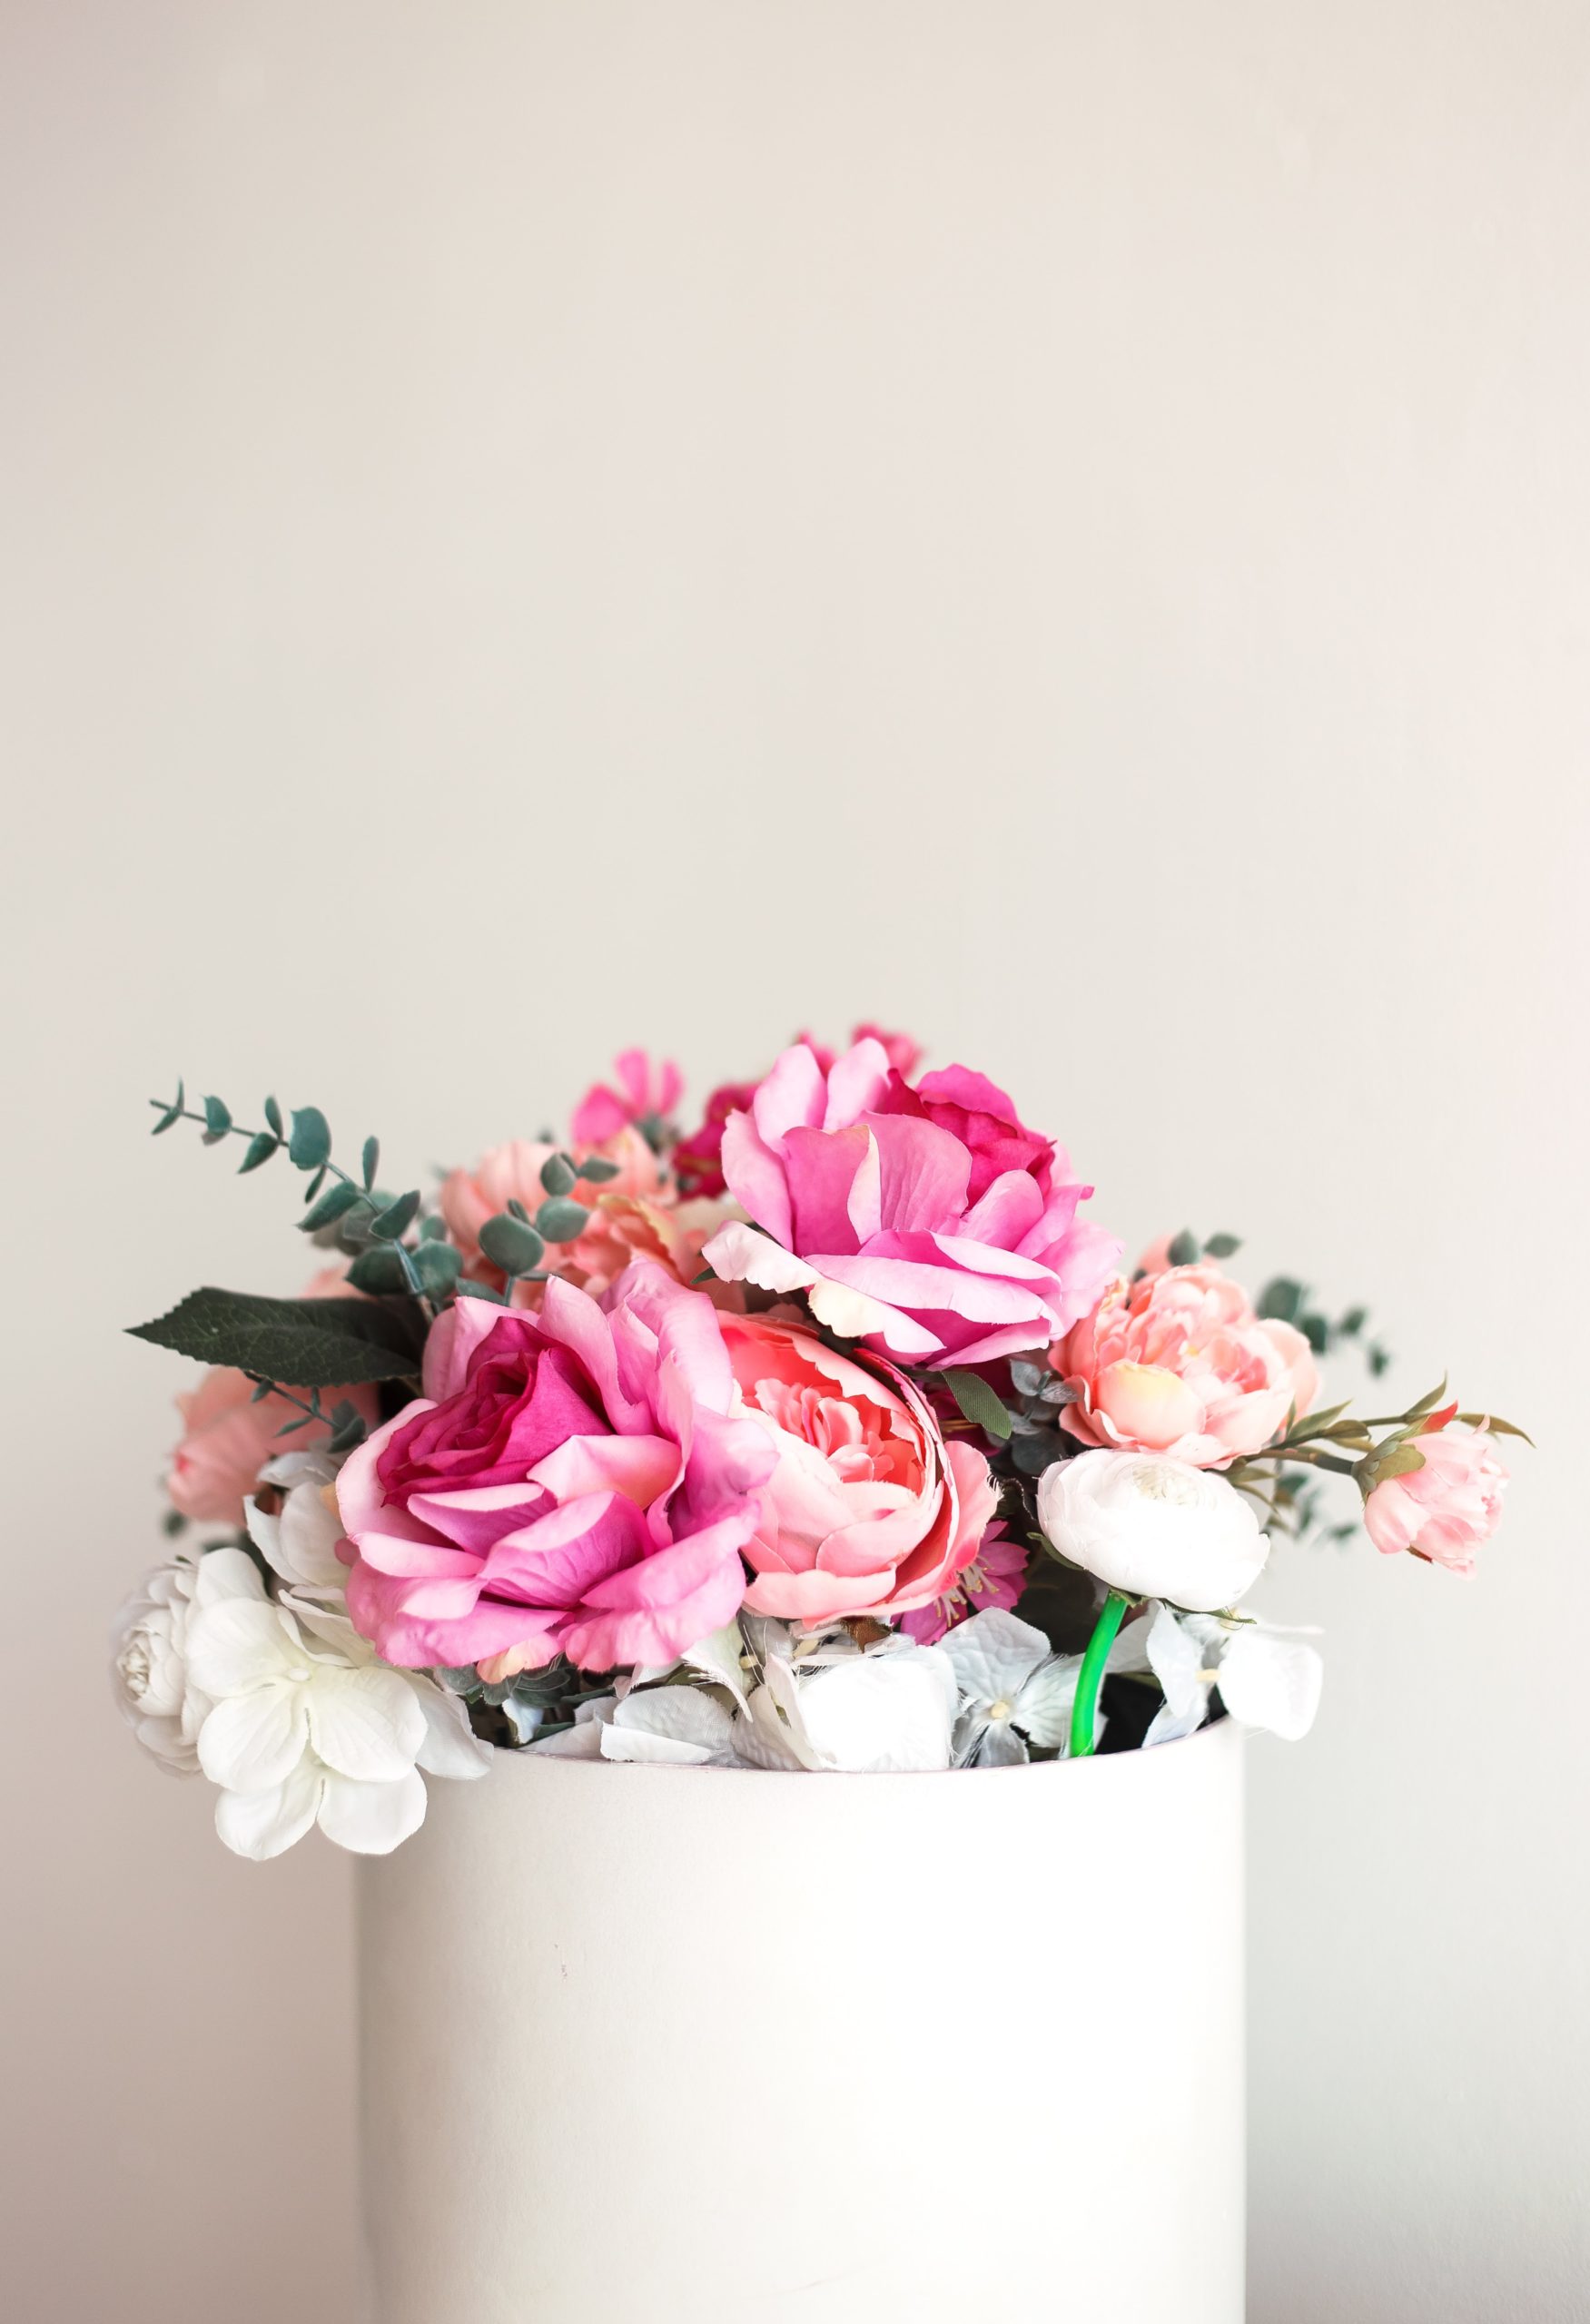
For a Flower Arrangement, Create It
You’ll need a vase of some sorts. You can use anything from a pretty cup, an actual vase, a pitcher, an old mason jar—I’ve even used old candle jars! Get creative, chances are you already have something in your house you can put it in. I opt for plain glass, white or another soft solid color to keep things simple and let the focus be on the flowers themselves.
After your flowers are all trimmed, start assembling your arrangement. There’s no right or wrong way, just stand back every so often and see if you like it. You can always use floral foam to hold things in place, but it’s not necessary for a simple arrangement.
Keep your scissors or sheers nearby in case you need to trim any stems to make them fit better.
Flower Arrangement Ideas
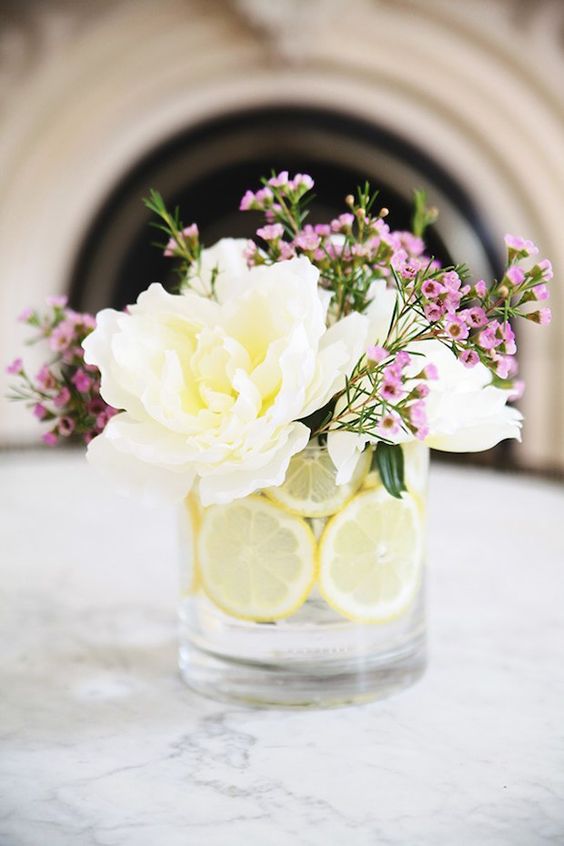
So, there you go—a gorgeous bouquet or floral arrangement that doesn’t break the bank, but still makes a big statement! Perfect for Valentine’s Day, or any day!
If you want to add a little something extra to your Valentine flowers, add a box of conversation hearts (sweet tooth over here), a thoughtful handwritten card and a bottle of wine or champagne.
BTW, 6 ways to show someone you love them, and how often do you have date nights.