


- GET EXCLUSIVE GOODIES

IN YOUR INBOX
Filed In: DIY
I Built a Bench


Over the past few months, I’ve been dying to take some woodworking classes. A few years back, my dad helped me build a console table and a table top for my coffee table. I fell in love with the whole process and lately the itch to get back it came up. There’s something so cool about designing a piece, cutting the wood, building the piece and finishing it. The icing on top is of course showing it off in your house, styled just the way you want.
My friend Paige and I finally found a class that worked with both of our schedules. This past weekend we took a ‘make it, take it’ bench-making class at Chicago’s Rebuilding Exchange. Both of us have an affinity for making things, fixing up our apartments, DIYs and now woodworking. Paige is also a graphic designer, so maybe that’s why we naturally have so many of the same hobbies.

The class was the perfect introduction to basic sawing techniques, drilling and building. We built the entire bench from reclaimed 2 by 4′s and used both the circular saw and a hand saw. It was cool to use both, but the hand saw took forever and was a serious workout. But like I said, still a good skill!
I’d actually used a drill and a circular saw before, but this definitely gave me more confidence in using both. After three hours of sawing, cutting, sanding and learning, we had ourselves two fabulous new benches (and a few really cheesy pictures of us sitting on them)!
I highly recommend their classes to anyone wanting to learn something about woodworking, it’s a blast. They have a side table class, but what I really want to learn is how to build a dining room table! Baby steps… Blair, baby steps. Anyway, I clearly had a blast, the class was so much fun and I’m ready to sign up for some of the more advanced classes to learn more techniques and someday design and make all kinds of cool wooden things!



Hairpins & Coffee, Part 2
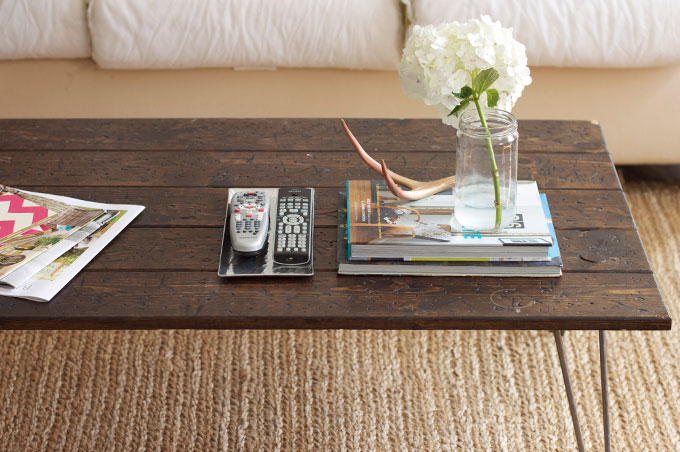
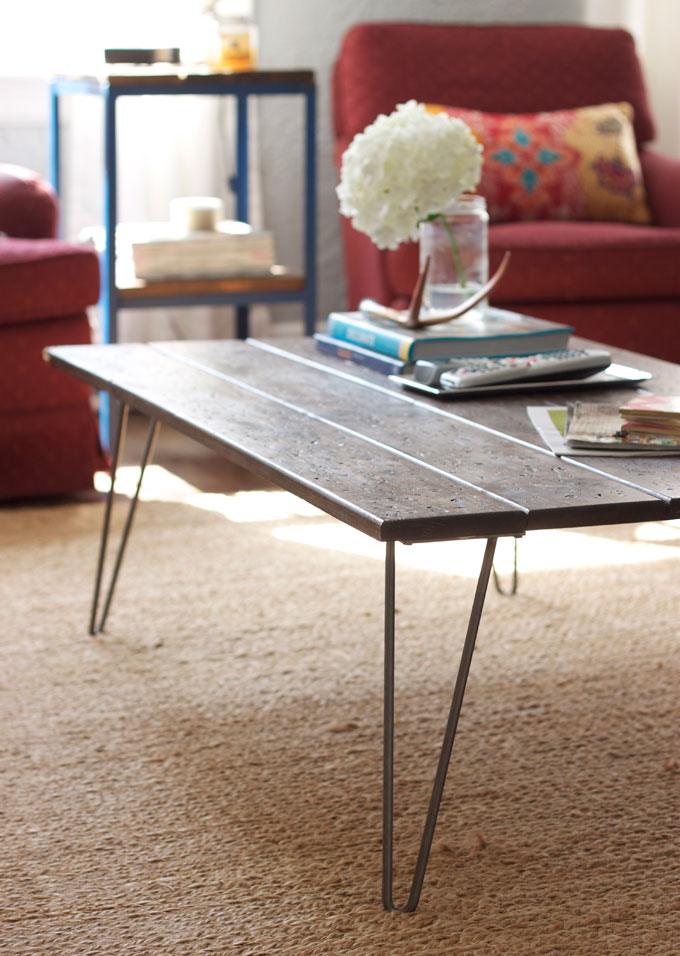
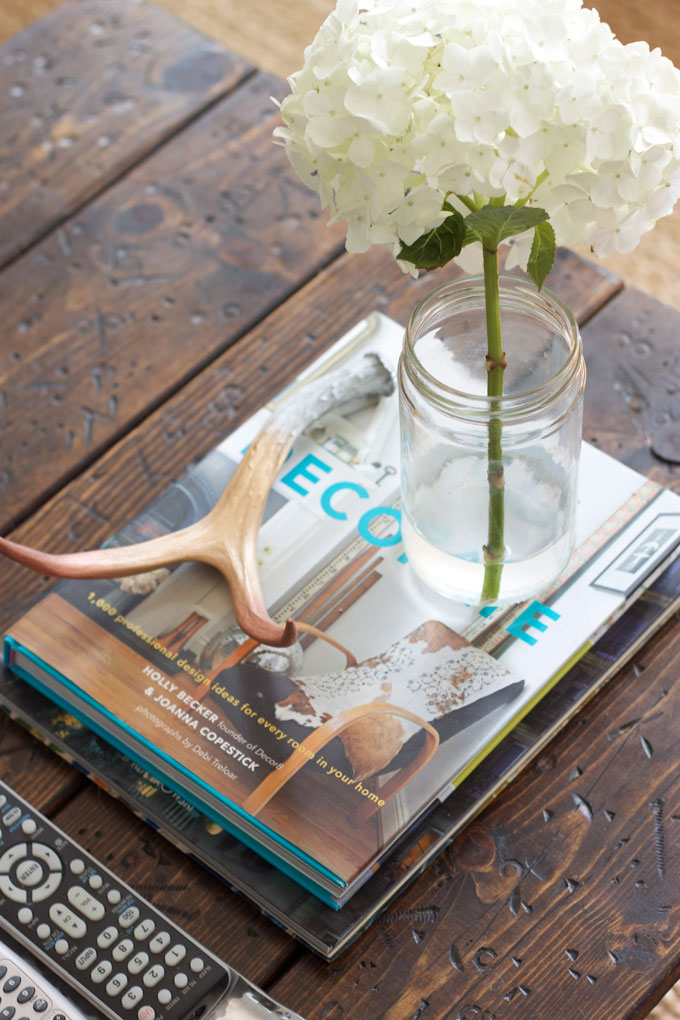
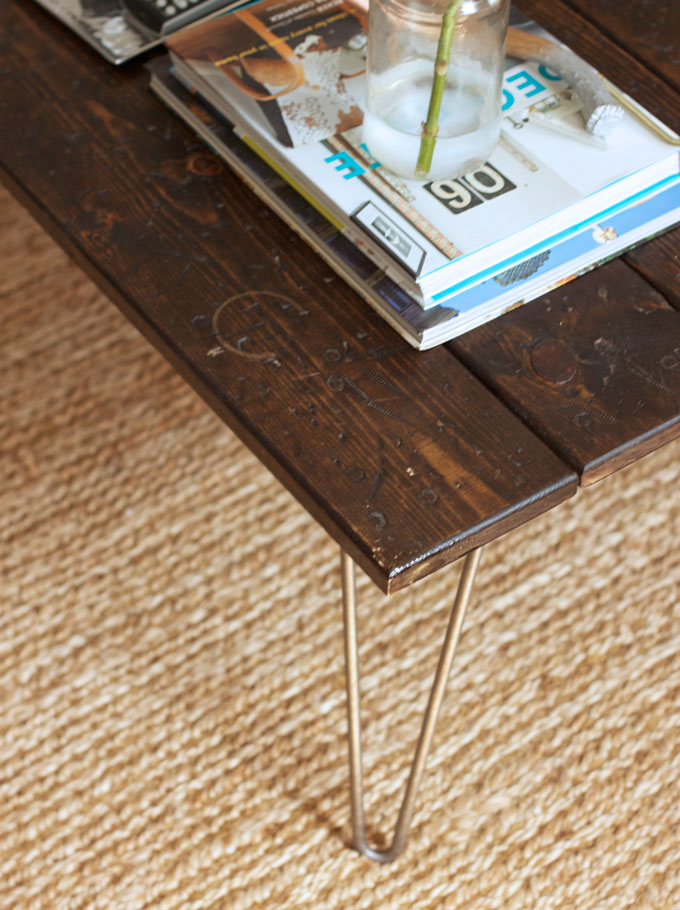

Last week I completed one of the easiest DIY projects yet. If you remember from last Monday, I had recently purchased some steel hairpin legs and was anxiously awaiting their arrival! They got here early last week and I was done fixing up the coffee table in less than 15 minutes.
Talk about the perfect after work, pre-dinner project. After a few years of having my homemade table top sitting on an old trunk, I decided it was time for a upgrade. I wanted something sturdy and less bulky, and hairpin legs fit the bill. And the budget. For $14 a leg it was a no-brainer.
Though the legs were inexpensive, I did decide to invest in a Ryobi 12v drill too. I had been thinking about buying that anyway and I’m super happy with that purchase as well. It’ll come in handy as I create more and more projects for myself.
I went with the basic hairpin leg at 14 inches tall that I found at hairpinlegs.com — can’t forget that name, right? The 14” legs were the ideal coffee table height!
All in all, this was probably the quickest, cheapest and easiest coffee table upgrade ever. Excuse the uncovered seat cushions in the first picture, we had a bit of a wine accident this weekend, but other than that, what do you think? Are hairpin legs your style? Clearly, Oliver is totally digging them.
Sewing 101


Last Wednesday I went to my first ever sewing class at The Needle Shop. I was anxiously awaiting it after the first one was rescheduled due to snow.
The last time I used a sewing machine was in home ec(onomics) class in middle school, so when I walked in I remembered nearly nothing about a sewing machine. Honestly I didn’t even know how to turn the dang thing on.
For the first hour of class, our teacher reviewed all the parts of the machine, how everything worked, how to thread a bobbin and much much more. After that, we eventually started sewing, hooray! We practiced a bit making straight and curvy lines before moving onto our real pillows.
I picked a bright red and pink ikat fabric that I thought would be a nice addition to the living room. The coolest thing about these pillows is that we made them hidden zippers. Definitely a cool trick to know how to do.
Several hours later, we had completed our pillows, trimmed stray threads and stuffed the filler inside. I was so excited with how it turned out! I was a little concerned that a few of the edges wouldn’t have been super smooth because a few weren’t perfectly straight, but you couldn’t tell at all.
Now it’s found a new home on my couch. My mom will be sending me her old sewing machine, so I’ll be adding a few more to the collection in coming weeks. Hooray for another domestic skill to add to my tool bag!









 The Fox & She is a style and lifestyle blog written and curated by Blair Culwell.


