I’ve tried so many serums over the years and most have fallen short for me, so I decided. take things into my own hands and make my own natural skin care. I finally perfected my homemade face serum recipes, and after many months of testing I’m ready to share them with you.
Good news, the results are pretty spectacular! My skin is the clearest it’s been in a long time, though, I’ve also made a few other lifestyle and skincare changes that I know are also helping.
These homemade serum recipes are great for sensitive skin, oily skin and mature skin. They’re gentle, nourishing and so easy to make at home and you can tweak the serum ingredients to your exact skin concerns. So, if you’re ready for beautiful skin with natural, simple ingredients, let’s make a serum!
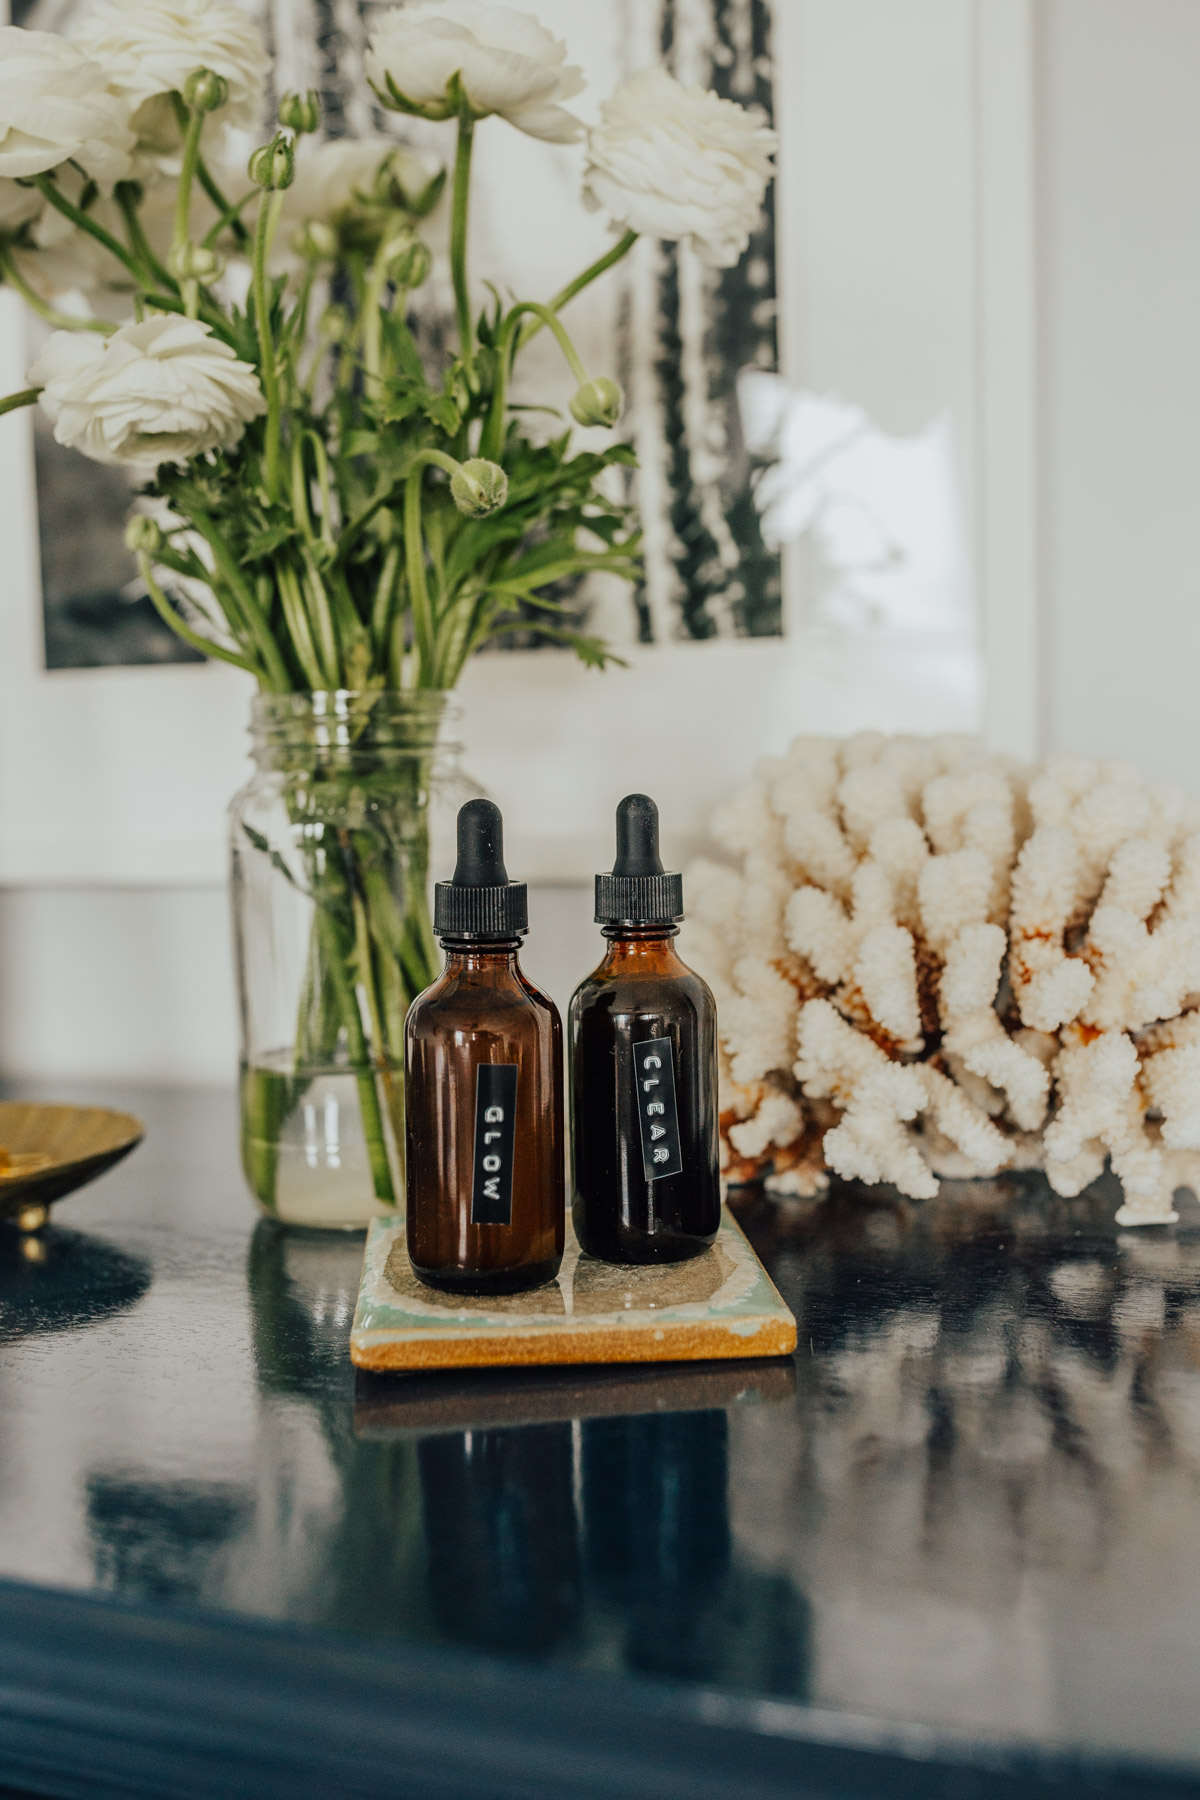
But, either way, my facial serum is left my skin looking calm, has a more even skin tone and has educed the appearance of wrinkles, and I’ve only had one breakout since I started using it! Now, let’s just talk about this serum!
If you follow any essential oil Instagram accounts, you might be familiar with the Glow recipe.
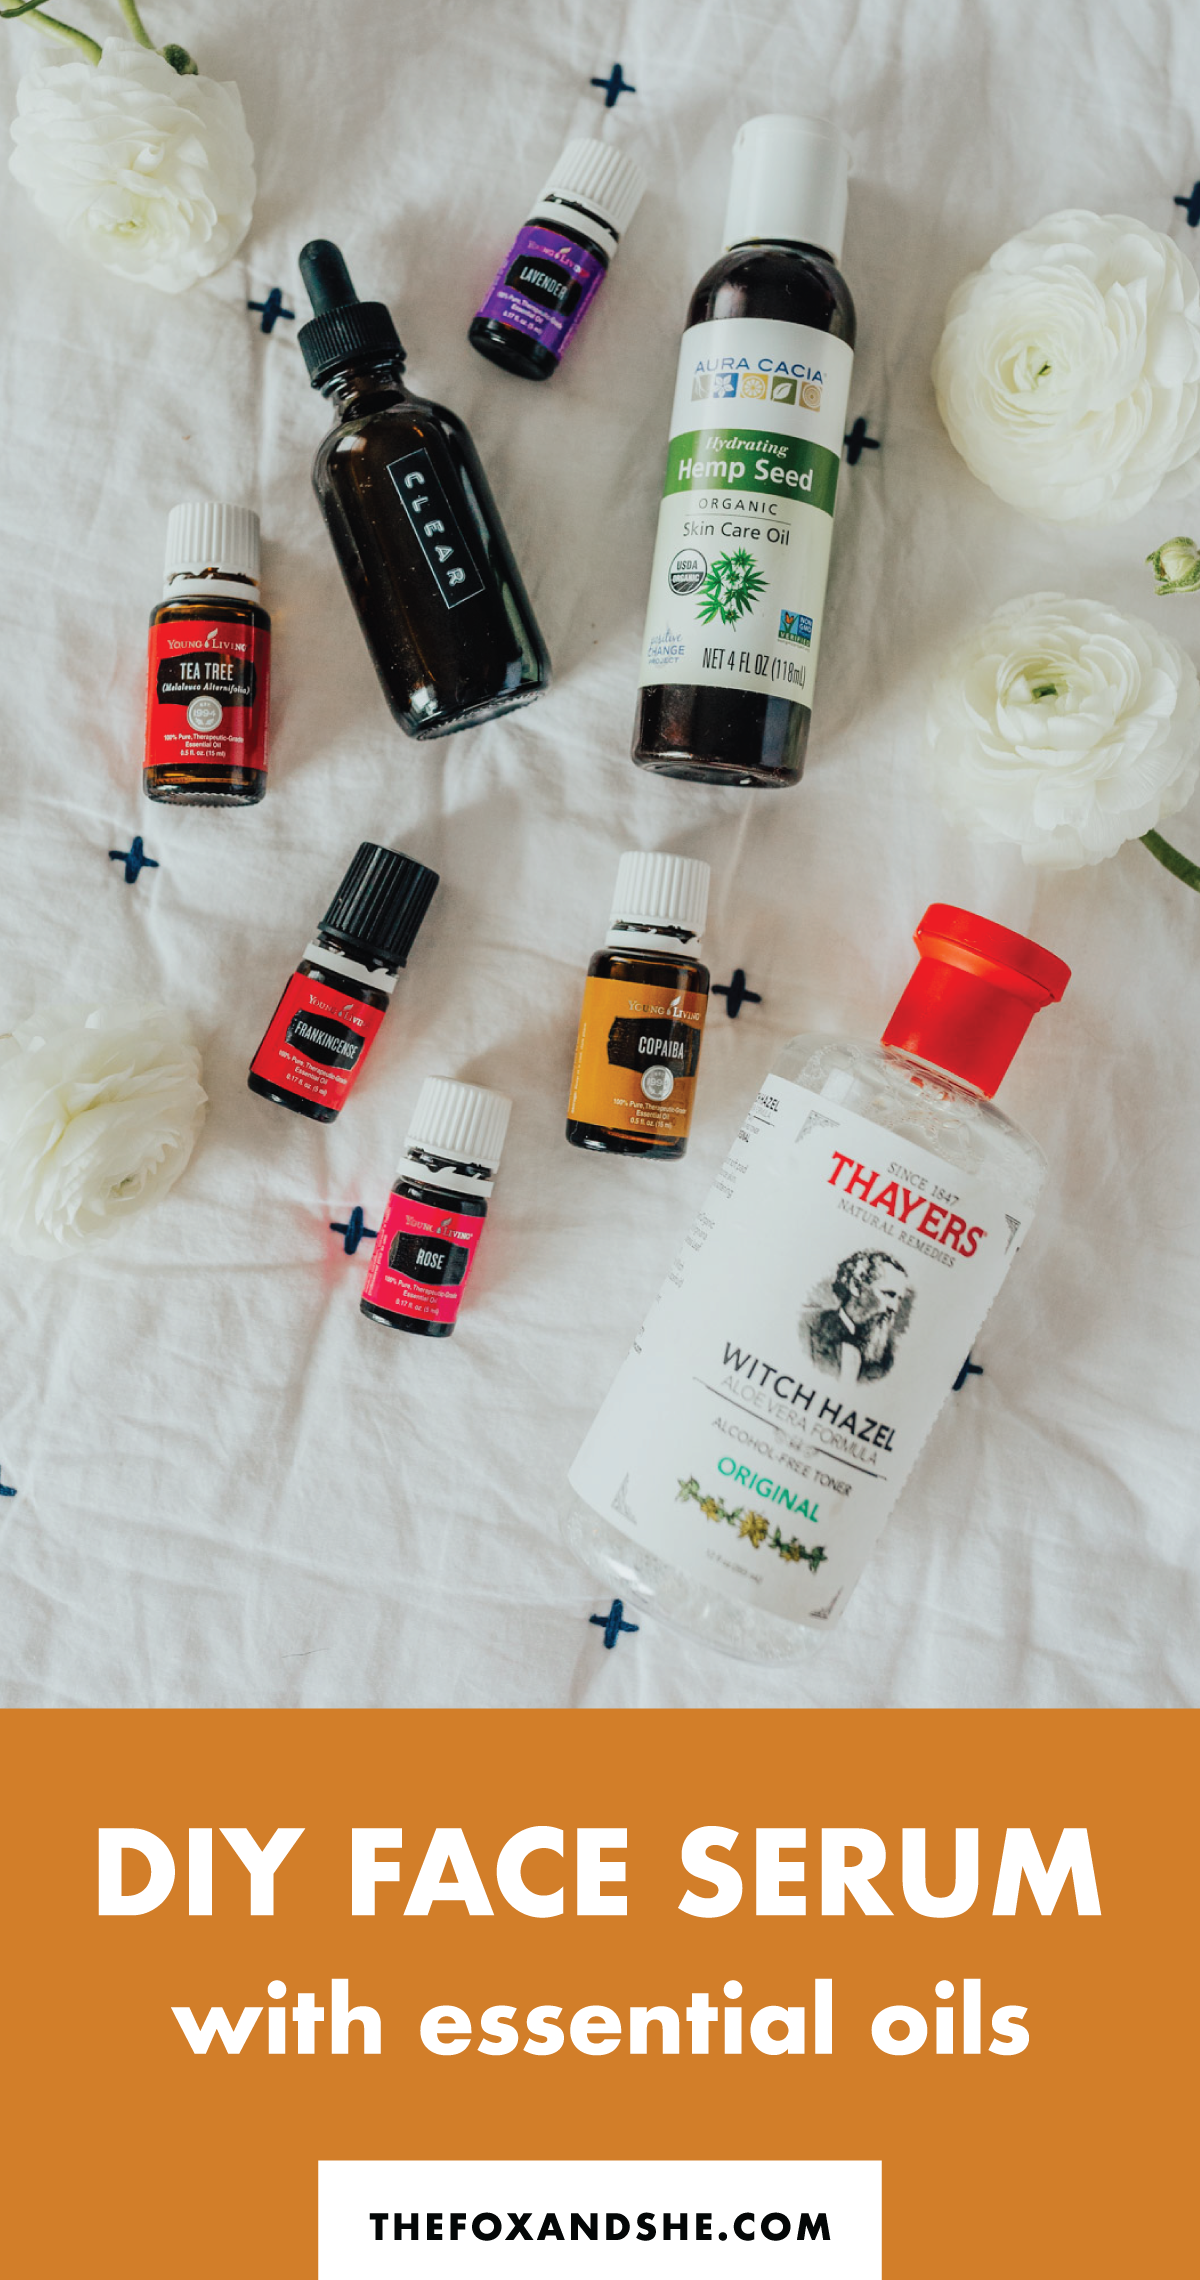
It combines frankincense, copaiba and lavender essential oils with a splash of witch hazel and jojoba oil. I saw pictures of people’s skin before and after and it was amazing! So, for the base of my serum, I started with those three—I mean, why fix what’s not broken, right?!
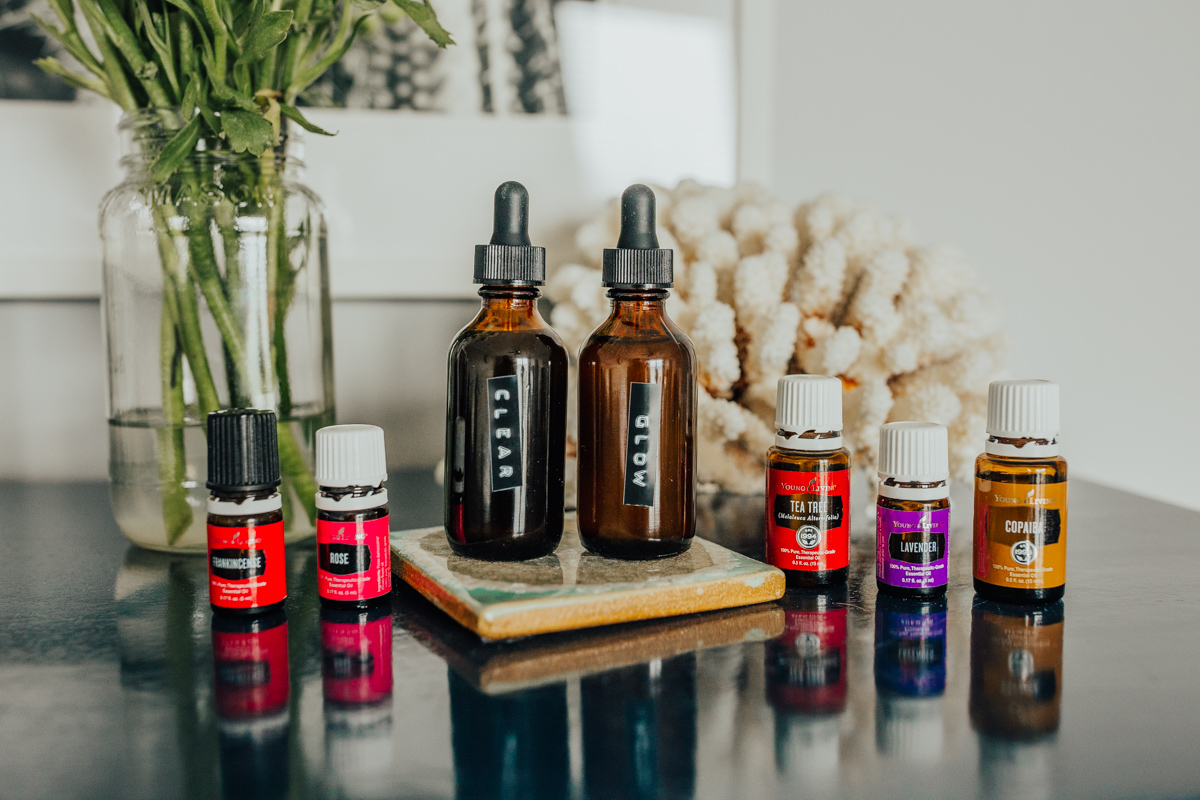
I also wanted to add some ingredients that would fight breakouts and prevent future ones so I added a more active ingredient—tea tree oil—for some superpowered breakout-fighting action.
Tea tree essential oil has long been praised for its anti-inflammatory and antibacterial properties, which makes it especially great for acne-prone skin. I also personally love the smell of tea tree oil—it’s invigorating.
So, that was added to my list and I splurged and bought rose essential oil which is amazing for your skin and smells lovely too! It’s great for anti-aging and healing old scars. For my recipe, you can leave out the rose oil, it works great without it as well!
Before I get into the DIY serum recipes, let’s chat real quick about carrier oils.
Essential oils are super potent and while some can be applied directly to your skin, it’s usually best to dilute them with a carrier oil when you plan on using them twice a day. There are a gazillion carrier oils out there, and whichever you choose, buy the best quality you can find.
I bought mine on Amazon and I believe at Trader Joe’s as well as some good ones too. Read a little further to figure out which carrier oil is best for your skin type!
How to Make DIY Face Serum at Home
Carrier Oils for Face Serum Recipes
I did a lot of research and the same three carrier oils kept popping up again and again. They all have low comedogenic ratings, meaning it’s very unlikely that they will clog your pores and are similar to the makeup of our skin’s natural sebum, so they work with our skin, instead of against it!
From my research, here’s what I found to be the best for different skin types. You can also mix different carrier oils to come up with the best combination for your skin if you’re in between skin types. These oils are absolutely amazing on their own and can be used without any essential oils, but I like adding a little extra oomph to my glass bottle of serum, and I think you’ll like these too.
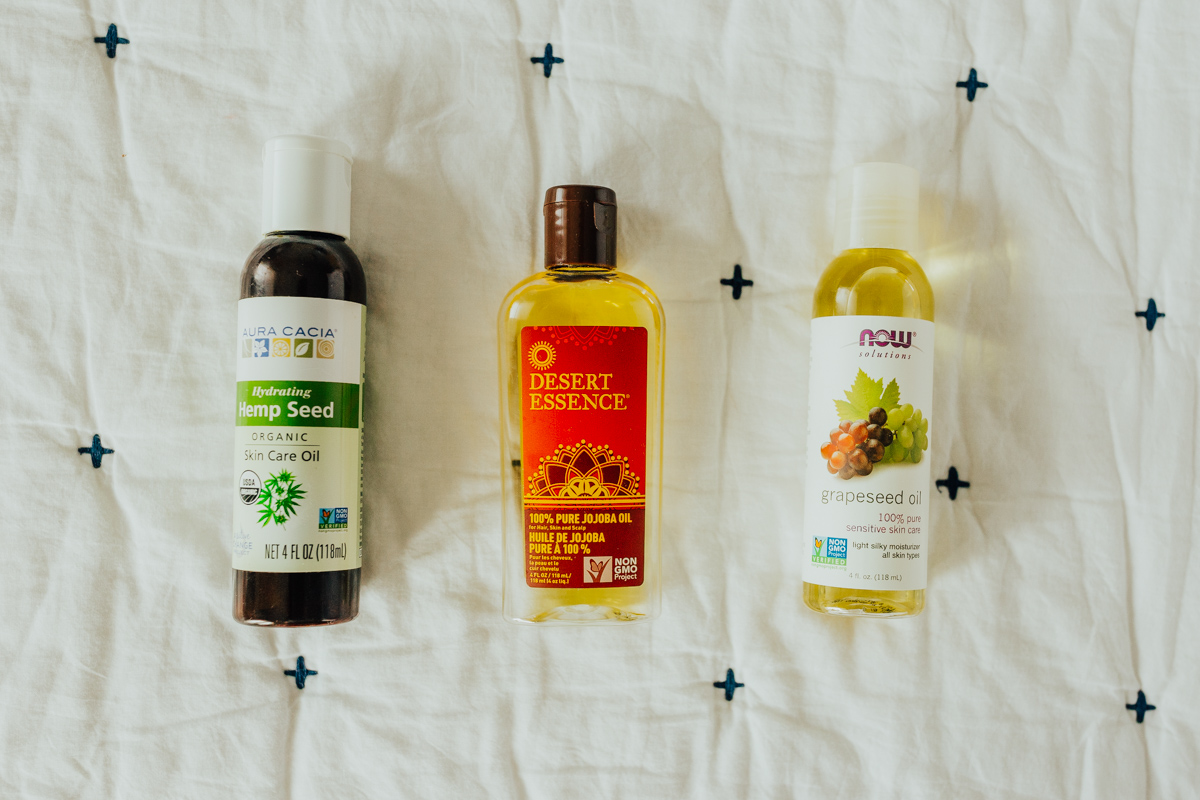
Jojoba Oil
Comedogenic rating: 2 | Good for all skin types, best for those with normal or combination skin. Jojoba oil most closely resembles our skin’s natural sebum which makes it a great one for just about everyone to use despite having a higher comedogenic rating.
Hemp Oil
Comedogenic rating: 0 | Or hemp seed oil (it called different things, but everything I read says they’re the same). This is the best for oilier skin types. I use some of this in my combination. I’m not incredibly oily, but do sometimes get excess oil that causes blackheads.
It’s hydrating, but never leaves my face looking greasy after it’s been absorbed. It’s high in linoleic acid. Some tests have shown that those with acne have low linoleic acid, so this help boosts that.
Argan Oil
Comedogenic rating: 0 | Best for dry skin, dry acne skin, and aging skin that needs more hydration. Argan oil is also high in oleic and linoleic acid, making it great for those with dry acne skin.
My skin is much drier in winter, so I plan on trying this out as needed.
Grapeseed Oil
Comedogenic rating: 1 | Grapeseed oil is good for most skin types. You can also mix this with other carrier oils. High in linoleic acid. I mix in a bit of this with mine because Grapseed oil has great skin benefits like tightening pores, improving skin tone and reducing the appearance of scars.
Carrier Oil Brands I Trust
What Carrier Oils to Avoid
There are a few oils I would avoid when making a serum—one is coconut oil and the reason for this is that it has a high comedogenic rating and is more likely to clog your pores. I’d save coconut oil for your legs or areas you don’t worry about breaking out.
Another oil with a high comedogenic rating is flax seed oil. It is high in omega-3 fatty acids, but again, is likely to clog your pores, so stick with using this oil on your body and not your face.
What Skin Type Do I Have?
For the most part, I think most of us know what our skin type is, but one area that can get a bit tricky is those who have acne and assume their skin is oily. Often, acne is present in those with dry skin.
A good way to test to figure out what your skin type is, is to wash your face and let it air dry. If you have normal or dry skin, your skin will start feeling very tight pretty quickly. If you have oily skin, your skin will likely feel light and refreshed after washing.
My point is that just because you have breakouts doesn’t mean you always have oily skin! Who knows, maybe you realize your breakout skin is actually dry and switching your products to hydrating ones makes your acne disappear!
How to Make Face Serum at Home
While making your own skincare might seem like a big feat, making these essential oil face serum recipes at home is actually quite simple.
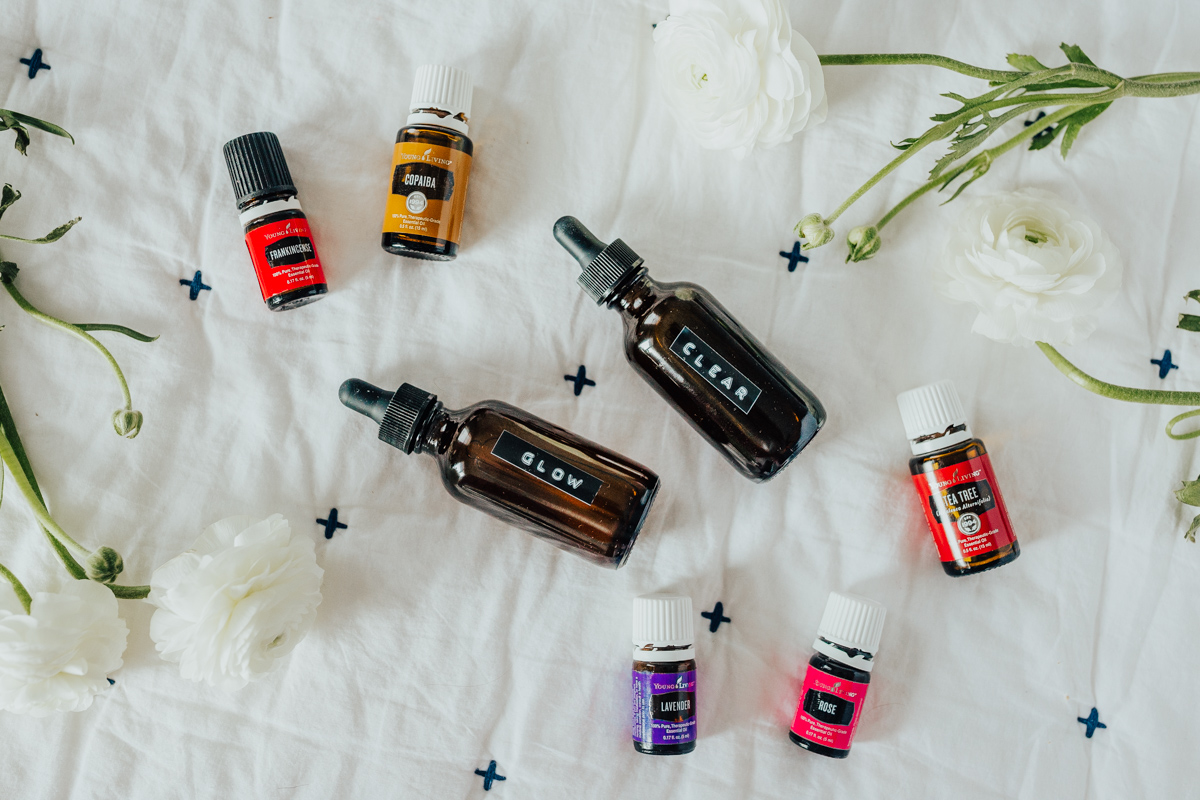
If you want to learn how to make serum for face at home, I’ve got you covered. You simply need the ingredients, an amber dropper bottle (this helps keep the essential oils at their best), and a little bit of time. There’s no fancy heating, you just mix the ingredients and use!
Recipe for Face Serum for Clear Skin
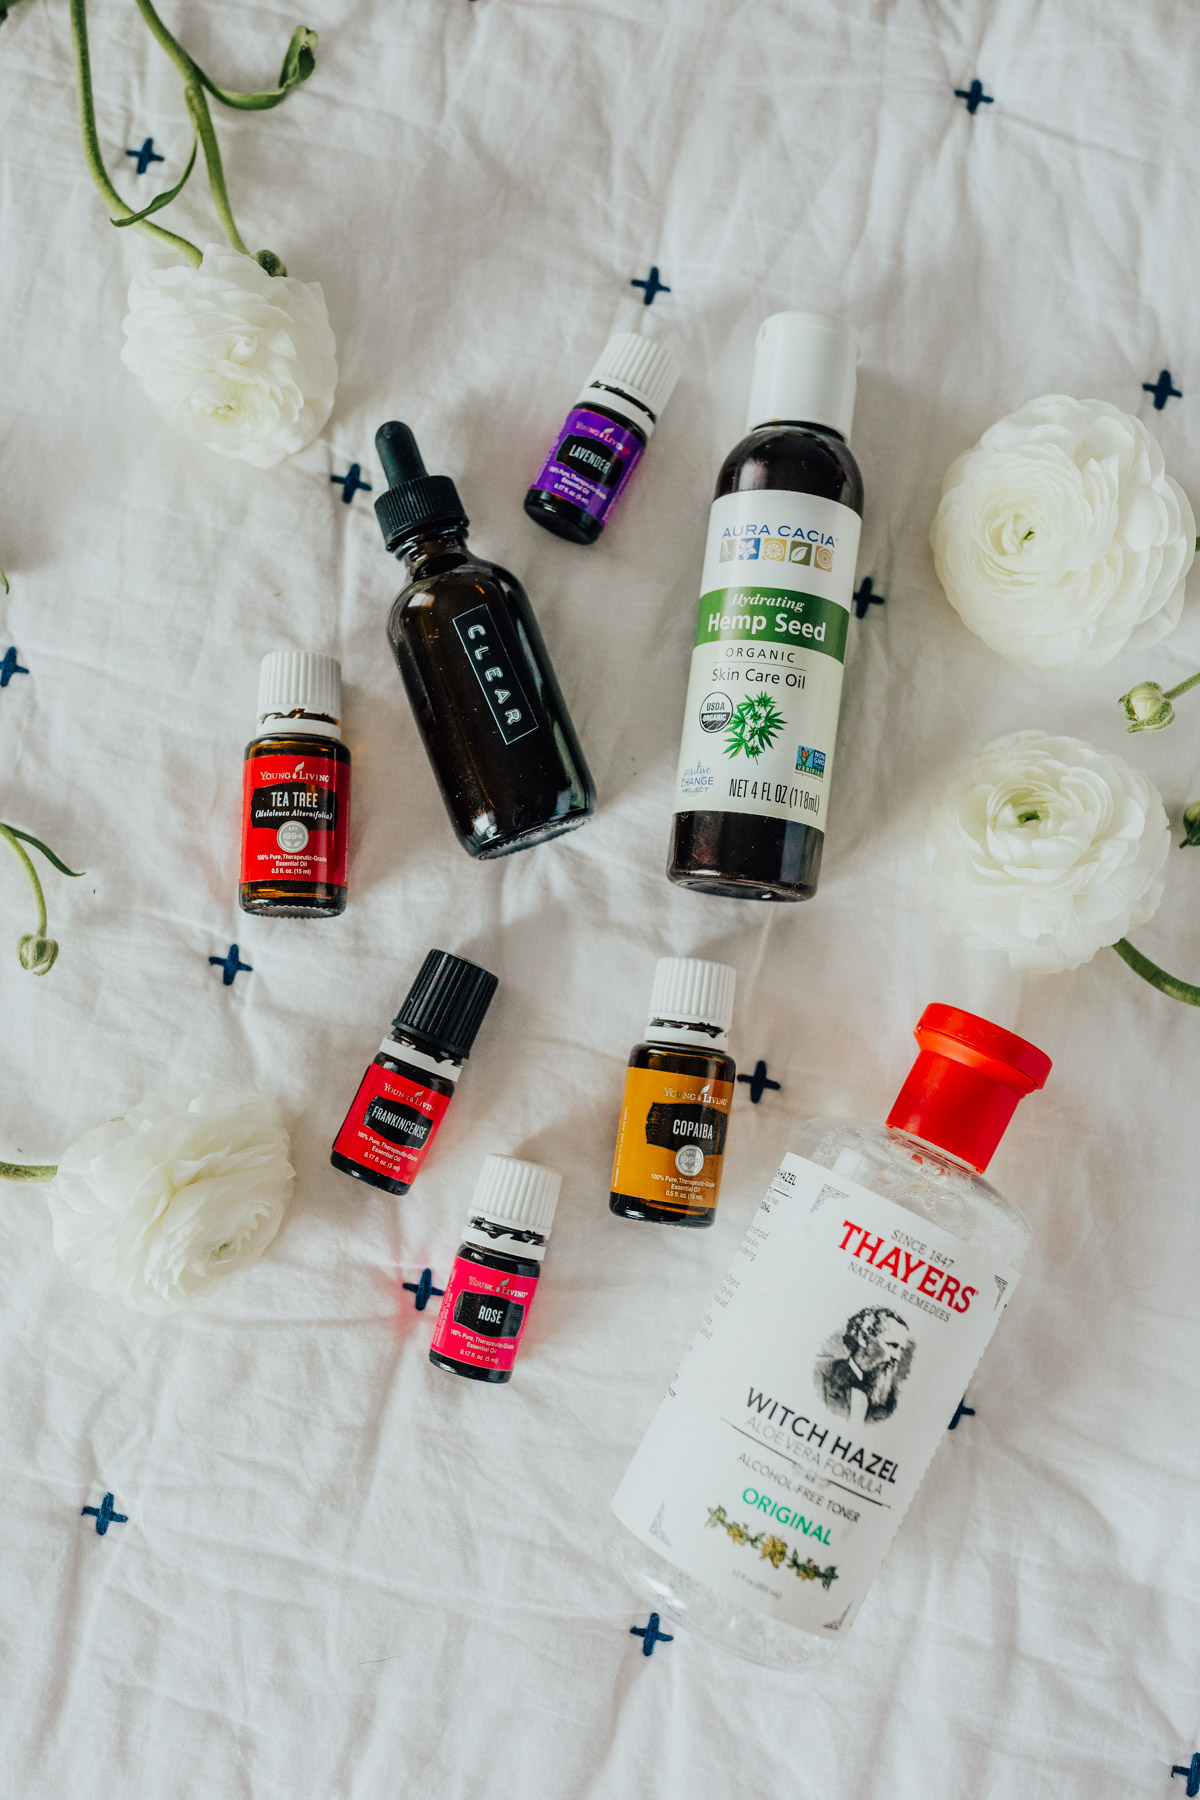
In a 2 oz. amber/dark dropper bottle combine…
- 20 drops frankincense essential oil
- 20 drops copaiba essential oil
- splash witch hazel (I opt for the unscented, alcohol-free version)
- 20 drops lavender essential oil
- 20 drops tea tree essential oil
- 10 drops geranium essential oil or rose essential oil (optional, but can help with healing scars)
- top it off with
carrier oil of choice (I use hemp and a little bit of grapeseed oil)
Face Serum Recipe for Glowing Skin
My sister has drier skin, but was complaining about breakouts, so I made her one that was mostly the glow skin serum recipe you’ve probably seen, but added a few little extras to help combat bacteria and calm inflamed skin.
This one has been proven to be one of the best homemade face oils for glowing skin, but tweak as needed.
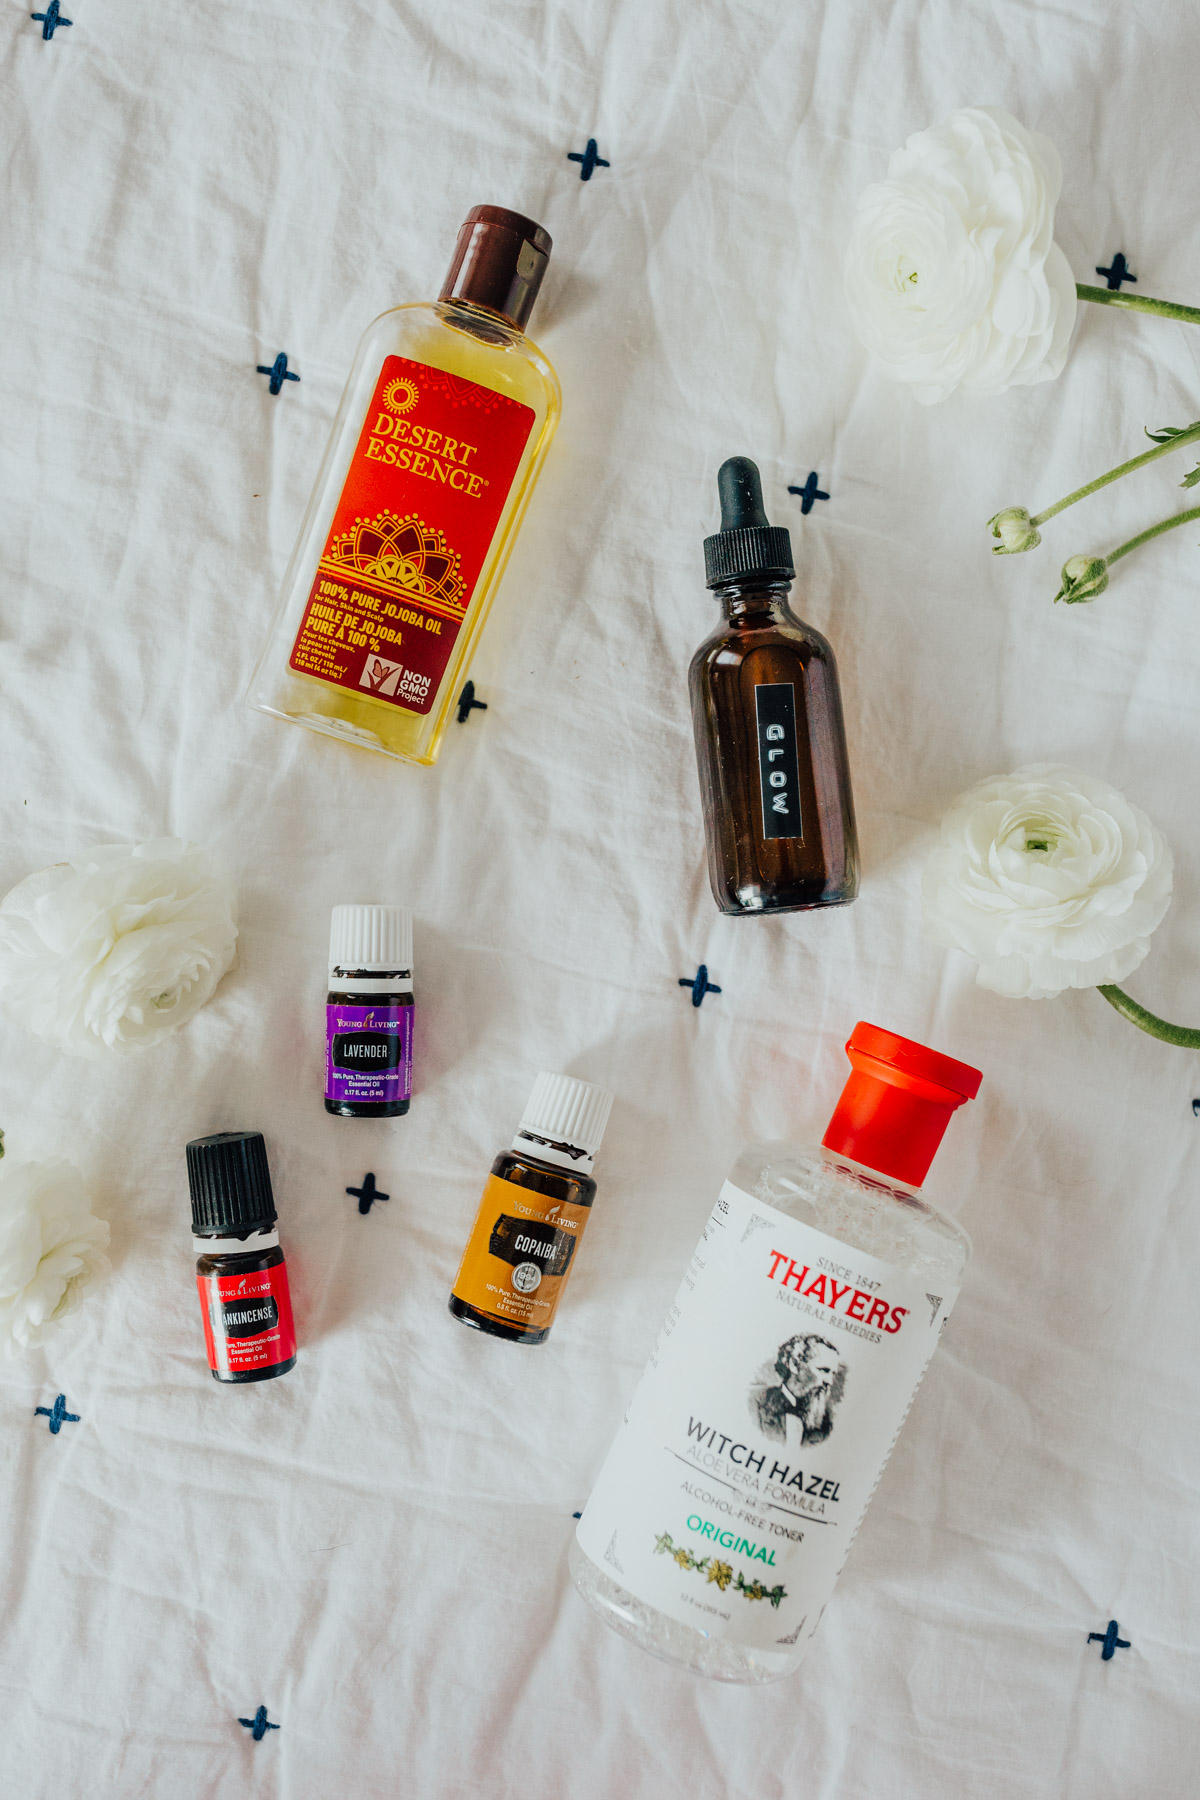
In a 2 oz. amber/dark dropper bottle combine…
- 20 drops frankincense essential oil
- 20 drops copaiba essential oil
- splash witch hazel (I opt for the unscented, alcohol-free version)
- 20 drops lavender essential oil
- 10 drops tea tree essential oil (optional)
- 5 drops rose essential oil (optional)
- top it off with
carrier oil of choice (I used jojoba and a little grapeseed for her)
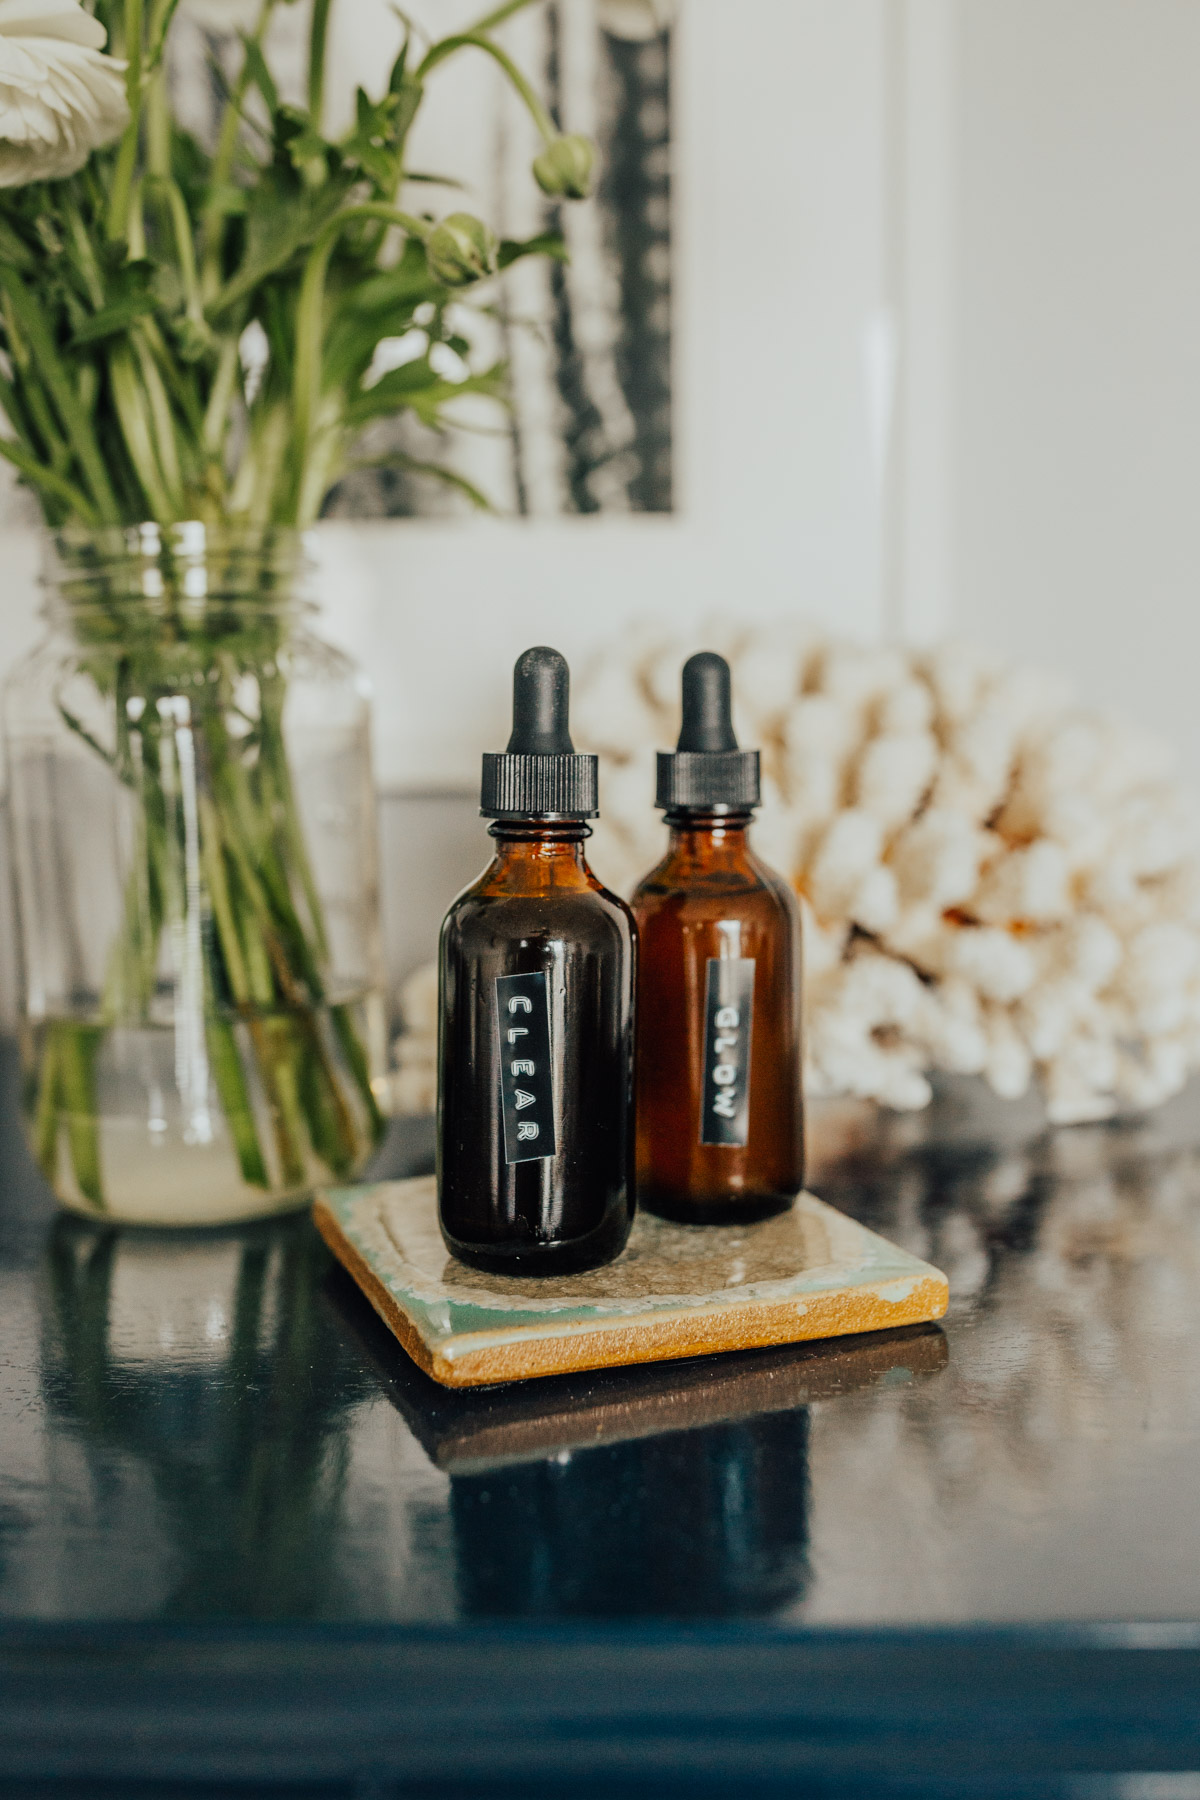
I bought these amber glass dropper bottles and my handy little label maker from Amazon because Prime, duh! You can use whatever you want, but I highly recommend a dark bottle as direct sunlight can damage the oils and keeping them in dark bottles keeps them safer for longer!
Note: If you have any skin irritation after using this, it’s best to spot test the essential oils to see if you’re having a reaction. Just because we’re using natural ingredients doesn’t mean they won’t bother you. Everyone’s skin is different, so you may need to remove or replace an ingredient, or dilute your essential oils more.
How Much & How Often Should I Apply my Serum?
I typically put on my serum in both the morning and the evening. In the morning, I’ve been using it as my moisturizer and then just go about putting on my SPF and makeup the same way as I normally would.
At night, it’s the final step in my skincare routine, or the second to final step on nights where I’m using a retinoid as well. I use a retinoid about every other day a week—it helps slough off dead skin cells and makes my skin glow in the morning. That peel also helps with breakouts, clogged pores and overall brightness!
I only use 3-5 drops at a time, which means your serum will last you a long time! And, a little goes a long way. If you’re finding it hard to spread all over your face with just that amount, try putting it on your skin while your face is still a little bit damp or spray on a toner beforehand. It’ll help lock in the moisture from water and also make it easier to spread.
Where to Buy Essential Oils
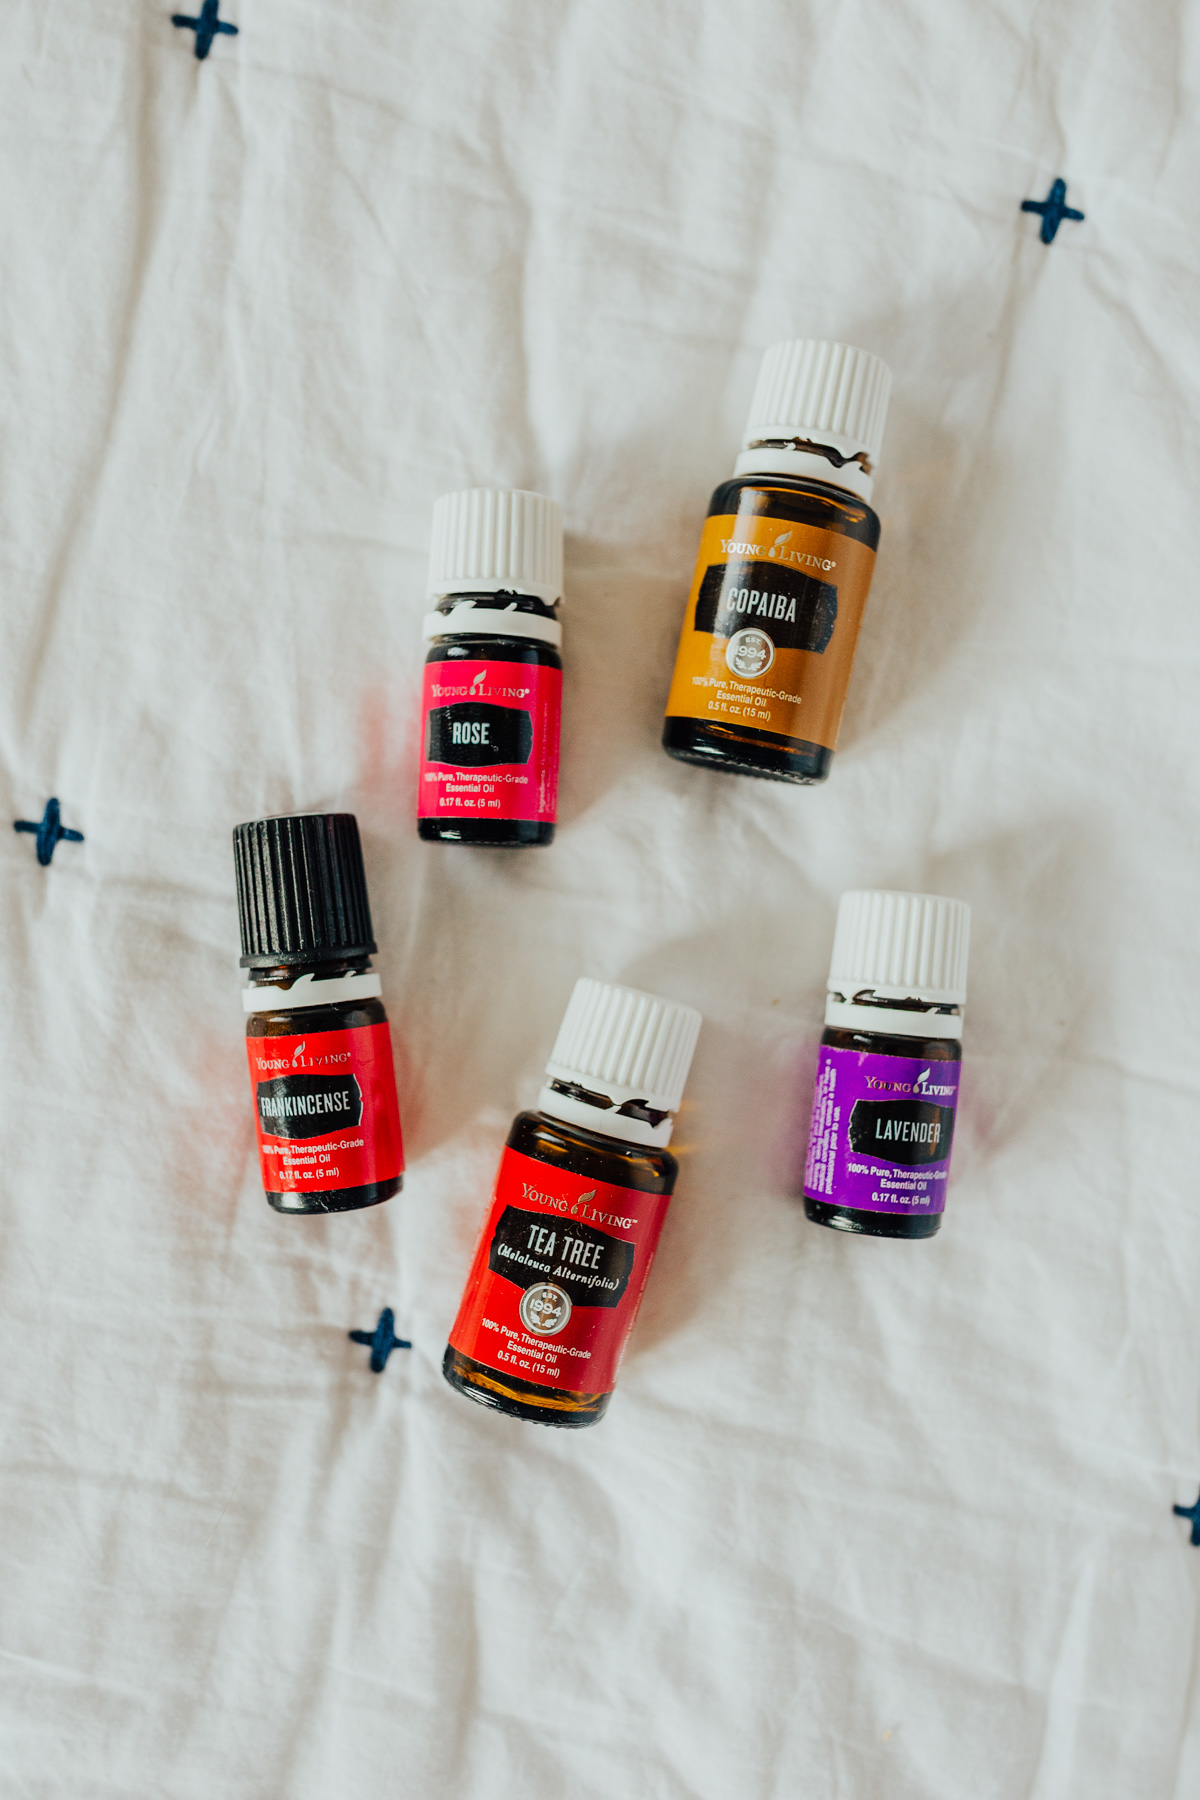
The essential oils in these serums are the powerhouse ingredients that will help to heal and transform your skin, so it’s best to pick the highest quality you can get!
You can opt for a shop like Young Living, or you can simply purchase your oils from Amazon or even at reputable shops like Whole Foods. Another brand I use and trust is Vitruvi, and they actually do have a lot of oils for sale on Amazon which is really handy—I linked to those throughout the post.
Just make sure you’re buying from someone who has a good reputation and plenty of positive reviews!
My thought is that I’ve got my skin for the rest of my life.
That’s why I choose to invest in high-quality ingredients when making my own skincare products. My skincare routine is my daily self-care that I squeeze in, even on the busiest of days. I love how simply and nourishing these recipes are and how much more affordable they are than going out any buying products from another brand.
Yes, buying all the raw ingredients can be more at first, but just think about how many different products you can make from them! Suddenly it makes a lot more financial sense. You use such a small amount when making a bottle and they last so long!
As I mentioned before, feel free to tweak these recipes as needed for your own skin—that’s the beauty of making your own face serum recipe at home!
For more DIY skincare and beauty recipes, try this one too (it’s one of my most popular natural skin care recipes!):
Have you guys attempted to make your own homemade serum for your face?! I hope this educated and inspired you to make your own DIY serums at home to get glowing, healthy skin. What ingredients did you use and how did you like the results?!
BTW, best essential oils for immune support, and how to get more greens in your diet.
Want to remember this DIY face serum? Pin the image below!





You must be logged in to post a comment.