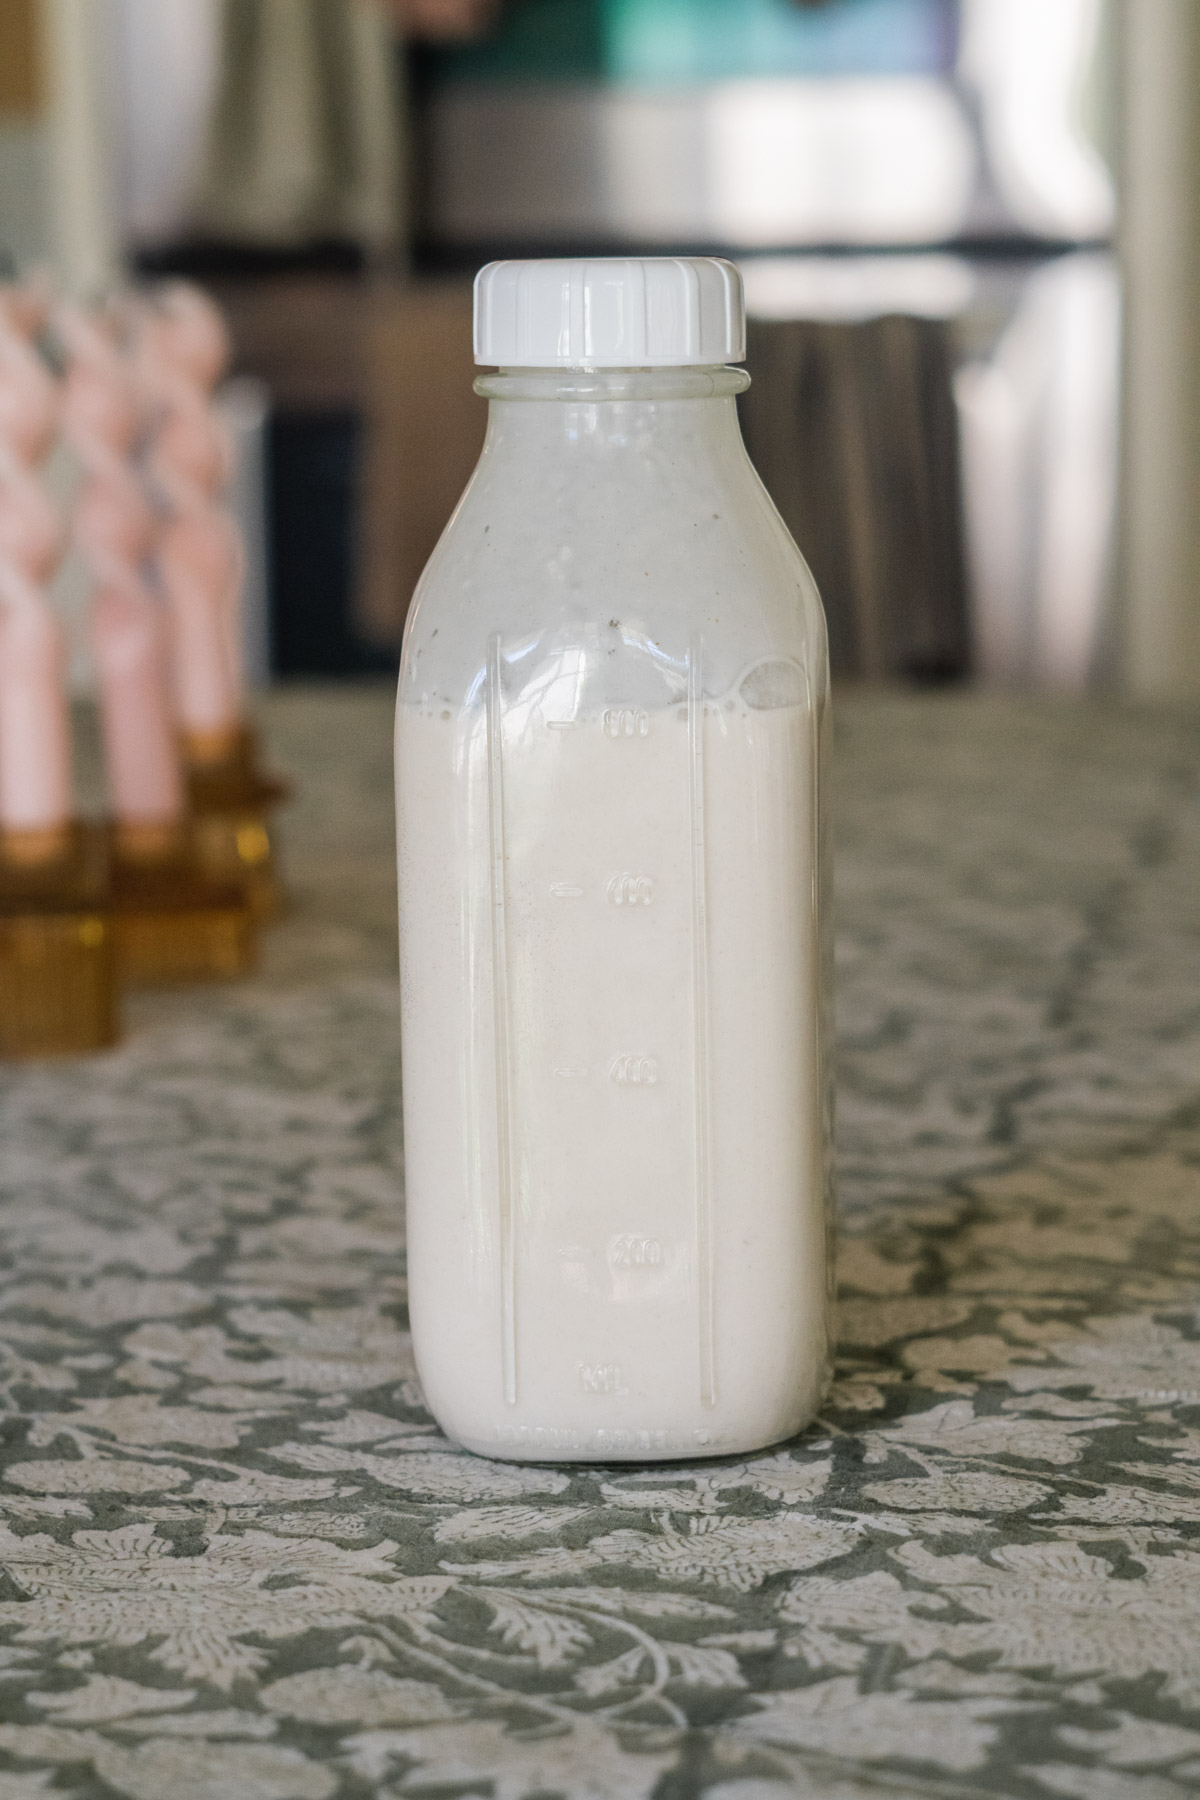
Growing up, I loved bread (and I still do!). Carbs were my favorite! But, nothing beat sourdough—I love it’s squishy, stretchy, bubbly texture and the flavor? Tangy and unbeatable. It makes amazing toast, sandwiches, avocado toast, it’s perfect alongside a hearty stew or just nibbling on it own.
There’s a bakery in our neighborhood that makes amazing, true sourdough bread—artisan style, and you can taste it! But, buying sourdough every week was getting expensive. The loaf cost around $6! After doing some research and seeing what went into making homemade sourdough, I thought it sounded like a fun project!
Our lives our pretty crazy these days, and the slow process of making sourdough has become a weekend tradition that I’ve come to love. It forces me to slow down, pay attention to detail, and best of all, the final product is well worth the wait! And, our whole family gets to enjoy it for the next week, or at least until it’s gone again.


I’m so excited that you guys have shown so much interest in making it too, so let’s dive in! The first step to your perfect sourdough loaf is making a homemade sourdough starter. This process takes about 5-7 days, but is well worth the wait. This step is essential too, because without a good, active starter, you won’t get a good loaf.
If you don’t know what a starter is, it’s essentially acts as the yeast in the bread that makes it rise (like a traditional commercial yeast would), and it’s characteristic texture and sour flavor. Without a true starter, you won’t get that spongey texture or delicious tangy flavor that sourdough is known for. The starter naturally grabs wild yeast from the air around you and starts to grow.
When you make your bread, you’ll use a cup of this lovely, bubbly concoction and have just enough left to feed and keep producing more starter for future loaves.
And, if you really don’t want to make the starter yourself, you can buy starter as well, King Arthur Sourdough Starter is available for sale here.
How to Make Sourdough Starter
If you want to know how to make sourdough starter from scratch, this guide should be super detailed and helpful. You’ll need a few items to get started.
- organic whole wheat flour (I prefer King Arthur)
- organic all-purpose flour (aka, white flour, I prefer King Arthur)
- food scale
- straight-sided jar, I bought this set and use the largest and sometimes store extra in the middle-sized jar
- filtered or distilled water, you don’t want to use tap water
- rubber band (I’ll explain later)
If you’re placing a big Amazon order, go ahead and make sure you have these items for the actual baking too:
- Dutch oven with top or baking cloche, I use my Le Creuset
- Banneton bowl and bread lame (this set comes with a razor (bread lame) for slashing bread)
- plastic wrap
- cooling racks
- bread flour
- kosher salt
- large mixing bowl
- measuring cups and spoons
Everything is saved in my Amazon shop under ‘Sourdough Baking‘!
Sourdough Starter Recipe
Ingredients
- 120g whole wheat flour (you can also use rye flour)
- 120g warm or room temperature filtered water, I heat it in the microwave for 20 seconds
Directions
- Measure out equal amounts of flour and water with your food scale. Avoid tap water at all costs!
- Combine in a small bowl until all the flour is completely mixed in.
- Pour it into your straight-sided jar and cover with a top loosely, it doesn’t need to be super tight.
- Place in a warm place in your home, out of direct sunlight—sunlight can kill the good bacteria that makes that sour flavor.
- You’re done for day one!


How to Feed your Sourdough Starter
Each day from here on out (about 5-7 days until it’s ready to use), you’ll be feeding the starter about every 24 hours. You’ll discard part of your starter, and then feed it. The reason you discard part of it is because it will just make an insane amount if you keep adding to it.
Once your starter is healthy and active, you can pour this discarded starter into a separate container, feed it and share it with friends and family.
Each day after the initial sourdough starter mix, you will mix the following:
- 80g starter
- 60g whole wheat flour
- 60g all-purpose flour
- 120g warm filtered water
Measure the ingredients out using your scale (if you’re a couple of grams off, it’s okay—don’t fret!). Combine them all in a small bowl, and mix well. Pour into your clean straight-sided jar, I typically just wash mine after I pour in the necessary starter, and pull out that rubber band. Place it around the jar at the level where the sourdough starter hits.
When to Feed your Starter
Aim to feed your sourdough about the same time everyday, around 24 hours difference. You can do it up to every 12 hours if you want to grow faster, or if it’s not making much progress after a few days.
The reason for this is that you can see how much it’s actually grown. Ideally, by days 5-7, you want your starter to be doubling in size within 4-8 hours. Having that rubber band on there will give you a good idea of how much or how little it’s growing.
Troubleshooting & FAQs
My Starter Isn’t Growing Much
If you’re starter is active and bubbling, but not growing much by day 3-4, try two daily feedings about 12 hours apart, and make sure it’s in a warm enough spot, around 78 degrees is great. But, doesn’t have to be exact. I keep ours in our utility room which can get a little warmer than 80 degrees and it’s thrived.
My Starter is Liquidy
When you feed your starter, it should resemble thick-ish pancake better. After a day of growth, it’s usually more liquidy. The air bubbles put off gas and natural alcohols. If there’s a layer of liquid sitting on top, it’s harmless, just pour it off. Overall, after it’s been fed and sat 12-24 hours, mine is always more liquidy. This is normal!
My Starter Smells Funky
Your starter should have a sour, yeasty smell to it—that’s where the sour flavor comes from, but if it’s smells rotten, it may have been contaminated, and if that’s the case, it’s not safe to use. Heads up, the sour, yeasty smell can be pretty potent, but you’ll get used to it!
How to Store your Sourdough Starter
Once you have an active sourdough starter, you may not want to feed it every day because you’re not baking everyday. We bake on average once a week, so feeding it daily in between feels wasteful.
Keep it in the Fridge
You can maintain it by storing it in the fridge. Simply, feed it like normal, and then instead of putting it in a warm place, pop it in the fridge. The fermentation process is still occurring, just much slower. It will be good for up to a week, and after a week, if you still don’t plan to bake, pull it out, let it come to room temperature for a couple of hours, feed it, and put it back in the fridge.
If you’ve kept it in the fridge, I recommend pulling it out and feeding it a day before bake day, just to make sure it’s still active and ready to go!


When is your Starter Ready to Use?
The big question! You’ll know your starter is ready to use when it doubles in size within 4-8 hours of being fed. Typically this happens within 5-7 days. You can test this by feeding it one morning and setting a timer for 4 hours to check on it, if it’s doubled in size, you’re doing good. If not, check on it every hour for the next 4 hours to see when it has doubled.
When to Use for Baking
Once it peaks, it will then start to slowly fall down, you can tell it’s falling because the center will be a little depressed and the edges will have streaks where the dough originally hit. At this point, you now have a mature starter—congrats! I’ve found that it only gets better with time too.
When you actually make your bread (recipe coming next week!), you’ll want to use your starter when it’s at its peak ripeness, or just after it begins to fall, so pay attention to what that looks like.
Tips & Notes
My starter was ready to use within 6 days, however, I kept up the daily feeding schedule for another week to just make sure it was really doing well. Now mine is so active, that even when I’ve forgotten to feed it for a day or two, it’s still alive and kicking after a feeding.
I ran out of whole wheat flour last week, and have been feeding it with 100% all-purpose flour and it still does very well, so if you run out of one or the other, don’t worry, once it’s active, it’s pretty resilient!
I hope that this was helpful, detailed and informative! If I forgot anything or if you have any questions, leave them below in the comments and I will get back to you as soon as I can!
Next week, I’ll be sharing my post for the actual sourdough bread recipe, by that point, your starter should be active and ready to use! Stay tuned! And, if you found this helpful, I’d be forever grateful if you pinned and shared the image below!
Get ready to bake next week! I’m hoping to try out some other sourdough recipes too, and if they’re good, I’ll be sure to share in the future!
Want to remember how to make sourdough bread starter? Pin this image below!


You must be logged in to post a comment.