
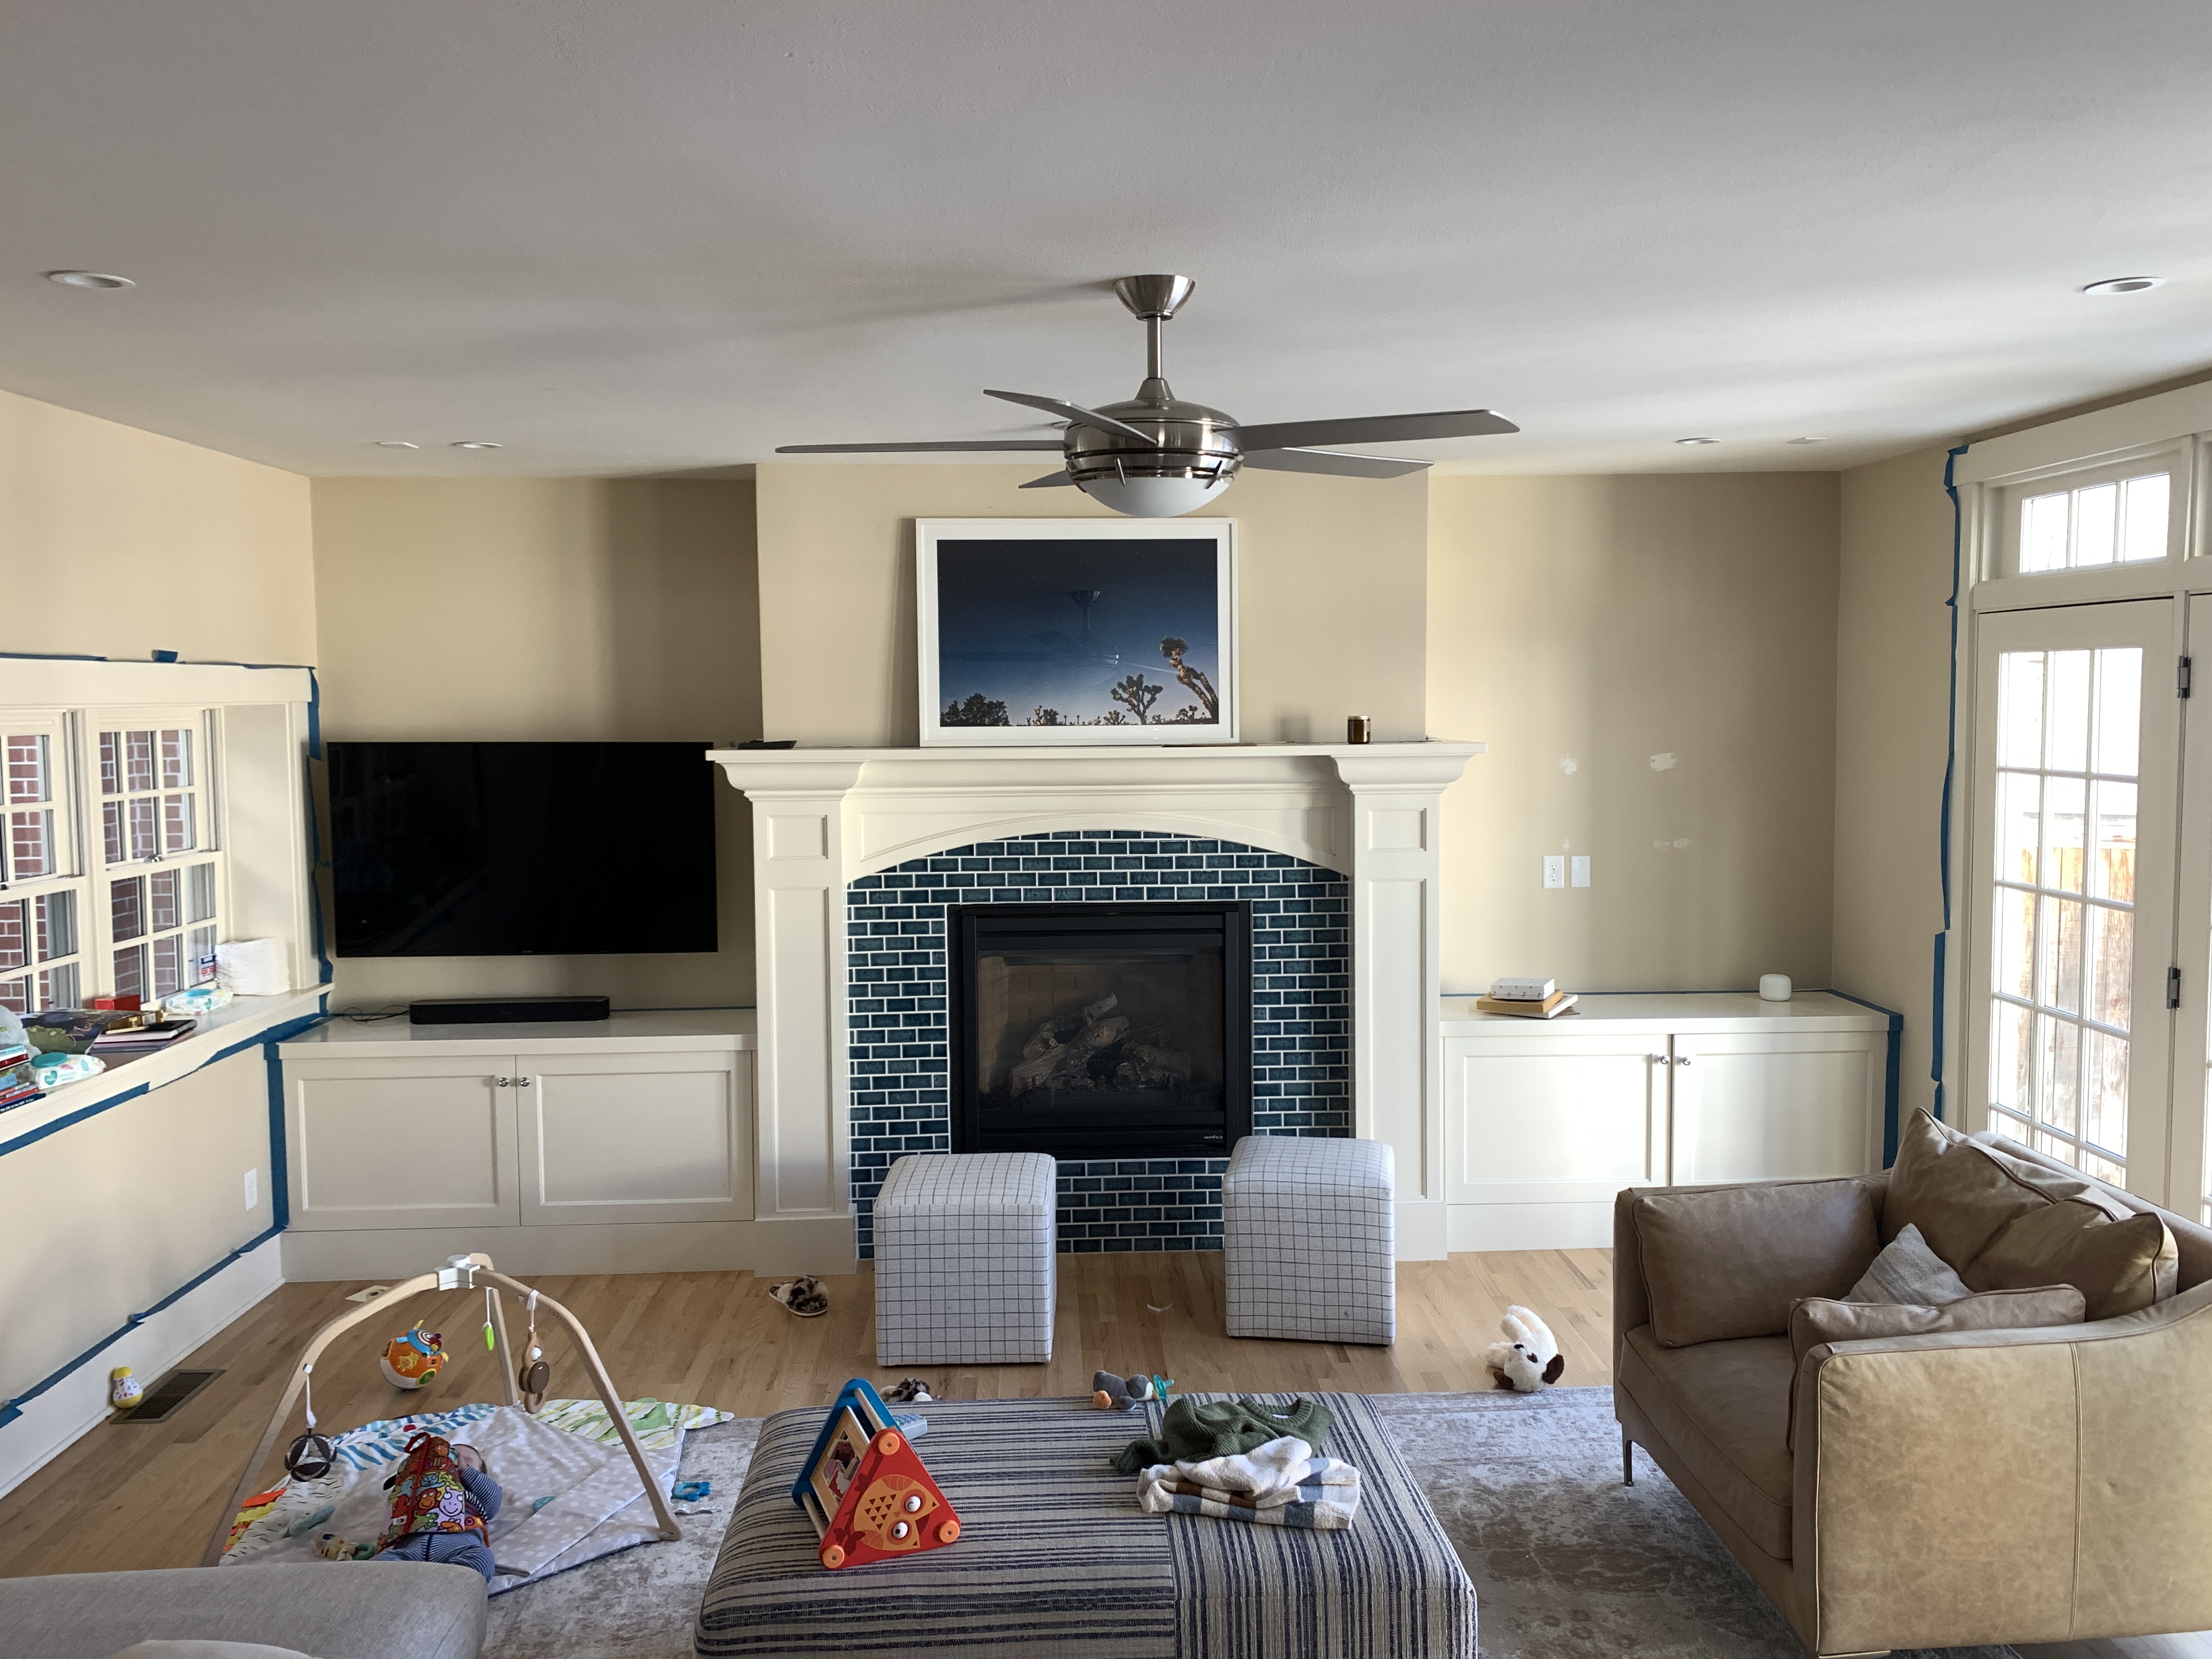
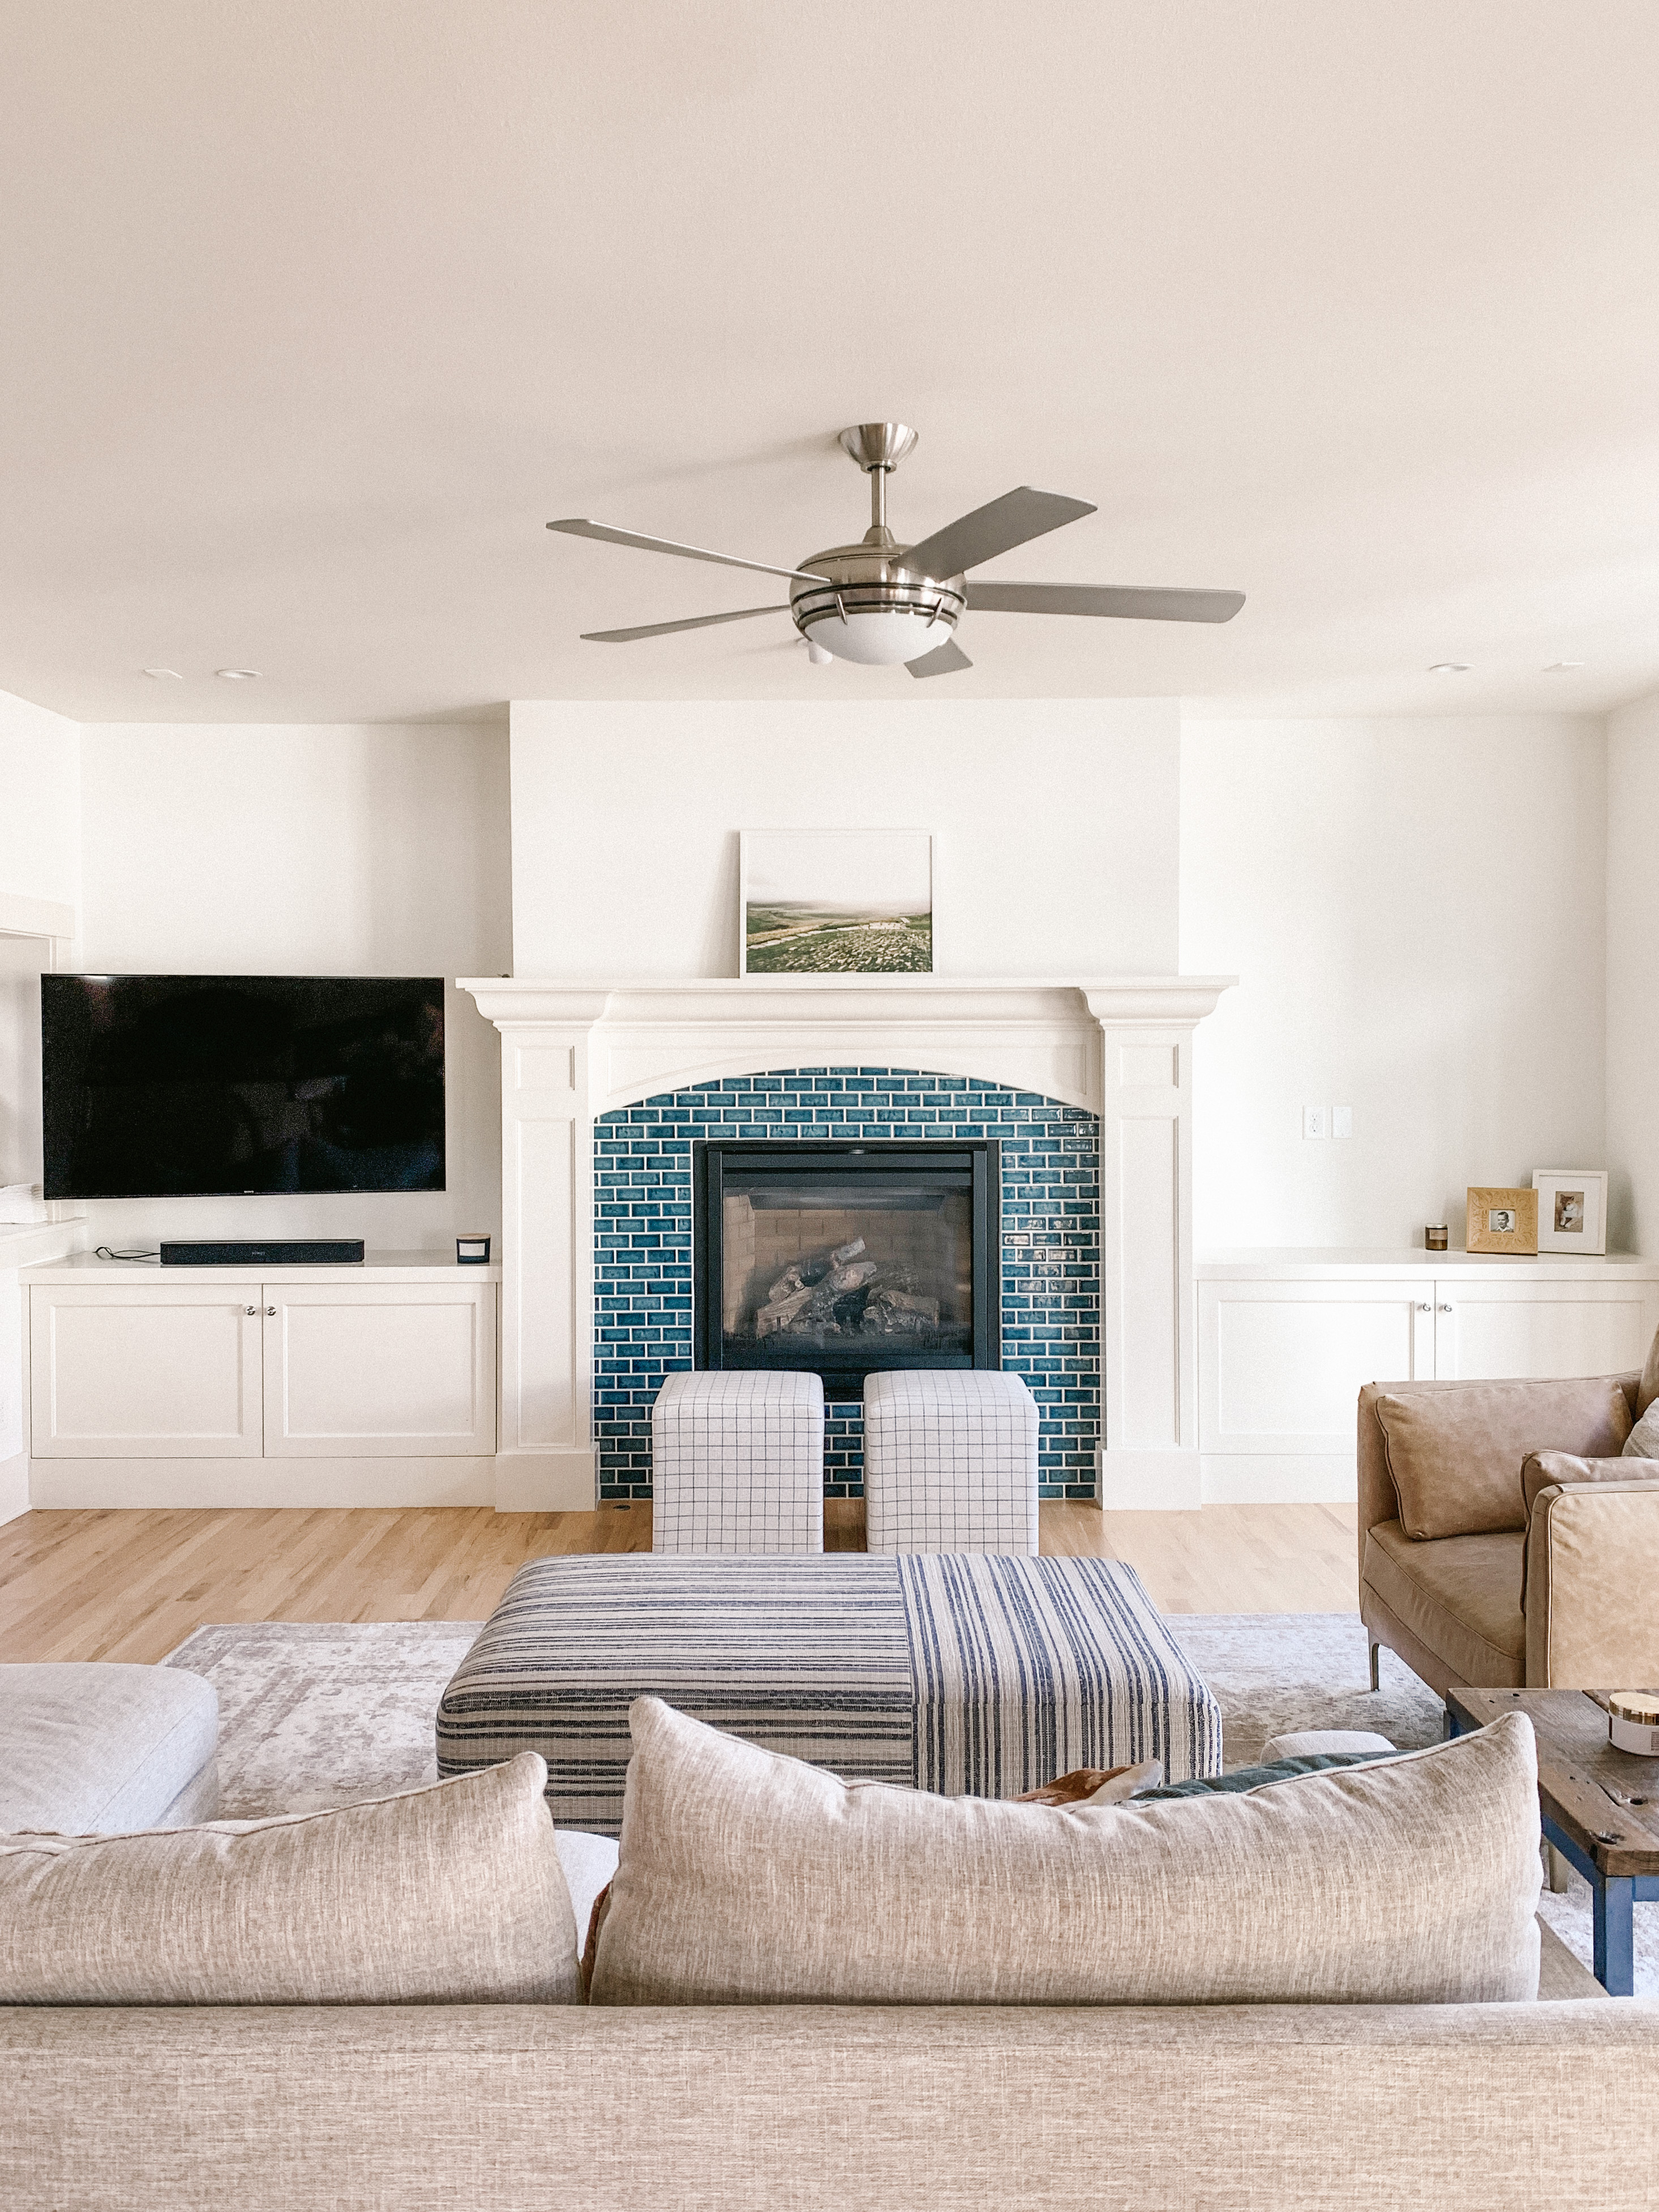
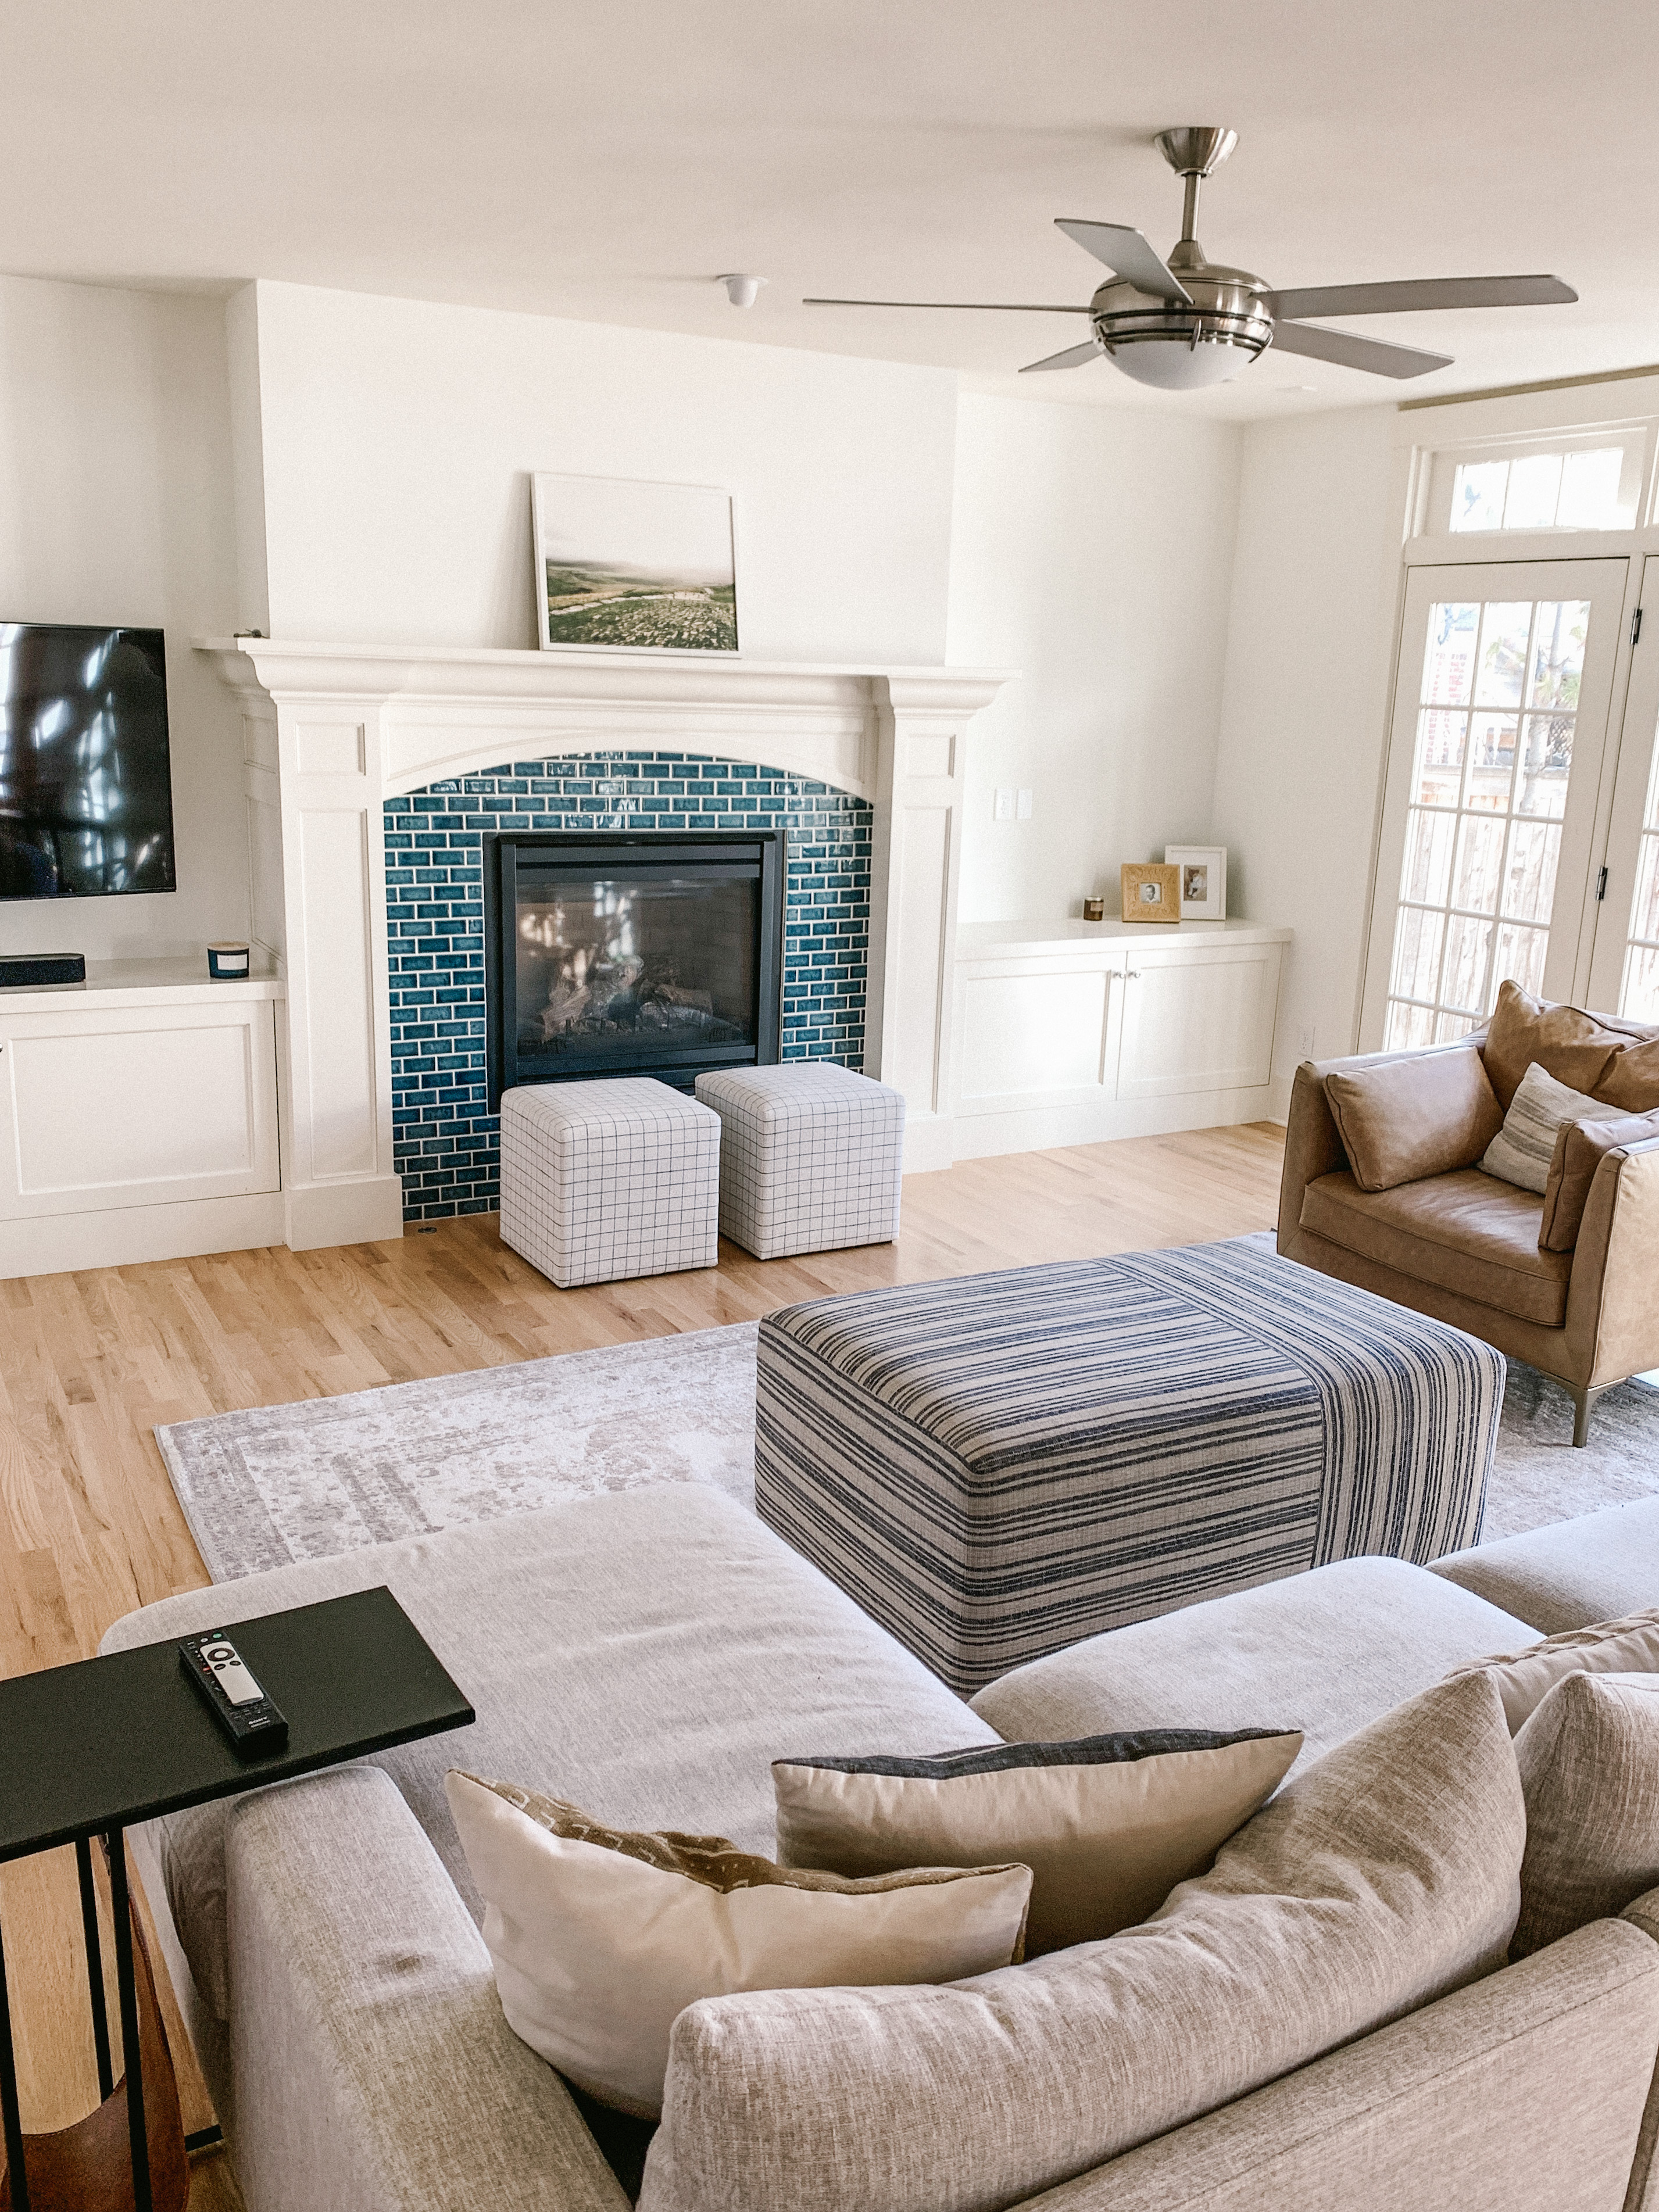
As you might have seen on Instagram, I’ve been painting a whole bunch of interior walls in our home. Most of them started out a beige-y tan color that wasn’t terrible, but I love white. It’s bright, reflects light and gives everything a clean, crisp and fresh look.
In the process, I got so many questions from you guys about painting and my tips, so I figured I’d dump them all into one handy spot for you to reference whenever you get the itch to make some changes around the house.
What I love about paint is that is so transformative and it doesn’t break the bank. Good quality paint runs about $32-54 a gallon and your average sized room typically only needs 2-3 gallons. Much cheaper than getting new window treatments, a new rug or furniture.
It’s also really easy. If you’ve never done it, it can be intimidating, but I promise after you finish this post, you’ll feel confident to take on your own painting projects at home!
Painting Supplies
- painter’s tape—I like the 1.41 inch tape
- angled brush, no more than 2 inches wide
- roller frame
- roller cover—make sure to get the right one for your wall texture (I opt for the brushes with a smooth finish)
- paint pan
- small bucket for cutting in
- flat head screwdriver or paint can opener
- lint-free cloths or paper towels
- drop cloths—canvas or plastic
- paint clothes—I just use an old pair of leggings and shirt

How to Paint a Room in a Day
Prep the Room
Move Furniture & Clear Walls
The day or night before you paint, you’ll want to prep your room. Move any furniture away from the walls and cover if necessary. Remove artwork and other decor from the walls. Remove hooks, nails, etc. Lastly, remove cover plates to electrical outlets and switches. Store these in a place with their screws so you don’t lose them.
I like to take a slightly damp paper towel and just wipe the top of the baseboards and around any other molding I’ll be painting up to. This will help your tape adhere and keeps paint from getting underneath it.
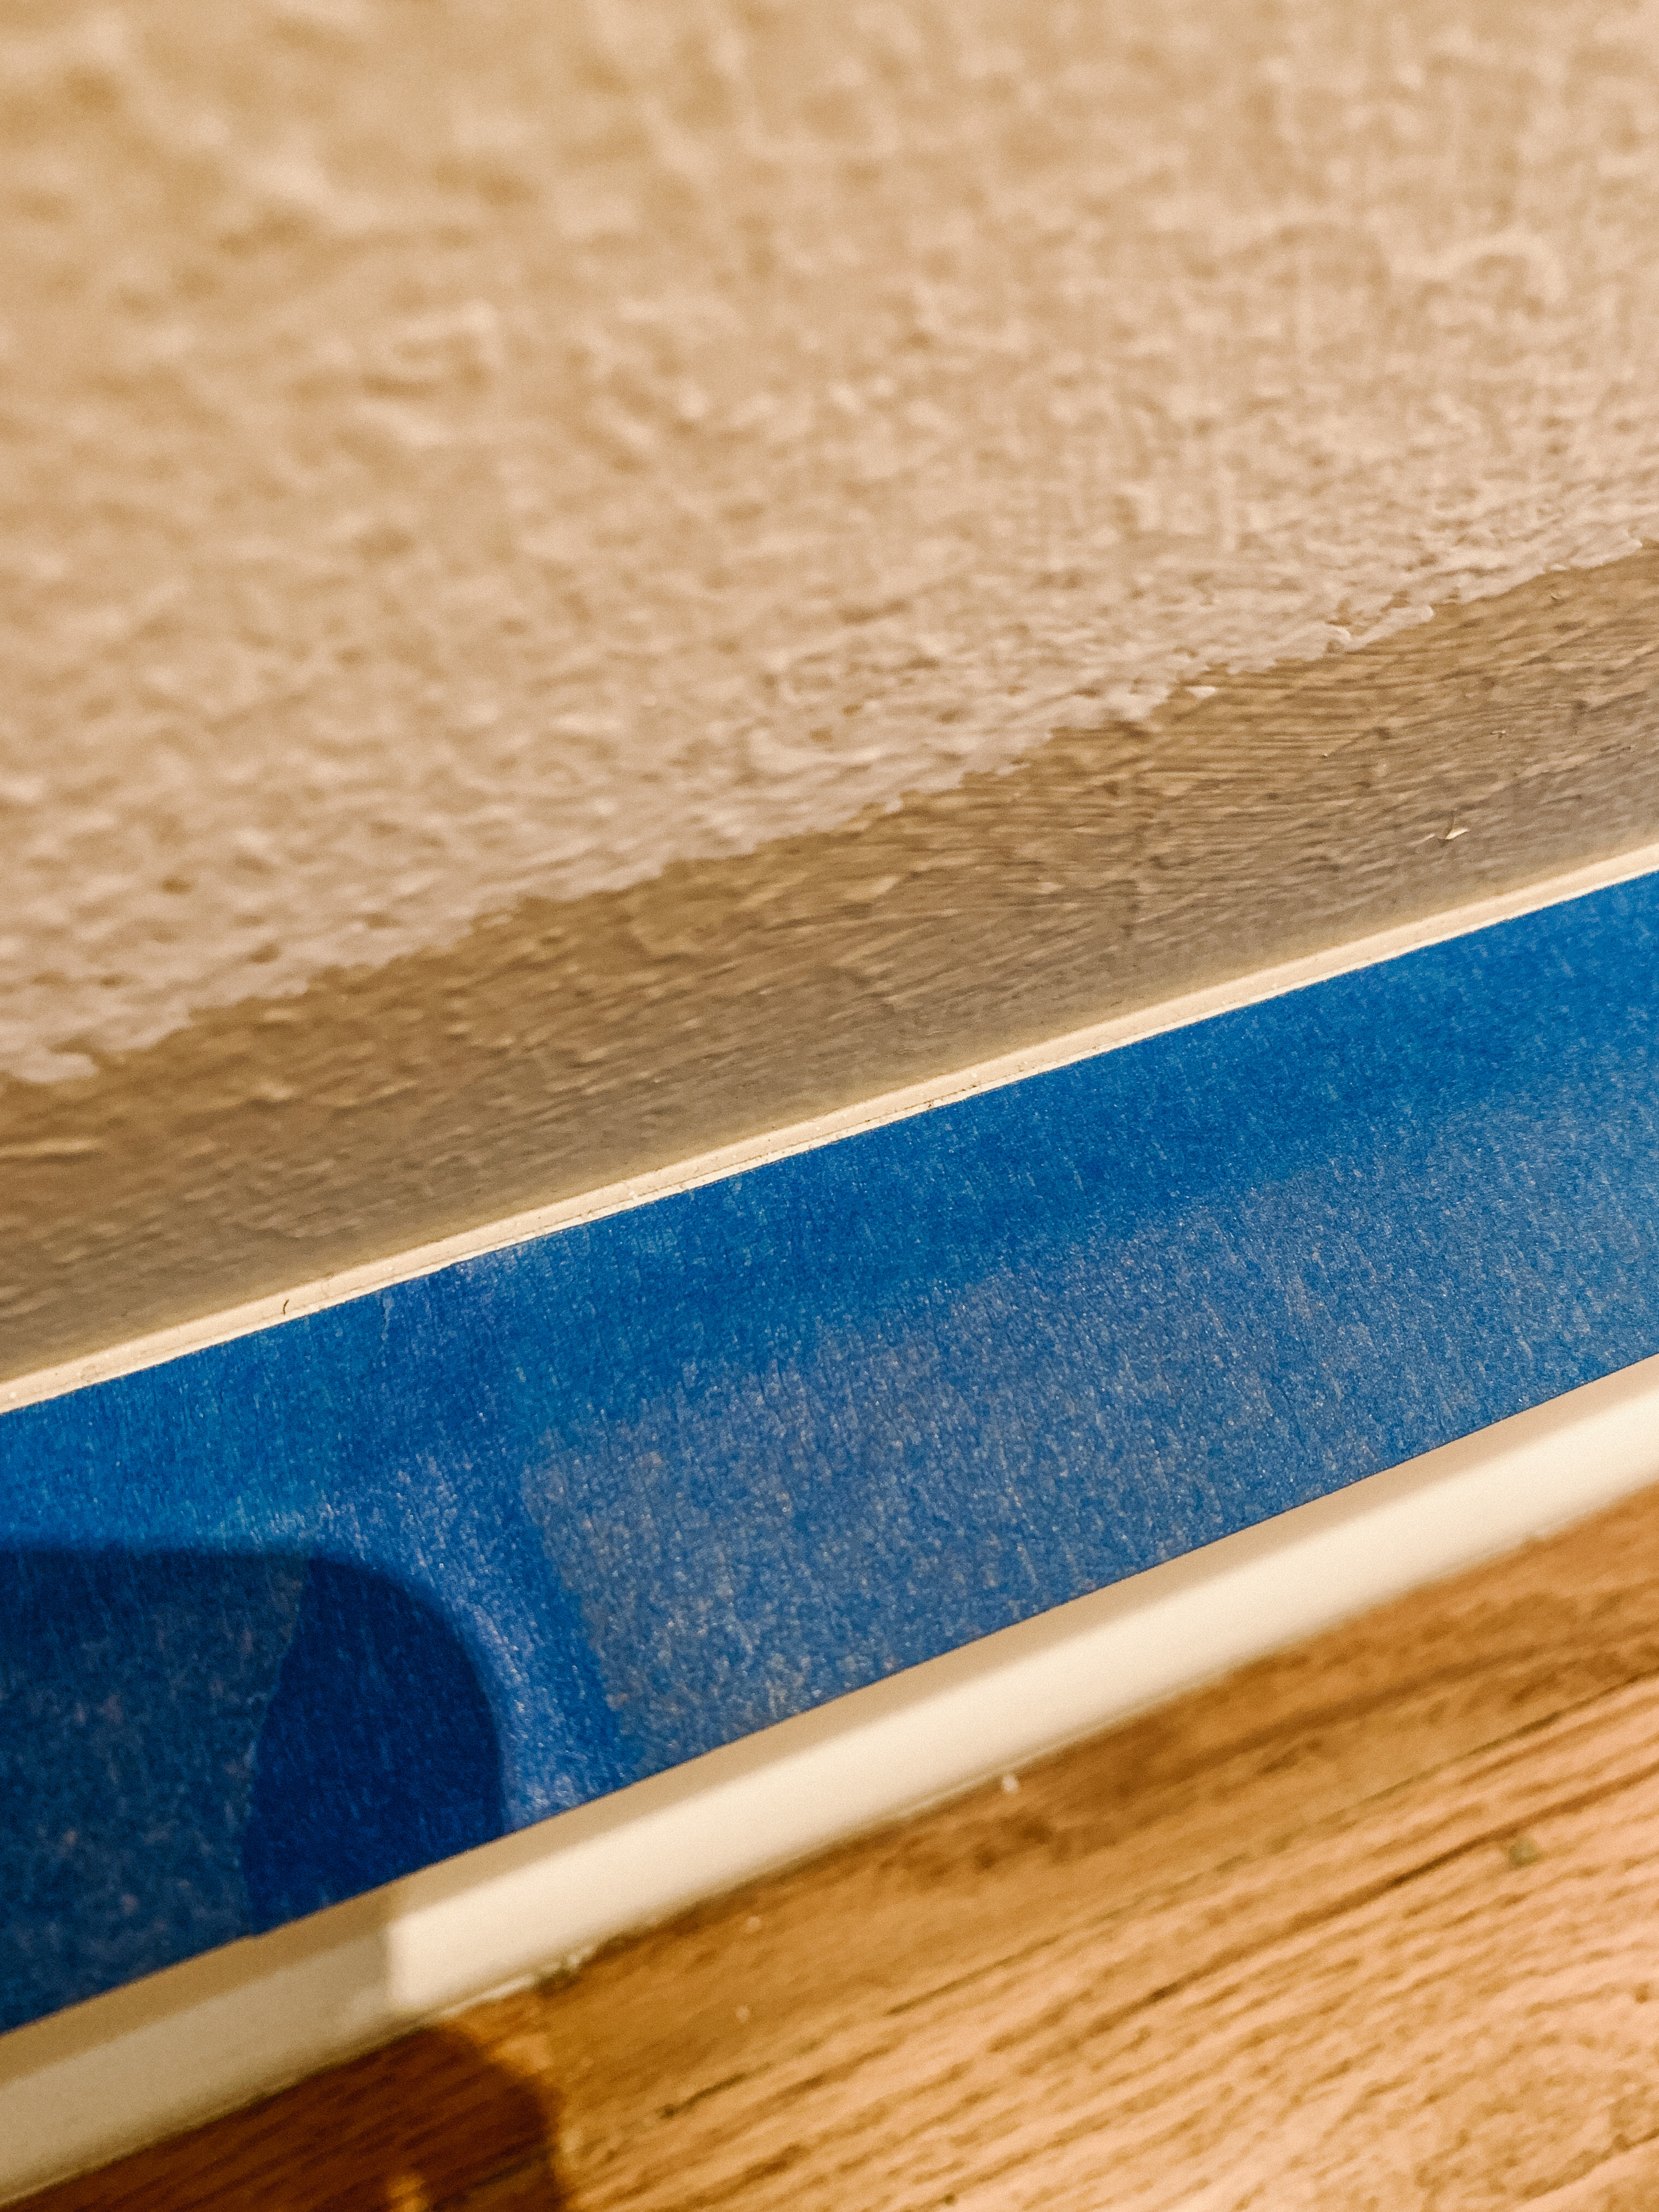
Tape Room
Lastly, tape around molding, windows, baseboards, etc—anywhere you want a crisp paint line. My biggest tip here is to tape just a hair past the previous paint line. This will insure that when you paint, there will be none of the old paint showing through around the edges. Here’s an image to show you what I mean.
Fill Any Holes
This might not be necessary if you plan on using the same holes for nails and hooks, but if you have some that you’d like to not show, fill with spackle and let them dry completely. Do a second layer if necessary, and once totally dry, lightly sand to make sure it’s flush with the wall.
Prime Walls
*Note: I typically do not prime the walls because most good quality paints have primer built in. But, if you are painting a light color over a dark color, absolutely take the time to do at least one coat of primer, my favorite brand from past projects is Kilz. Even though paints do have primer in them, they don’t cover as well as a true primer.
This will save you time and money in the long run because primer is cheaper than paint, and you’ll only have to do two coats of your final paint, instead of 3-4 if the old color was still showing through.
Cover the Floors
I used to think, “I’m not that messy” and not cover the floors and big mistake. Sometimes accidents happen and cups or buckets get knocked over, paint drips from your brush, and little flecks can sometimes fly off the roller when it’s fully soaked.
Cover the area you are working around with a drop cloth. I have a reusable canvas one and I just move it around the room as I go.
Cut In Around the Edges
This is by far my least favorite part of the painting process because it’s a little more time-consuming. However, if you’ve taken the time to tape well, this part shouldn’t really take you too long.
Take your small angled brush and small paint bucket—you could use a solo cup or something that you can toss—dip the brush into the paint just a bit (about an half inch to an inch), you don’t want a fully-soaked brush and brush along the tape line.
I like to lay my paint a little on the thicker side so that two coats ends up being enough, but not so thick that it drips or leaves weird texture or brush marks. If you notice any drips anywhere, just brush them out.
Regular latex paint takes about an hour to dry. Typically by the time I’m done with one coat, I can start the second. So, shortly after I cut in that first time, I cut in again. Once that’s done, the real fun starts!
Before you jump to the next step. Take time to thoroughly clean your brush and lay it flat to dry, or prop it up, bristles down to dry. You don’t want water to drip into the handle area. Pour any remaining paint back into the bucket and clean or toss your cup.
Roll the Walls
This is the best part because you can really start to see your room come together! Pour a good amount of paint into your pan. I fill that bottom little pooling area, but leave space to roll out on the angled part.
Take your roller brush and put it on the handle and get it fully soaked in paint. The first dip make take a bit. Dip it in one side and roll it on the angled area, then get the other side. Once it’s fully loaded, but not dripping, put that sucker on wall and roll! Don’t worry about going in perfect lines, you won’t be able to tell at the end.
As soon as your roller starts to get harder to roll, get more paint on it and then keep going. It’s tempting to try and get all the paint out, but this ends up taking longer. You’ll get better coverage faster if you refill it more often.
As you’re painting, make sure to look back at your work and see if there are any drips, or areas where you got the paint thicker than other areas. Simply roll back over it to smooth it out.
You want to paint slightly over your cutting in marks to make sure there’s full coverage on your walls.
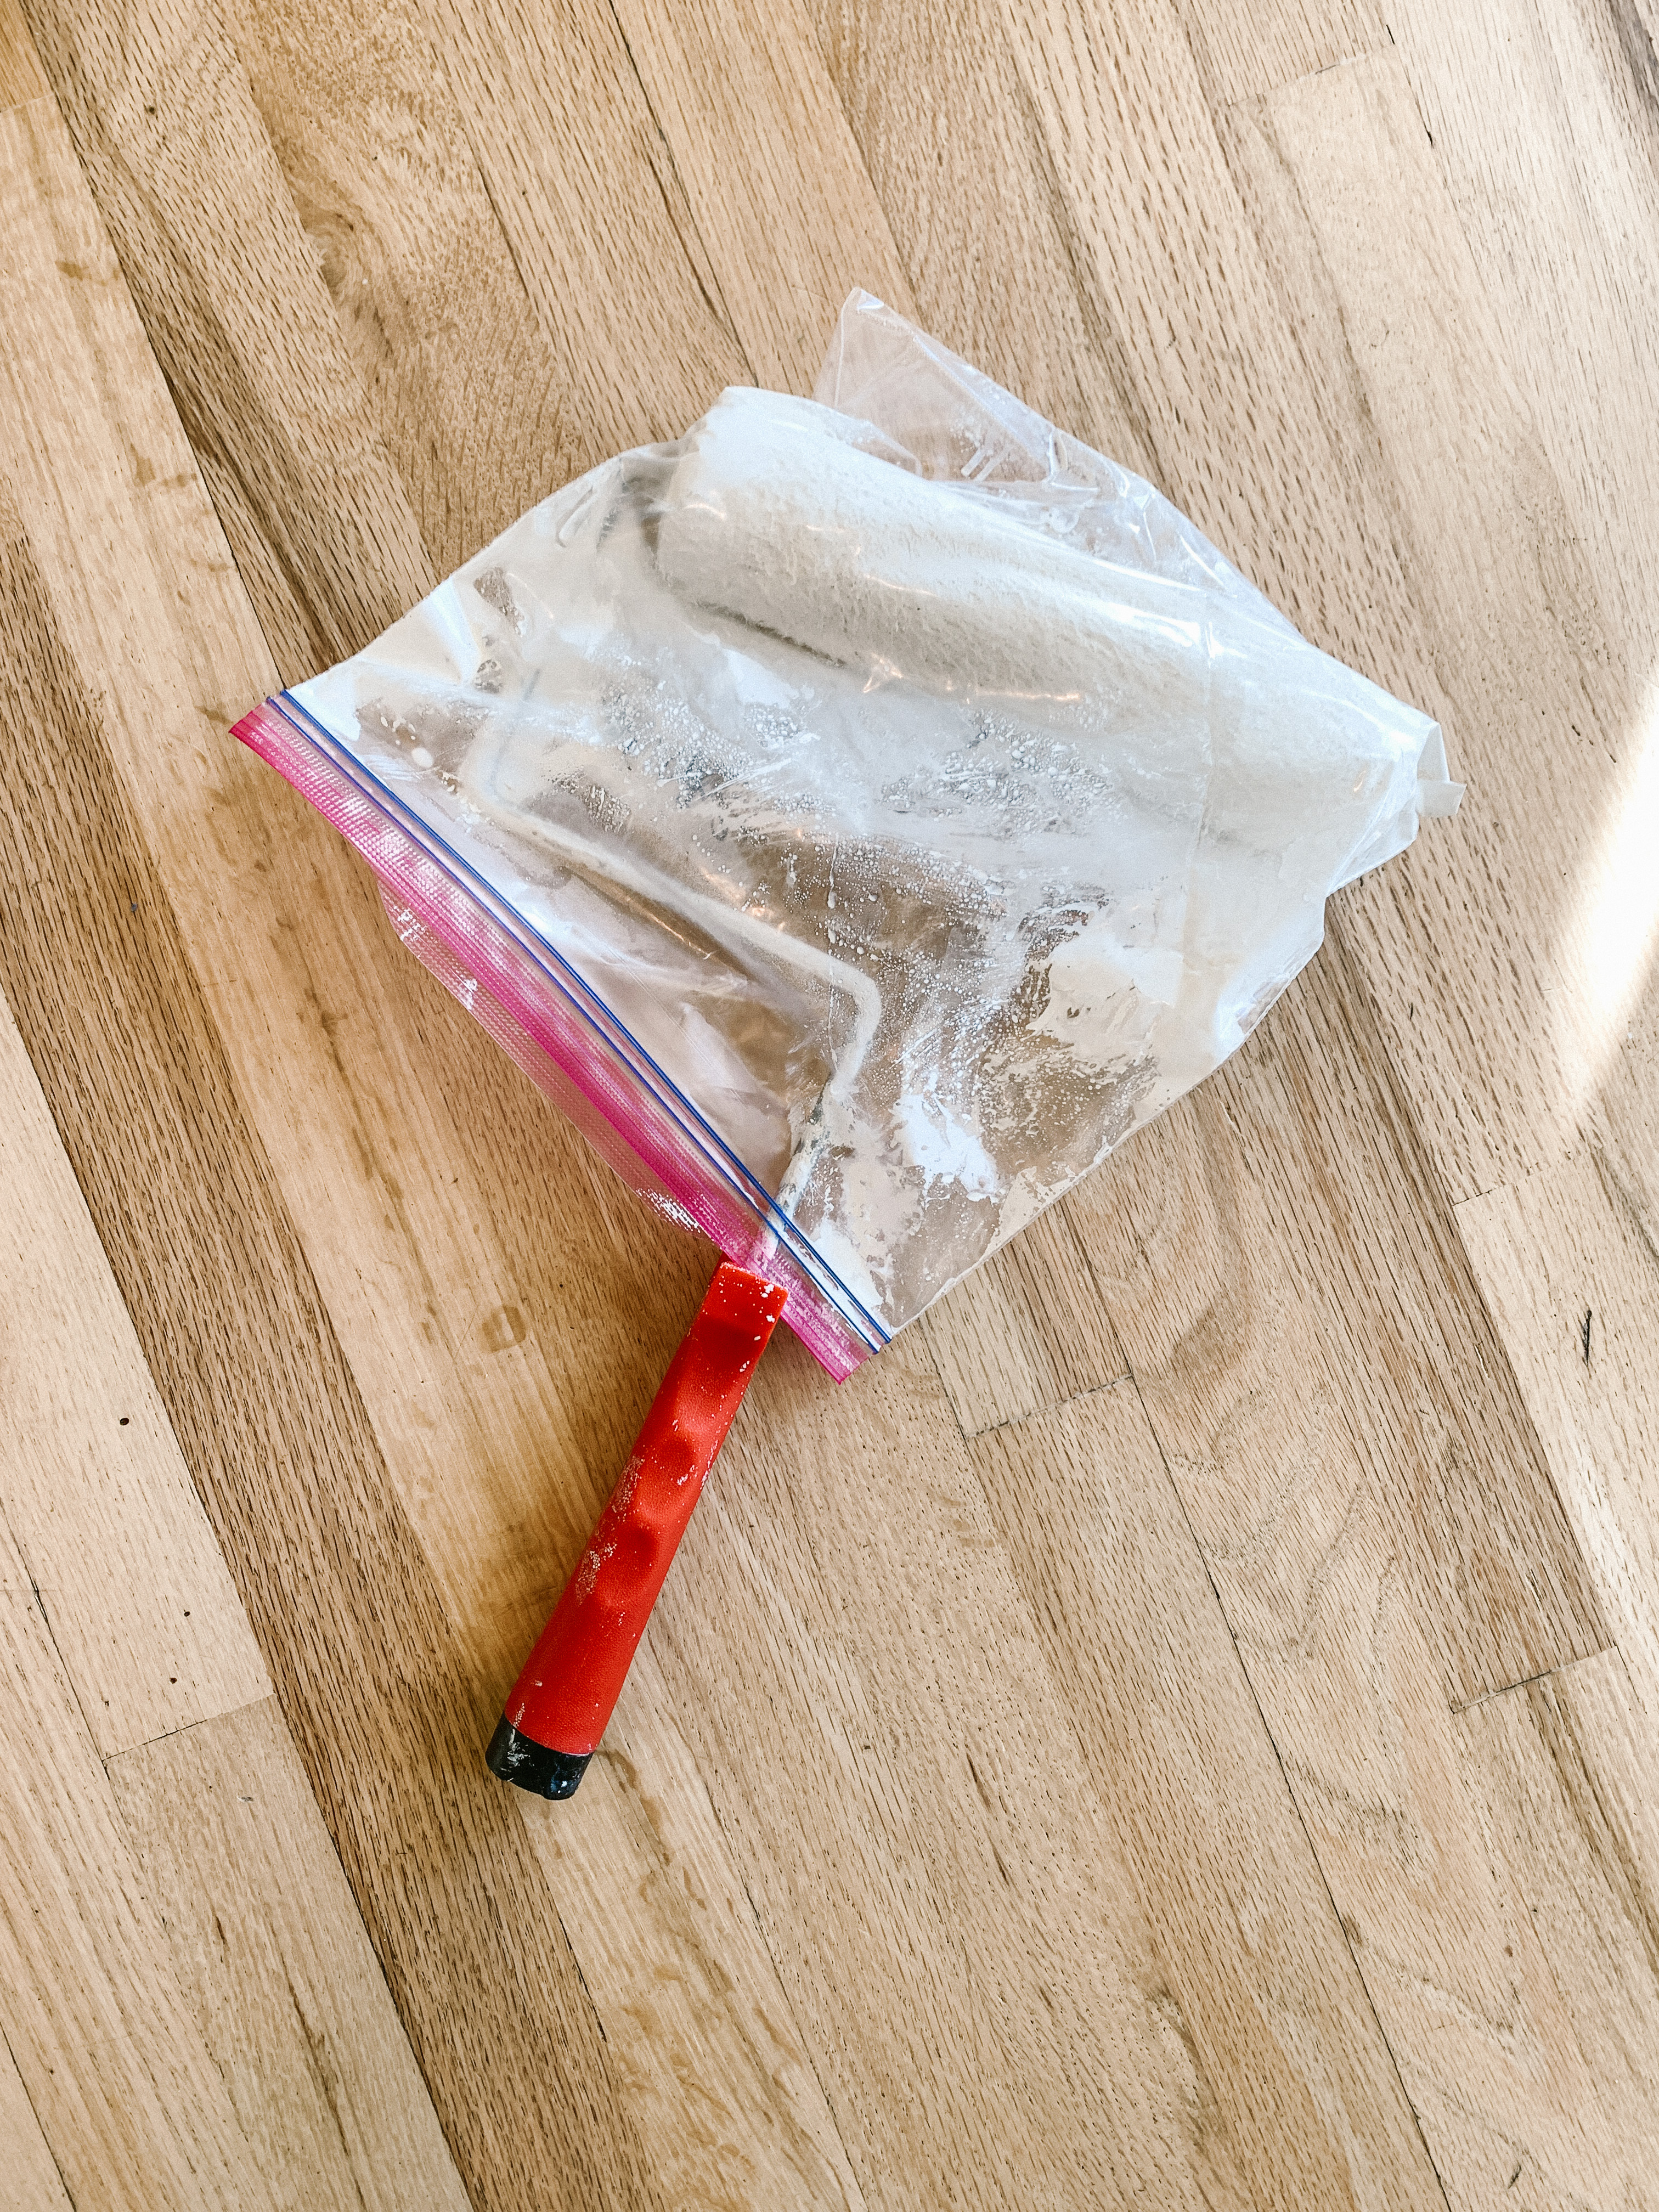
Once you’ve done one coat, you’ll want it to dry, again, this should take about an hour. If you need a break, you can use plastic wrap to cover your paint, just press is slightly into the paint to keep it from forming a skin. Pop your roller brush (with the handle sticking out) in a gallon freezer bag and store it in the fridge. This method works for days. I currently have 2 roller brushes in our fridge!
Once dry, do a second coat! I often keep my roller in the bag after I’m done with this second coat just in case you notice a spot that needs a touch-up after that second coat dries.
Clean Up
Once you’ve made sure everything is even and you don’t need a second coat, it’s time to clean up and get your room back in order.
Clean Paint Supplies
If you have a utility sink, it’s best to clean brushes and supplies there. Pour any excess paint back into the bucket, seal the lid and store or toss if you’re all out. Clean your paint pan.
Remove the roller brush from the handle, it’s messy, so just be aware! Use your hand to squeeze excess paint out and rinse it until the water runs clear. You can also toss these, but my dad always taught me that if you take good care of your tools, they’ll last you a long time, so I reuse these roller brushes over and over again.
Replace Electrical Covers
Go around and put the covers back on your electrical outlets and switches.
Remove Tape
Most people would say remove the tape as soon as possible to avoid it peeling the paint off, but I find that unless the paint is still very wet, it can easily get pulled off until it’s fully dry. So, I wait until it’s fully dry to pull it off. It does get stuck occasionally, and in that case, I use a razor blade to help remove it. I’ve also found that this gives me the cleanest, crispest lines!
Re-Hang Art & Decor
I actually usually wait until the next day to put my art back up on the wall. Yes, this is overkill, but I like to be 100% sure everything is fully dried!
And, that’s it! Your room is transformed in a day for a whole lot less than what you would pay someone else to do it for!
A Note on Paint
Personally, I opt for matte finish on my paint because our walls have a lot of texture and the more matte the finish, the less obvious the texture is. If you use high gloss, every imperfection will be highlighted.
Use the best quality paint you can afford! You can get paint for around $15-18 a gallon, but in my experience, it’s not worth it. You end up having to do more layers to cover the wall, so it takes way more time, and it requires more paint to do the job, so you end up buying more buckets!
Benjamin Moore is my hands down favorite. I also love Shermin Williams and recently got Behr for our basement since it was cheaper and we have a lot of space to cover down there. My two favorite whites are Benjamin Moore White Dove which is what I used all over the first floor and our bedroom and Behr Swiss Coffee which we used in the basement.
Paint Color Guides to Check Out:
- Studio McGee Favorite White Paint Colors
- Studio McGee Favorite Green Paint Colors
- Studio McGee Favorite Blue Paint Colors
- Studio McGee Favorite Grey Paint Colors
- Chris Loves Julia Blue Grey Paint Colors
I hope that gives you the confidence to take on a painting project of your own! Let me know if you have any questions!
BTW, Studio McGee x Target, and 9 tips for picking the perfect wallpaper for your home.


You must be logged in to post a comment.