
In my thirties, skincare became a hobby for me. Suddenly, I was paying for all those teenage years spent sunning myself, without sunscreen, and while I know there’s only so much I can do to reverse that sun damage, you best believe I’m doing it.
Benefits of Gua Sha
I started hearing about the practice of facial gua sha through the numerous wellness sites and Instagram accounts I follow, and quickly decided it was worth a shot. At the very least, it couldn’t hurt! A daily gua sha ritual promised less puffiness, the smoothing of fine lines, lymphatic drainage, reduced under eye-puffiness and reduction of dark spots, hyperpigmentation and scars.
Not bad, eh?
It was also non-invasive, relaxing, a great self-care practice and cheap. I bought my gua sha stone for $32. A cheap, relaxing self-care practice that positively impacted my skin? I was sold.
What is Gua Sha?
If you’re not familiar with gua sha, it’s the practice of massaging your face with a shaped stone in a manner that allows for lymphatic drainage. It’s a common practice in Asia that they do all over your body, and can be very intense and rough. On your face, it’s much gentler, but still has the same effects!
Does Gua Sha Work?
I had been using my gua sha stone since December, but decided to make it a daily practice for 30 days to see how it impacted my skin. One of my favorite wellness influencers, Melissa Wood, raved about how much it has done for her skin. She’s 40 and looks freaking phenomenal, so I trust her advice.
My goal was to practice it twice a day, which was actually pretty easy, but at the very least, I would do it at least once a day. In the mornings, I’d fix Owen’s breakfast, then sit at the table and gua sha while he ate. At night, it was the final step in my skincare routine and really set me up for a relaxed bedtime.
Within a couple of weeks, I started noticing some changes—good changes! So, I’ve kept it up, about once a day these days, but I still notice a big difference.

6 Gua Sha Benefits from Daily Use
1. I’m RARELY breaking out
I’m pregnant guys, and with Owen, I broke out like crazy. Worse than my teenage years. At the beginning of this pregnancy, I noticed the same pattern starting again and felt a little defeated. But, after making some changes to my skincare routine and adding at least a once daily gua sha practice, my skin took a turn for the best!
I’ve had very few breakouts and almost no deep, painful zits either. This is so amazing to me, especially during a time when my hormones are crazy.
2. Blemishes Heal Faster
While my skin is not breaking out much, it’s not perfect, and I did get the occasional blemish here and there. But, what I found was that they came and went so much faster. They were less inflamed, smaller and healed so much faster, and with less pigmentation too.
In the past, I feel like it could take a week and a half for a pimple to fully heal. Now, they’re gone in about 4 days, and they never get as big or angry as before.
3. Hyperpigmentation Looks Lighter
I haven’t been in the sun too much, and I always wear SPF and a hat, but I’ve definitely noticed that the hyperpigmentation on my forehead has lightened and is breaking up quite a bit. Again, not what I expected to happen during pregnancy.
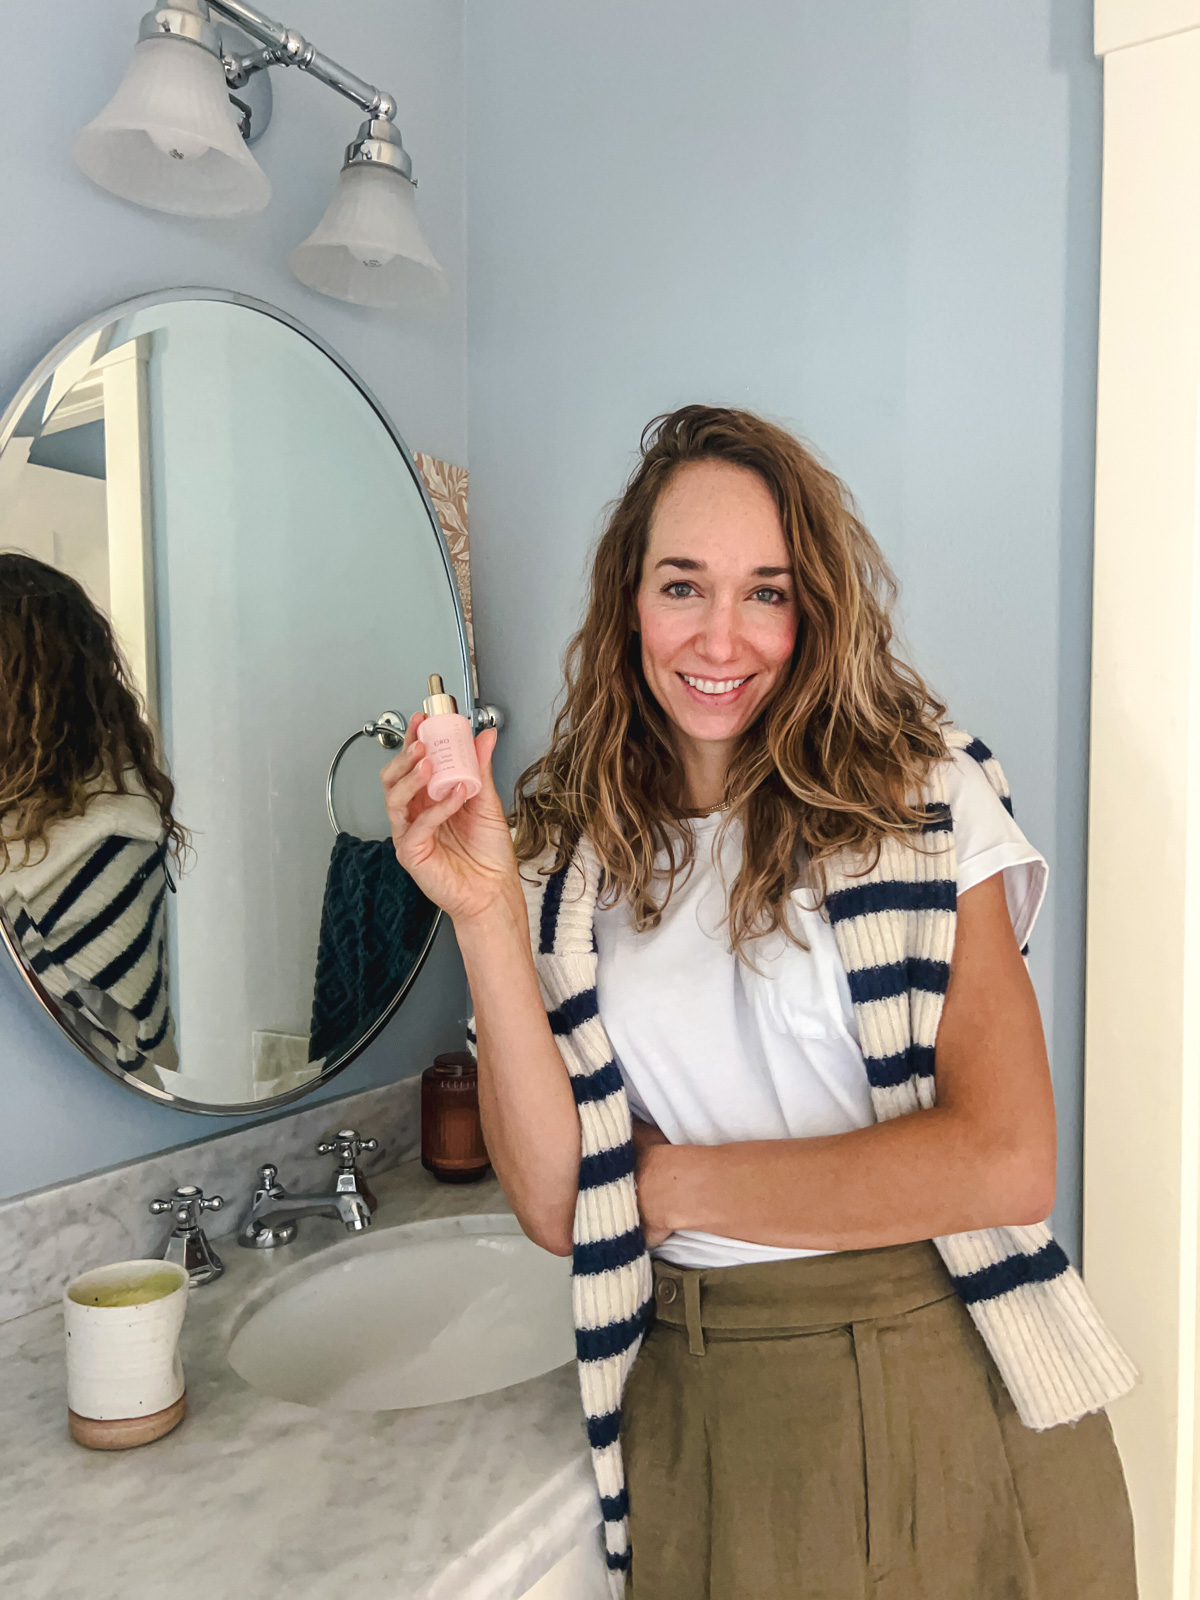
I read that gua sha can help break up the pigmentation, and it seems to be working, so for that reason alone, I plan to keep doing it! I also added this Vitamin C serum to my skincare routine in late March and I think thats also helped a lot too.

4. Reduces Puffiness
Gua sha pulls excess stagnant fluid from your face and removes it. This lymphatic drainage is huge in reducing puffiness all over your face. It also does a great job of toning and shaping your jawline, cheekbone and eyebrow bone. If you’re particularly puffy in the mornings, or in general, this will be a huge help for you.
5. Reduces Fine Lines
After just a month, I really starting noticing that the fine lines around my eyes were less noticeable, especially when I smile really big—that’s always when I notice them the most.
Paired with this anti-aging eye cream with a natural retinol alternative, it’s been an amazing duo for my eyes! I’ve heard that gua sha acts like natural botox and so far, I’m in agreeance!
6. It’s Relaxing
Lastly, this practice is so relaxing. It feels amazing, is a great way to start your day and is such a quick self-care practice that has so many amazing benefits. If you’ve had a stressful day, it’s a great way to help yourself relax. We naturally hold so much tension in our jaw, and this does a great job of massaging those muscles.
How to Use a Gua Sha Tool
The easiest way to show you how to use a gua sha tool is a video, so click here to watch it! If you’d rather read, my instructions are below, so I hope that helps too.
- Start with clean skin, and make sure to apply a moisturizer or face oil so that the stone can easily move over your skin.
- Start at the bottom of your neck and move up with the smooth side. Do this at least 3 times. With each step, you’ll want to repeat at least 3x.
- Next, start at the middle of your chin and gently scrape along your jawline to your ear. Wiggle it at the end—this helps with lymphatic drainage.
- Next, move to the middle of your cheek, just to the side of your lip. Scrape up towards ear again—every time, you’ll start from the center of your face and move the gua sha tool outwards toward your ear.
- Cheekbone is next, I love using the curved part of my stone for this.
- Very gently, do your eyes next.
- Then move to your forehead. I start by my eyebrow and move outward in strokes outward, almost like you’re drawing rays of sunshine onto your forehead. Wiggle at the end of each stroke.
- Eyebrows are next, I gently lift my eyebrow here, which I think makes a huge difference and also feels great.
- Place your stone at the top, middle of your forehead and then gently move it down the edge of your face, past your ear, down your neck and to the top of your collarbone. Once you hit your collarbone, gently move it to the center of your collarbone. Repeat 3x, yet again. This final step removes all the built up fluid.
- Next, do the other side of your face!
Where to Buy a Gua Sha Tool
You can find gua sha stones a lot of places now! Everywhere from skincare shops to Nordstrom to Amazon. I’ve had several, and my favorite gua sha stone has been from Primally Pure. It’s a jade gua sha and comes with a little protector pouch that’s saved me from breaking it many times.
I had a rose quartz gua sha from Skin Gym that was good, but it was heavier and I found that the Primally Pure one fit the curves of my face better and was easier to hold. At the end of the day, I don’t think it makes a huge difference, it’s mostly personal preference!
How to Clean your Stone
After I use it, I clean it each time then let it dry. Once or twice a week , I’ll spray it with rubbing alcohol to kill any bacteria that might be on it. It’s that simple!
Have you tried Gua Sha before? What did you think of the Gua Sha benefits?
BTW, my current Beautycounter skincare routine, and how to use the overnight resurfacing peel.






You must be logged in to post a comment.