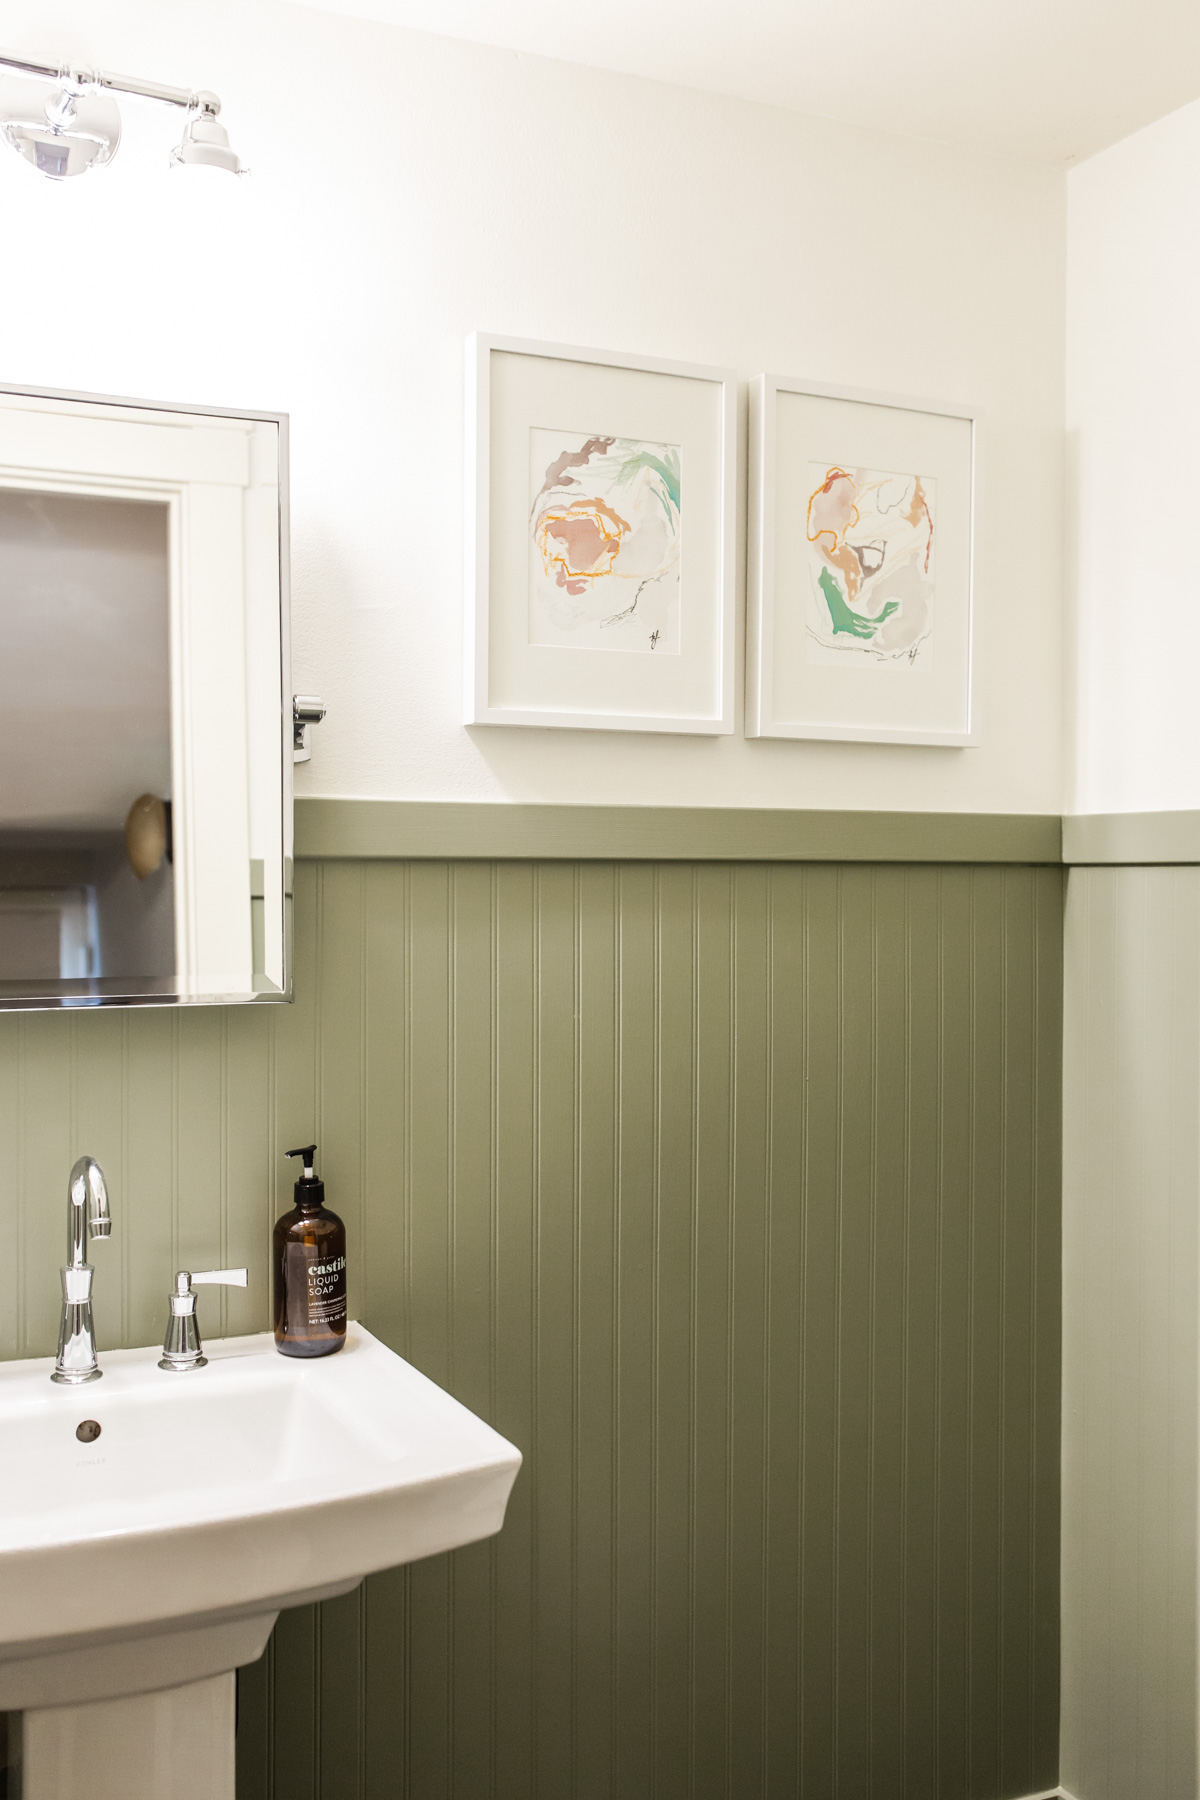
It’d been a while since I’d done any home projects, so when Memorial Day weekend hit, I knew it was time! Our downstairs powder bath has been a sad sight for a long time. When we re-did our entryway floors, the baseboards dropped about an inch and a half. They added new baseboards, but the drywall did not extend that far and there was this weird strip around the bottom of the wall where it was just a concrete cut in.
I had filled it with joint compound, but I hadn’t decided what to do next. I came across a photo and thought “yes!” this is the perfect way to add some much-needed character to that tiny space—beadboard!
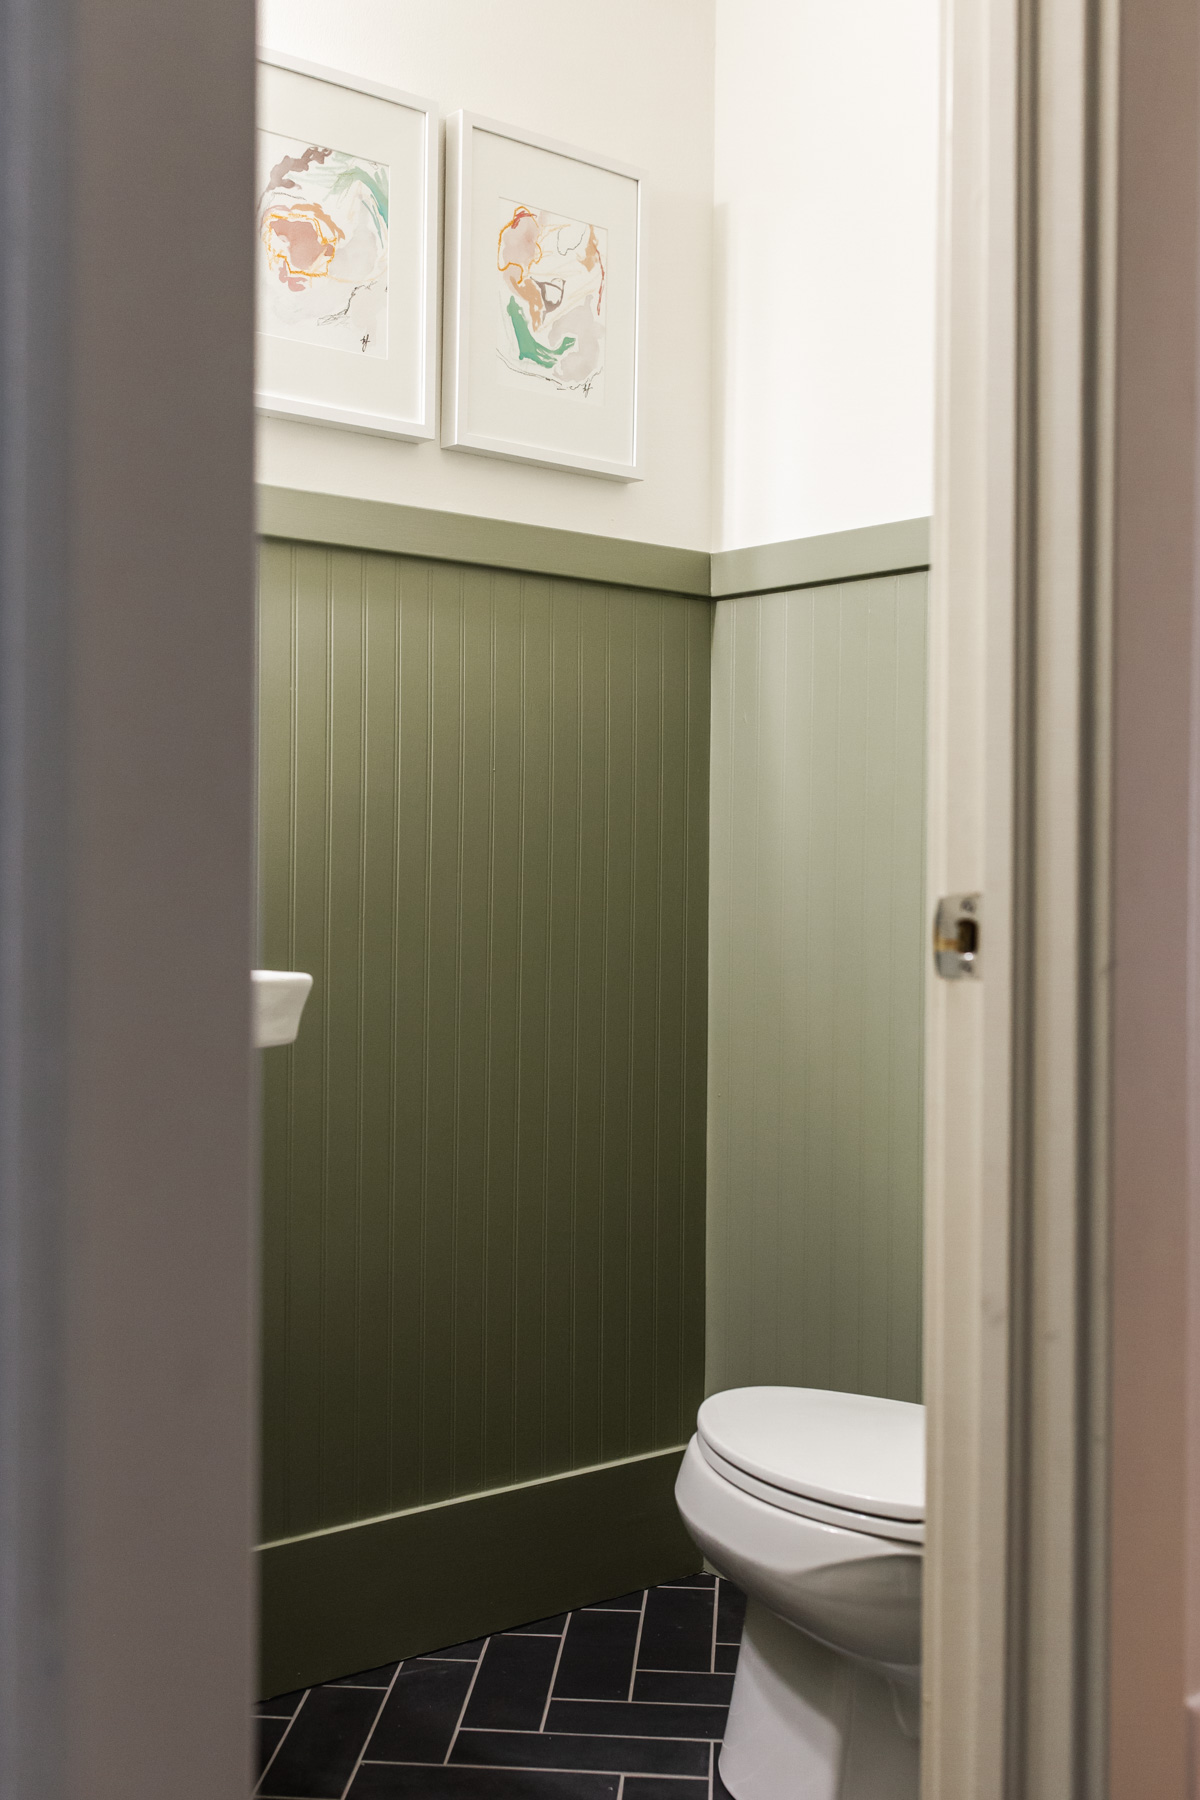
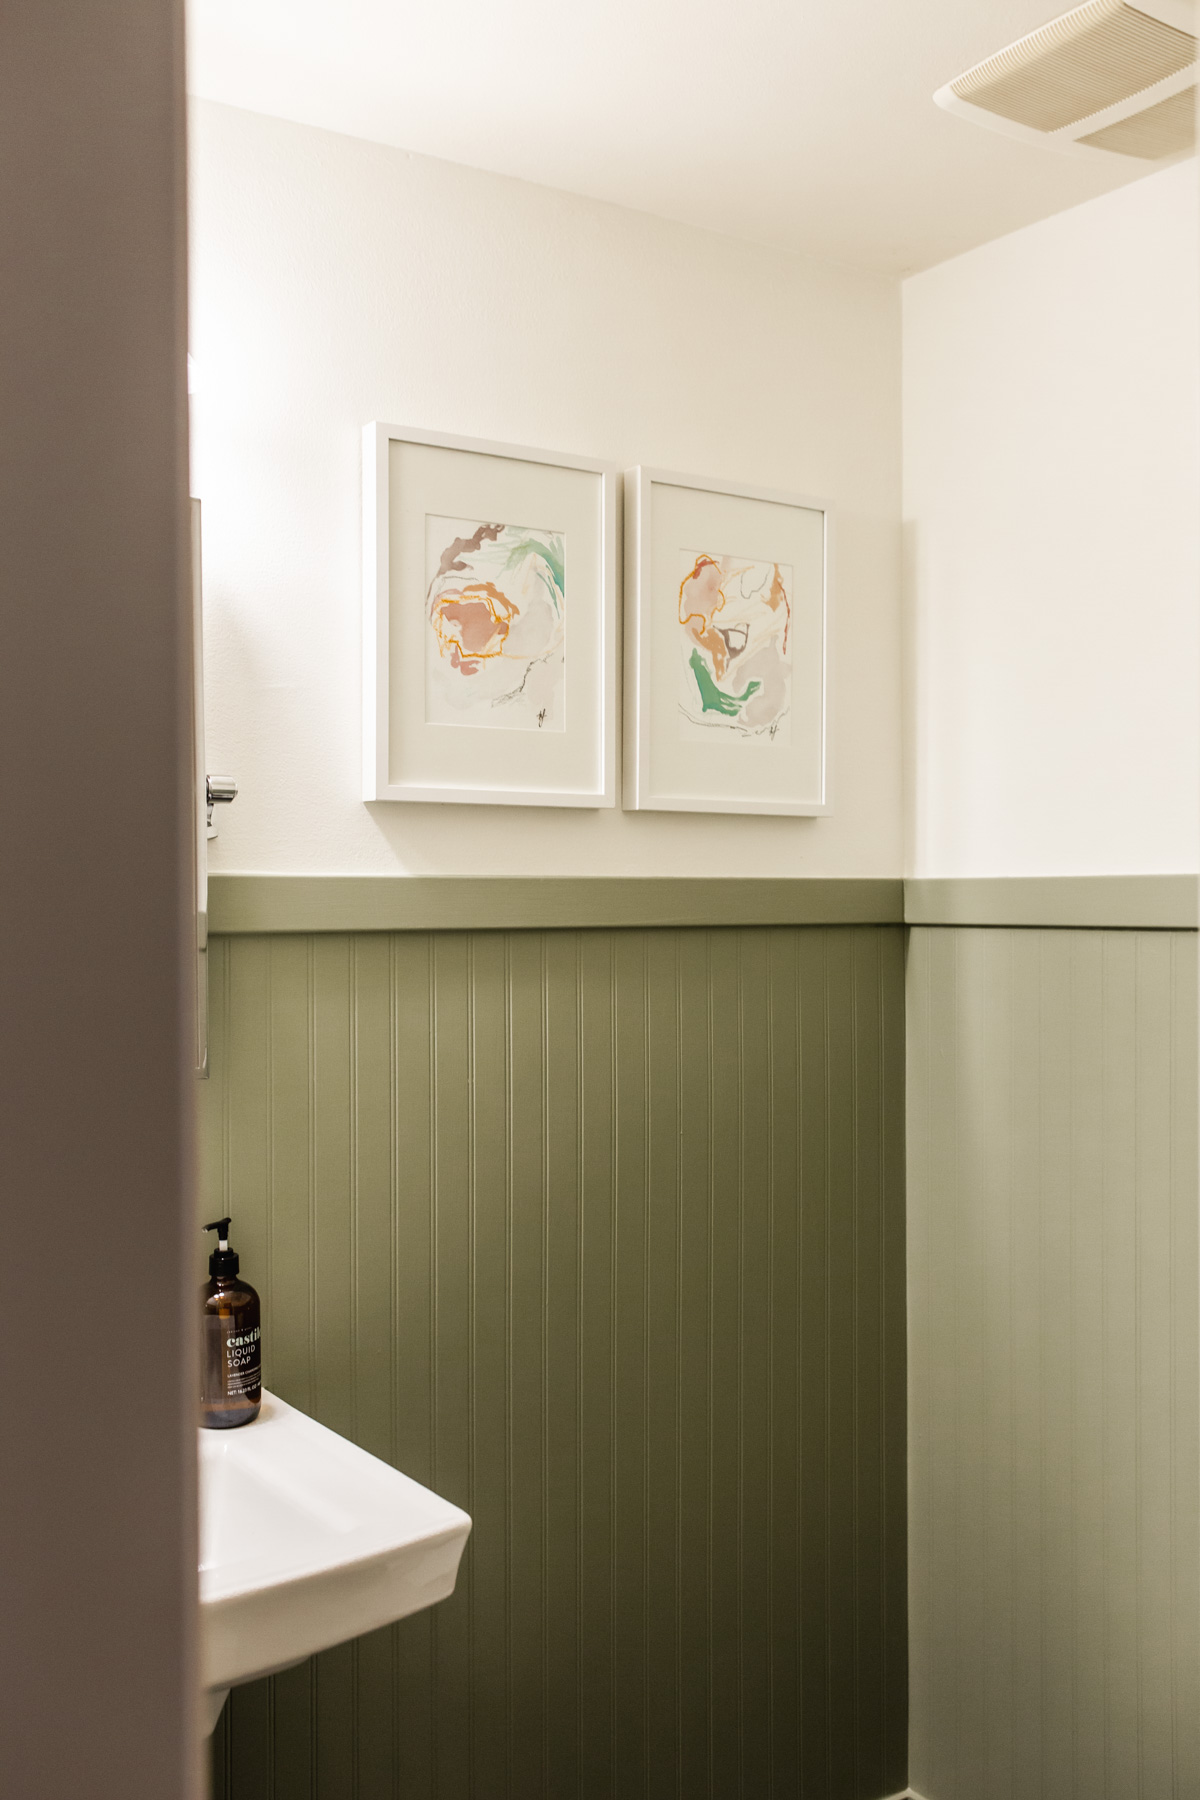
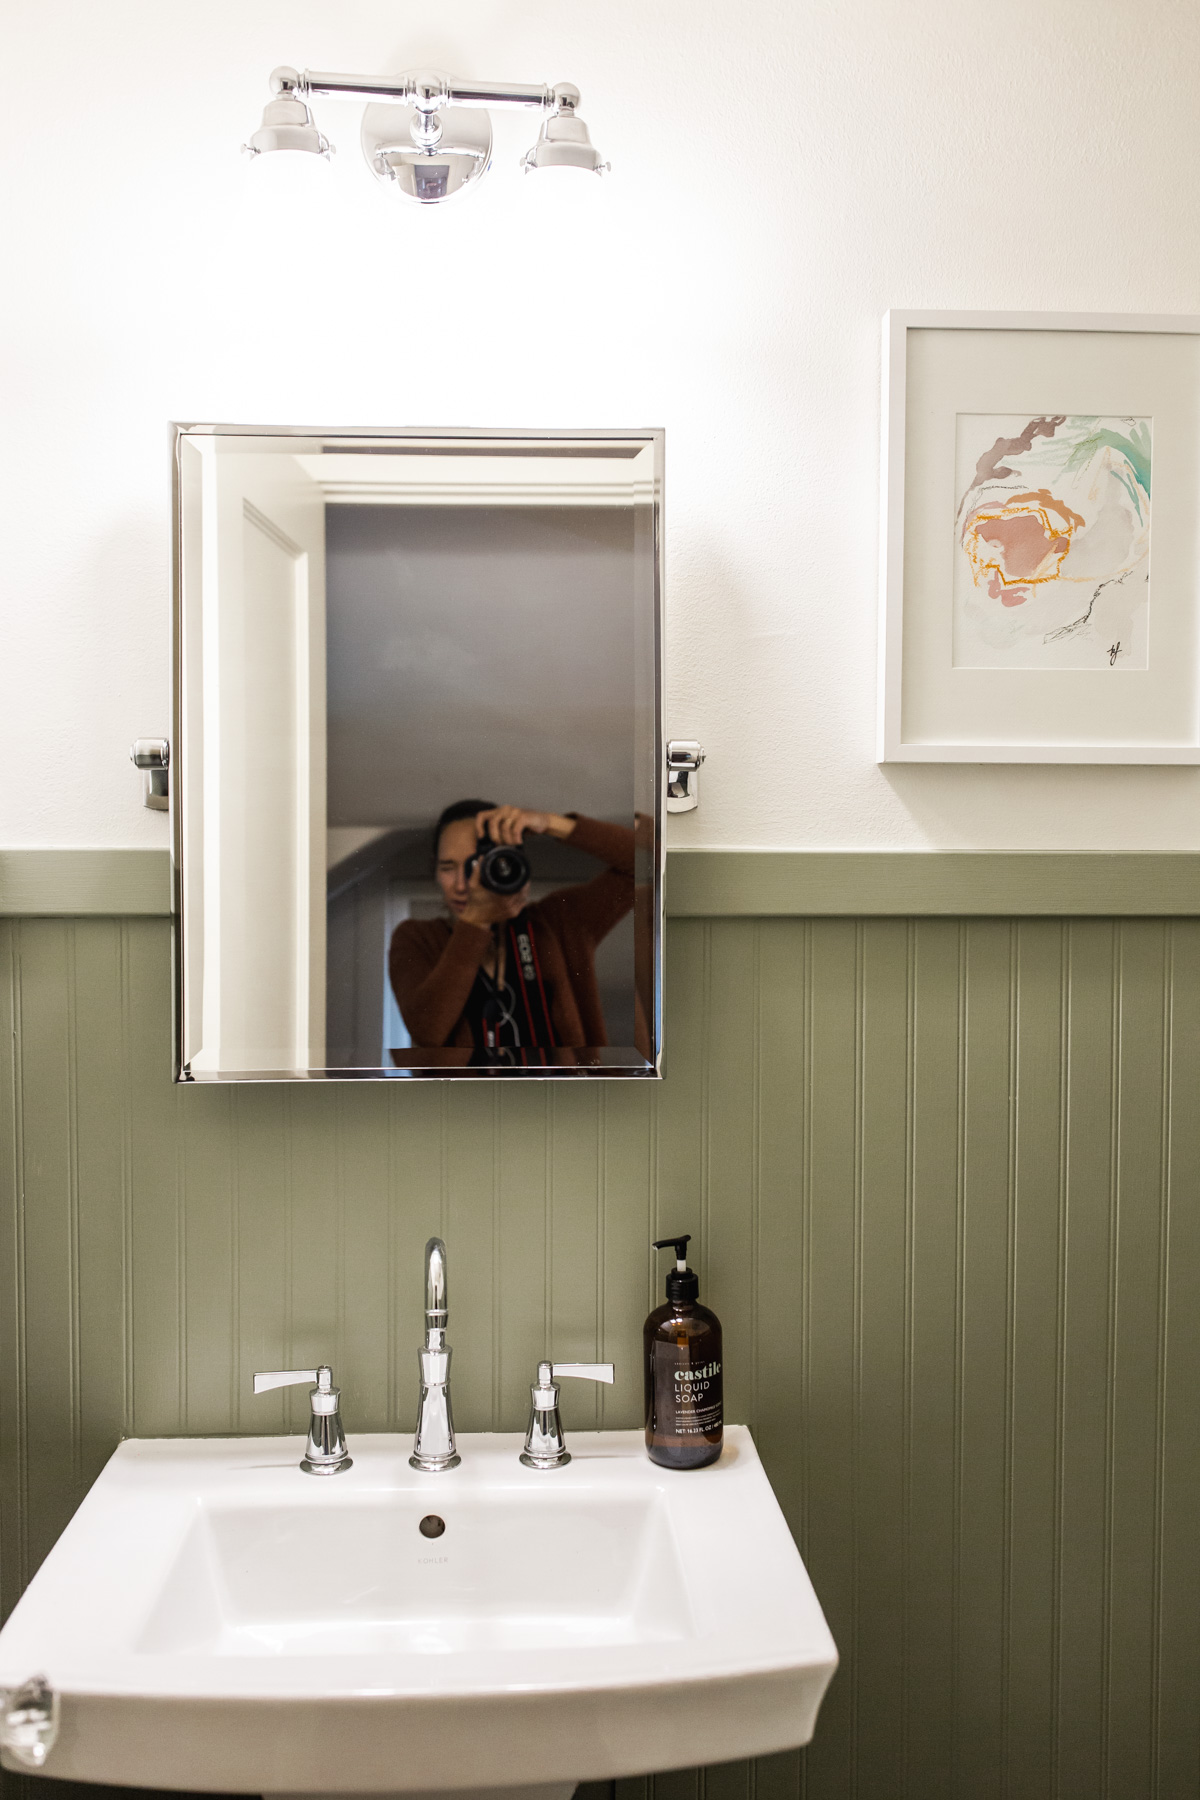
It was a relatively easy project that added so much to this small space and makes it look “finished”! We’re still waiting on a new toilet paper holder and towel ring to add in there, but it’s almost complete! I love how it turned out!
How to Add Beadboard to a Bathroom
Materials and Tools Needed
- beadboard panels
- MDF boards, I used 2.5″ with .75″ depth (same as our baseboards)
- Loctite or Liquid Nails construction adhesive
- brad nailer, I bought this one, heads up, not all come with the battery, check the box before buying!
- brad nails
- paintable caulk
- spackle
- miter saw
- circular saw
- jigsaw
- level
- measuring tape
I borrowed most of the power tools from Rob’s dad, and then bought the brad nailer. At first I thought I could do it without the nails—FALSE. Buy or rent one and thank me later. The adhesive is super strong, but it takes a while to dry and tape did not hold it all in place. The brad nailer made the job insanely easier and faster!
I actually did not use a circular saw for the long cuts because we did not have one, we took turns with the jigsaw, pushing it up to a straightedge to make sure our cuts were straight. But, if you have one, a circular saw would definitely make your cuts straighter than a jigsaw.
Step 1: Decide on Height and Cut Panels Accordingly
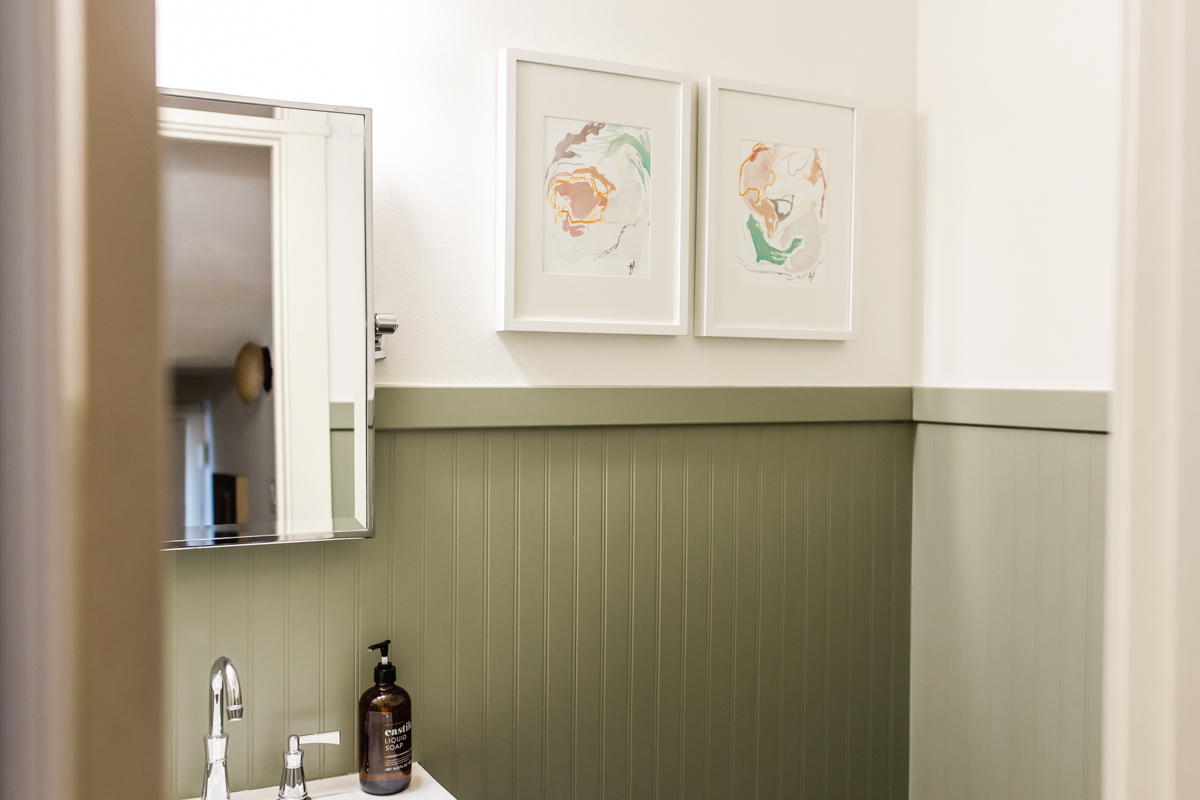
I had the guy at the store cut the 96″ panels in half, so each piece was 48″—including our baseboards which are 7.25″ and the top board, which is 2.5″ the whole thing went up 57.5″ on the wall. A little higher than standard beadboard, but I thought it looked great and have seen people go higher than “standard” and loved the look, especially in a bathroom.
If you don’t want it as high, you’ll need to cut the panels lower, or measure before hand and have the people at the store cut them for you! Make sure they’re all the same height too! We ended up having one that was less than a 1/4 inch shorter, but you could tell at the end (we caulked it so no big deal, but just something I learned along the way.)
If you have outlets or pipes on your wall, you’ll need a jigsaw to cut holes for those! For holes in the middle of the piece, we used a drill bit and drill in one corner, then used the jigsaw to cut holes for switches, etc.
Step 2: Attach to the Wall
Before you glue it on, pop it into place and make sure it fits well and that the switch holes all match up. If all is good, then use a big snake pattern to lay construction adhesive. Carefully, put it into place and put the level on top to make sure it’s even.
This is much easier with two people, so grab a helper. Press it against the wall and make sure to press any air bubbles out. Use your brad nailer to secure to the wall. We pressed around to make sure there weren’t any areas that were bowing out. If there were, we’d add a few more nails.
Continue with all pieces around the room.
Step 3: Add Top Board
We just used a 2.5″ wide strip of pre-primed MDF. The look matched our baseboards, so we decided not to do any decorative edge. Use a miter saw at a 45° angle for corner pieces so they match up nicely and cut all boards to size. Again, I popped them into place to make sure they fit before gluing.
Once ready, add glue to the back and press onto the wall. Place your level on top to make sure it’s level before securing into place with the brad nailer. Finish the rest of the room.
Step 5: Caulk Seams
Lay a thin bead of caulk on seams and dip your finger into water and run it along the top to smooth it and push it into the seams. Caulk is pretty magical. It can hide a lot of mistakes and smooth out and harsh edges. Essentially it gives your project a professional, finished look. It’s a little tedious, but worth it. It makes the corner and seams look smooth and continuous.
Step 6: Spackle & Sand
Spackle over the nail holes and sand once dry. You won’t want to skip this as this gives it a super smooth look that’s ready for paint.
Step 7: Paint
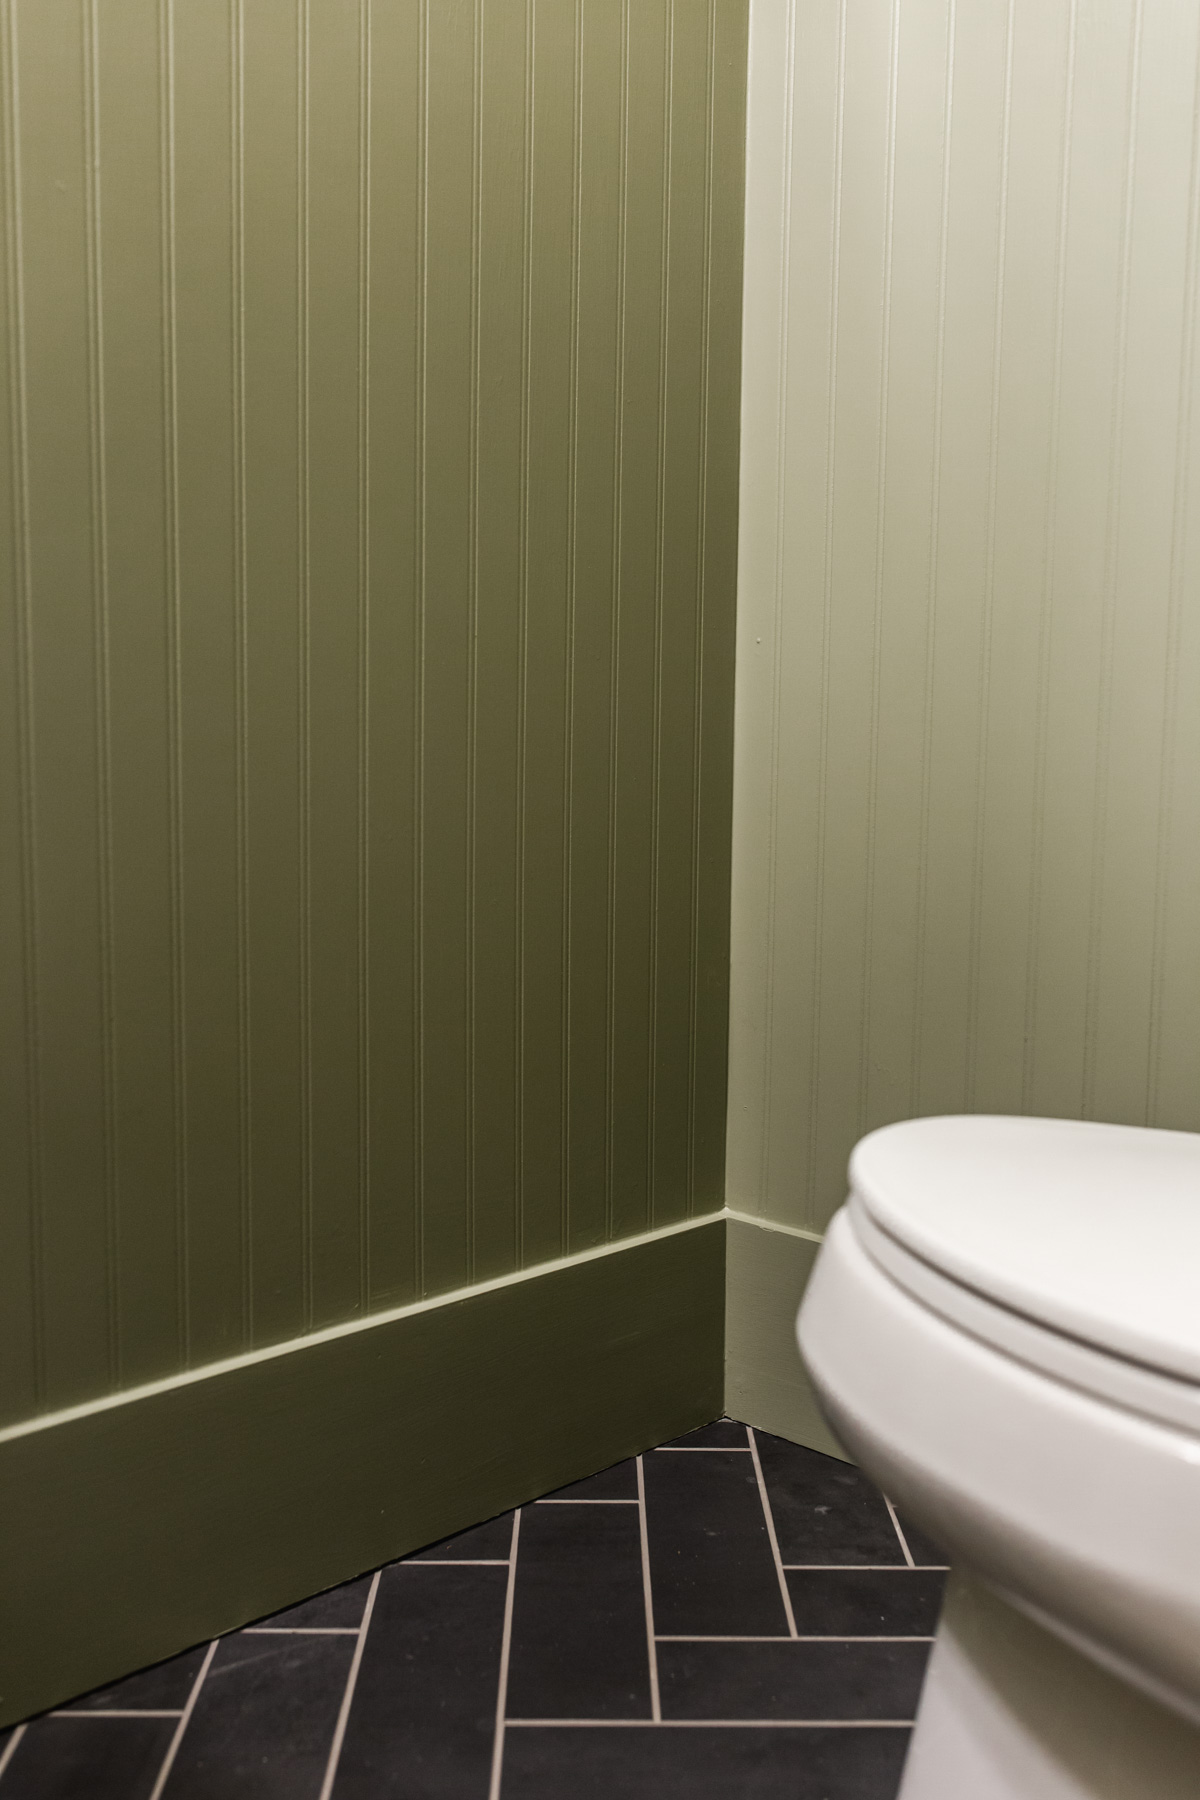
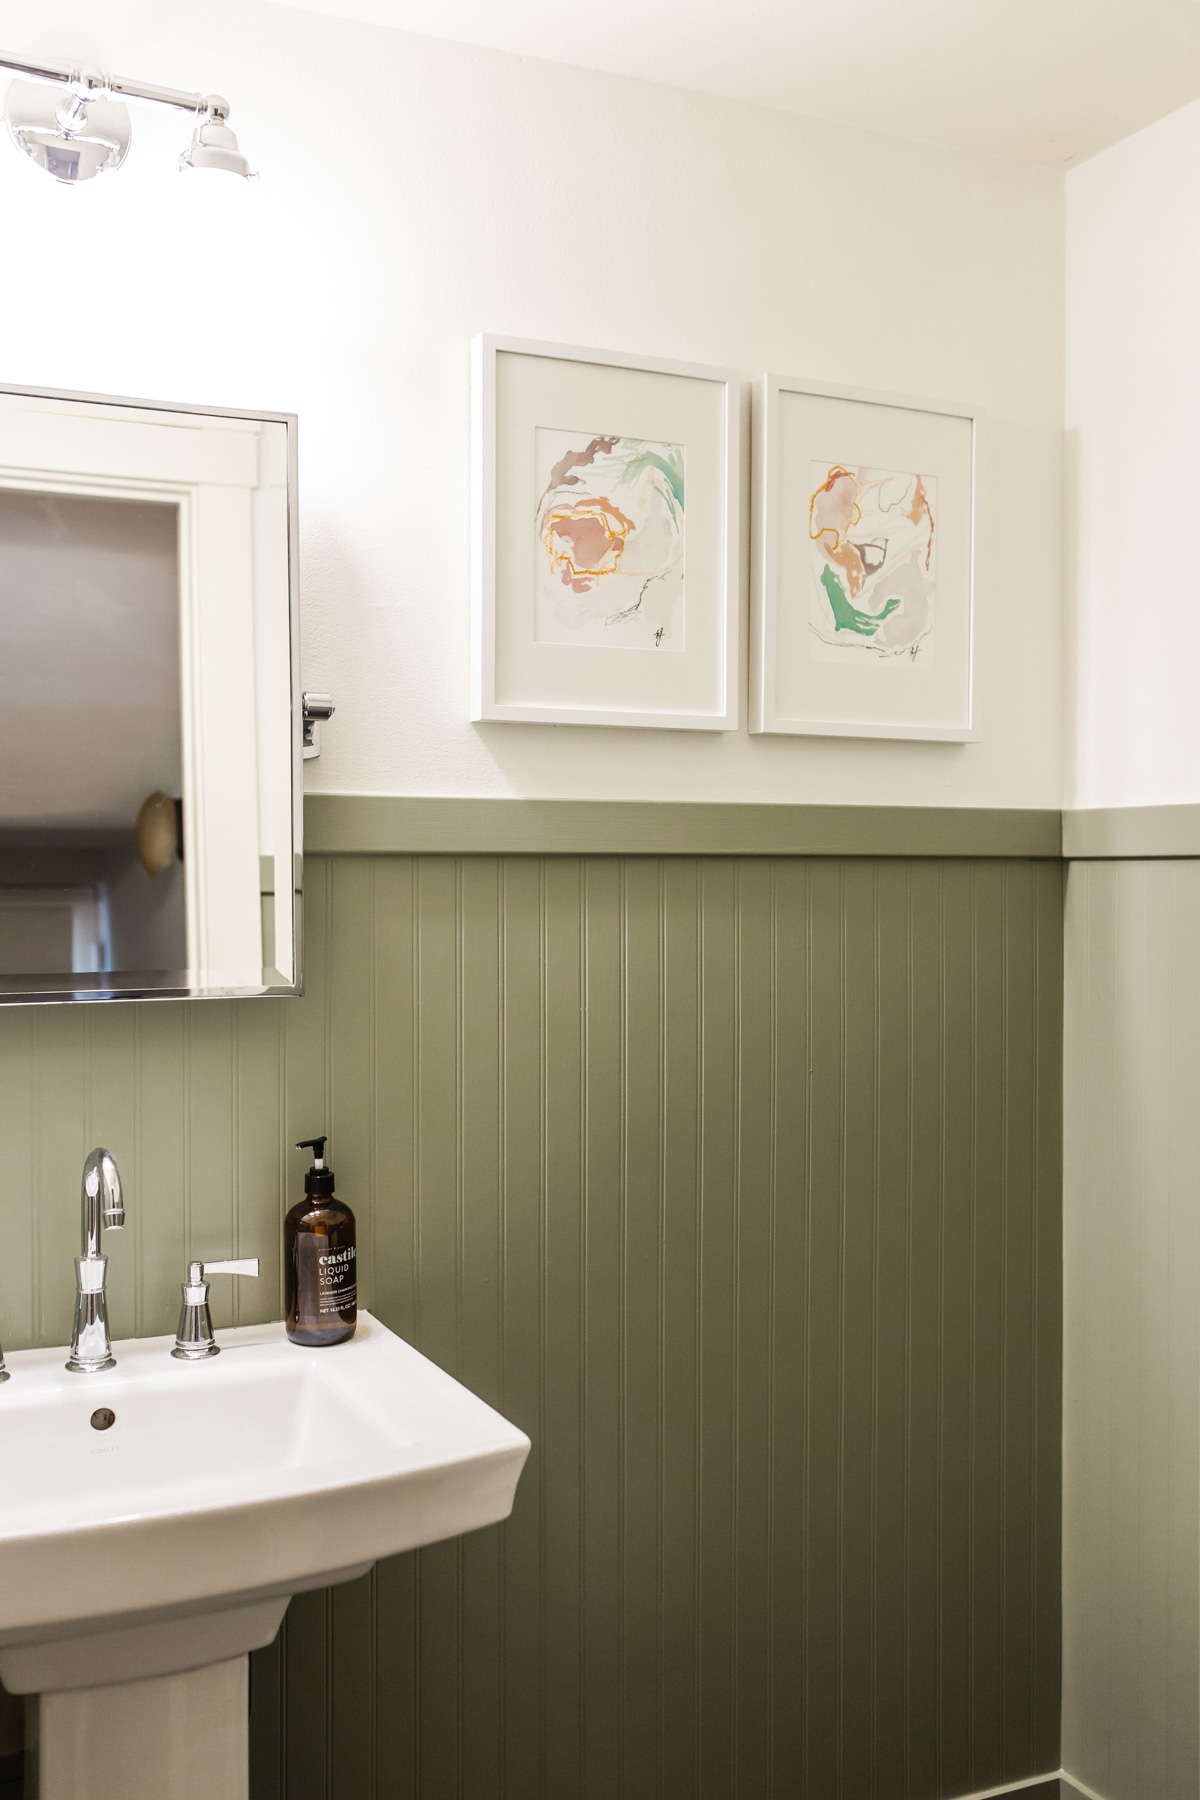
I used a pearl finish, same as what you would typically use for trim. I went with this pretty dark green called Louisberg Green from Benjamin Moore and love how it looks with our slate-colored herringbone floors. The top half of the walls I painted Benjamin Moore White Dove in a matte finish. I’m so happy with how it turned out and still can’t believe I did it!
Overall, it was a pretty easy project. It took a little while longer because I had to stop every couple of hours for nap times, dinner for the kids, etc. I was so happy my sister came in town to help though! It would have been tougher to do on my own.
Hopefully this post gives you the confidence to tackle your own beadboard project!
BTW, how to paint a room in a day, and 15 affordable finds for your home.





You must be logged in to post a comment.