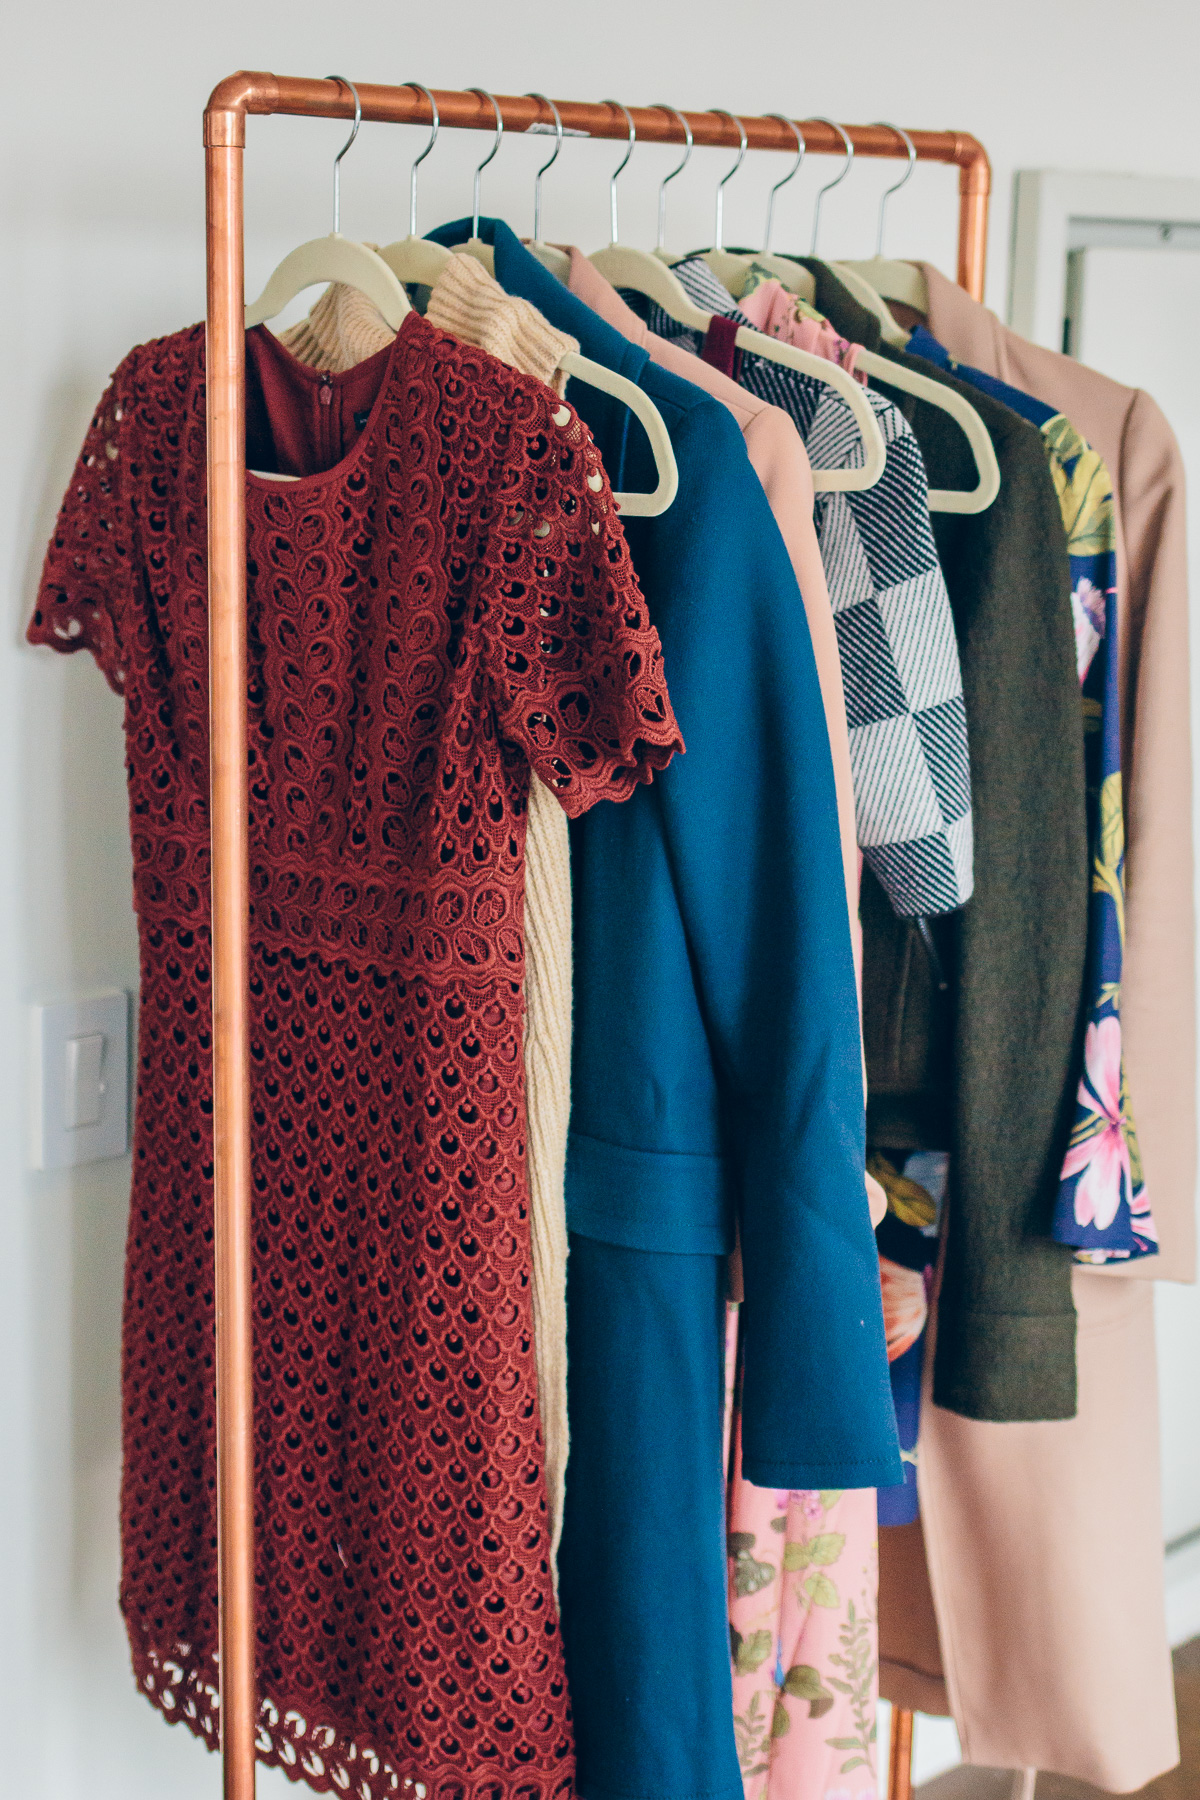
Just a few weeks ago, I finally completed a major closet overhaul. I try to do this once every few months, but with one busy week after another, I just kept putting it off. It finally got to the point where it was literally stressing me out. There was stuff EVERYWHERE. There were shoes with no place to go, clothes with no hangers and overflowing drawers!
I finished the clean out in just a couple of hours and felt immensely better. Then a new idea popped into my head!
Since we have a tiny closet, there’s no space for me to set aside outfits that i’m planning to shoot for the blog. Sometimes, pieces just get lost in there and don’t get shot until they’re out of stock, sigh! I decided that a dedicated clothing rack would be the perfect thing!
Even if you don’t need a clothing rack for the same reasons, they’re so cute and handy for plenty of spaces! They make for great extra storage in your room, hanging storage in a guest bedroom or a mini coat hanger for your entryway!

I really love the look of copper, so I went searching for one on Etsy. I found a few that I really loved, like this one and this one, but eventually I decided that I’d just make my own. It’d been a while since I’d DIYed anything and I had the itch, plus, making it myself turned out to be a lot more economical!
One trip to Home Depot and one Amazon order later, I had everything I needed. Putting it together was incredibly simple and I already feel more organized and on top of my projects since I can see everything!
Honestly, I can’t believe I waited so long OR considered buying one when it was this easy! The best part? My pipes, connectors and glue cost me less than $65 total! Here’s how to make your own DIY copper clothing rack:
Step 1: Gather Your Materials
3 – 5’ 3/4” pipes (2 left long, 1 cut into four 10” pieces)
1 – 2’ 3/4” pipe
2 – 3/4” copper tees
2 – 3/4” copper elbows
4 – 3/4” copper caps
1 bottle of Gorilla Glue Epoxy
I picked up all my materials at Home Depot, but you can order them online too, I doubt they’ll precut the pieces though, so if you do that, make sure you have a pipe cutter! The 2’ & 5’ pipes were pre-cut which was really handy. I had the guy at Home Depot cut the last of the 5’ pipes into four 10” pieces which made up the base.
Tip! Before you leave, make sure that all the pieces fit! One of my tees, though pulled from the same box, was the wrong size. Turns out people don’t pay much attention when they put things back!
Step 2: Prep Your Materials
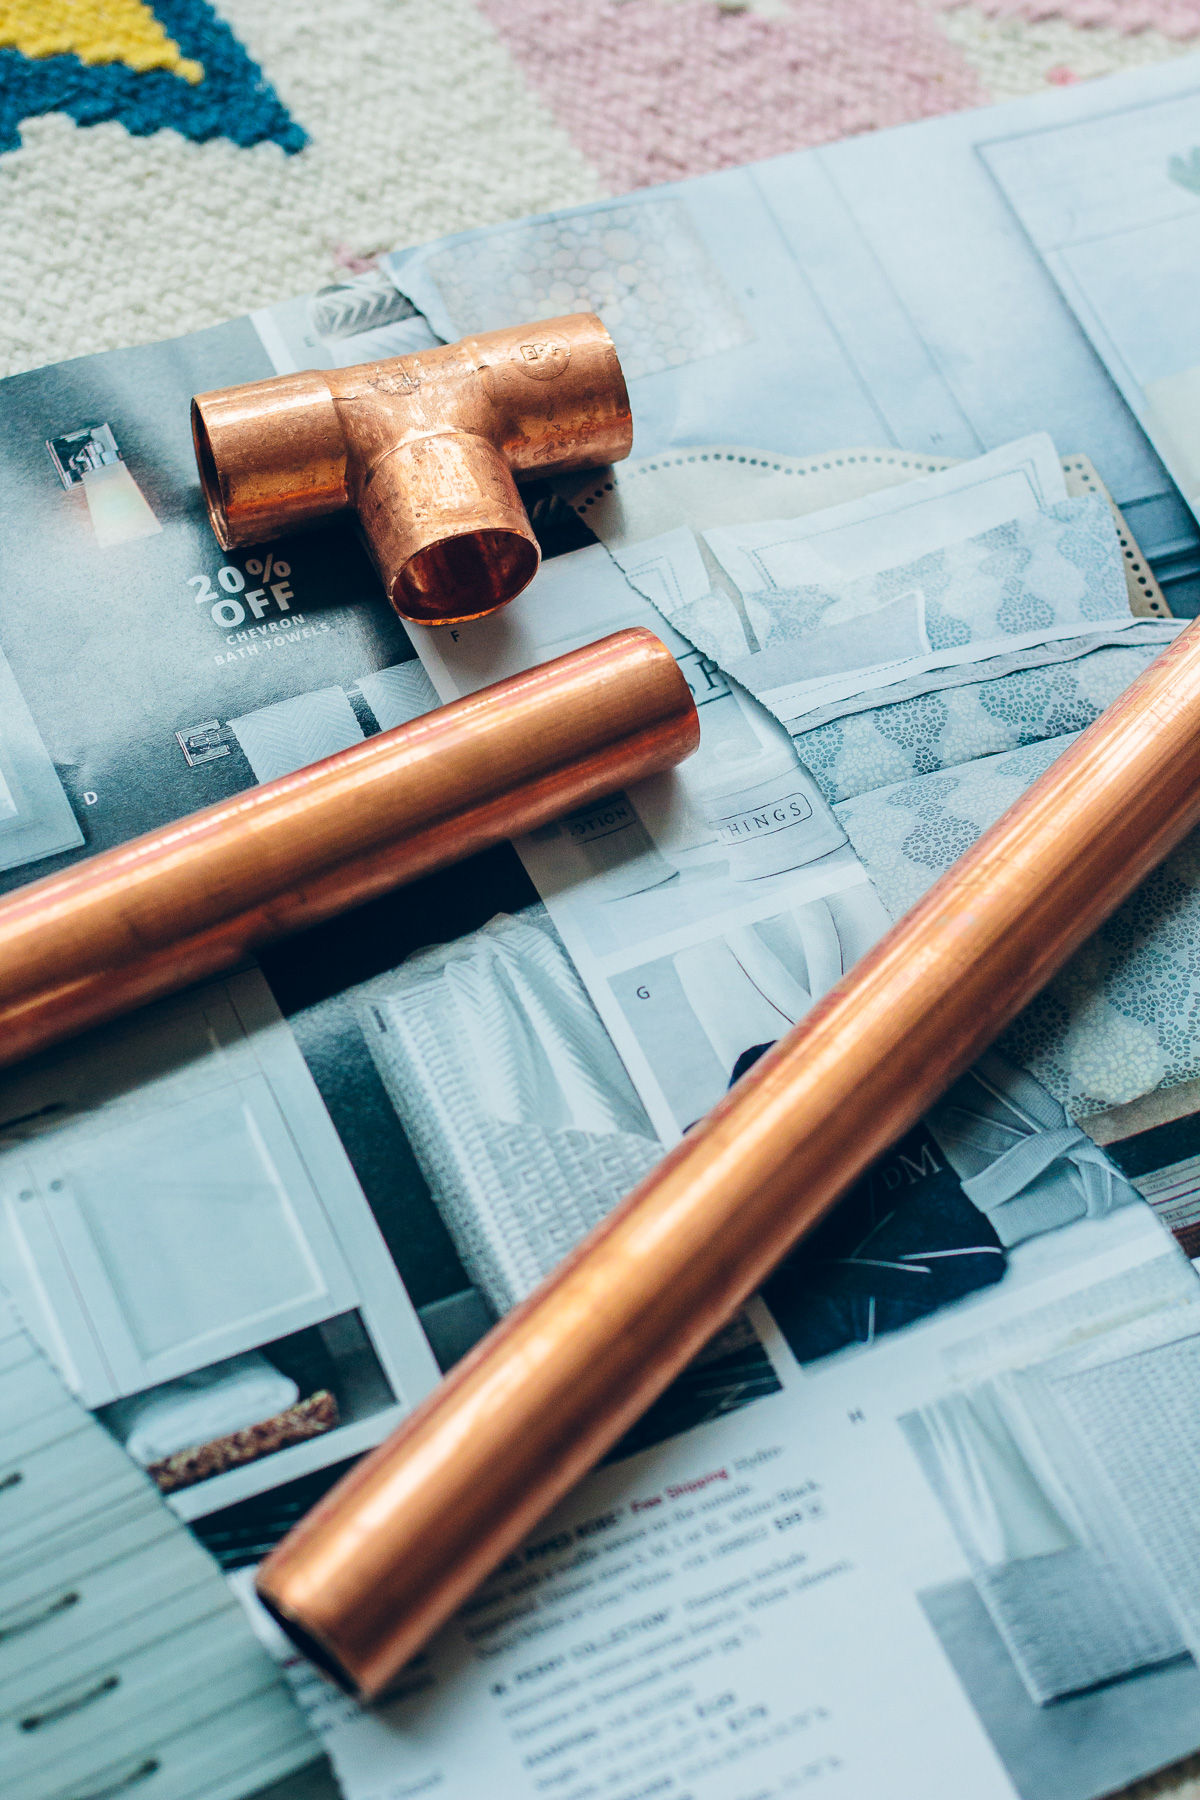
Lay pieces on the ground so you know what goes with what. Make sure all pieces fit properly before glueing together! I realized I had one tee that was the wrong size—hence the last minute Amazon order!
Step 3: The Base
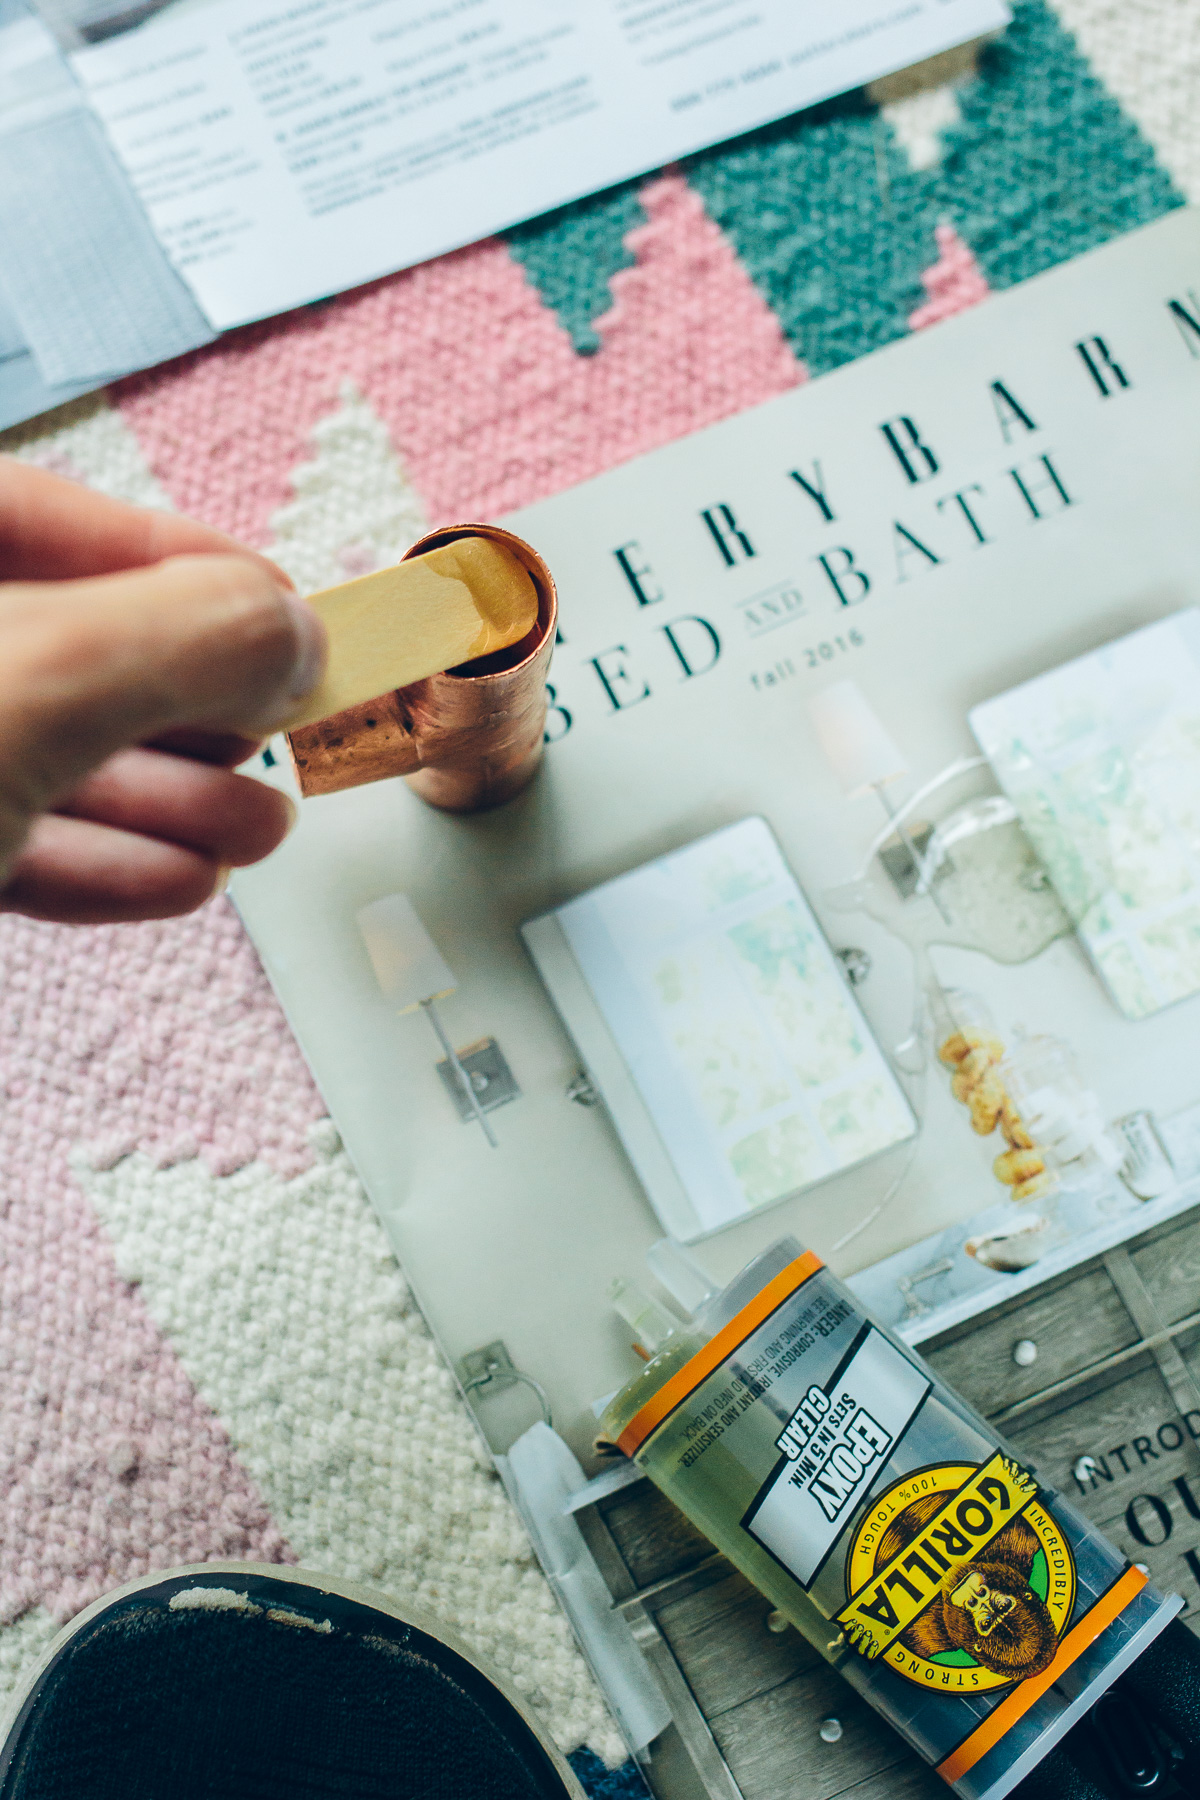
On a thick piece of cardboard or magazine, mix the epoxy. The epoxy sets in 5 minutes, so only work with a small amount at a time, and squeeze out more when you need it.
Start with the base of the clothing rack and glue the caps onto one end of each of the four short pieces. Then glue the uncapped ends into the either end of the tee to form a base. The last opening on the tee is for the longest pipes. Glue those on as well and let sit for 30 minutes to set.
Epoxy Tip! When you squeeze it out, use the enclosed popsicle stick to mix it—that’s key to forming that strong bond! You don’t need a ton of it. It’s super strong, and unfortunately smells like Nair (yuck!), but works very well. I would scoop some on the end of the popsicle stick and smear it around on the inside of the tees before connecting the pipes.
Step 4: The Top
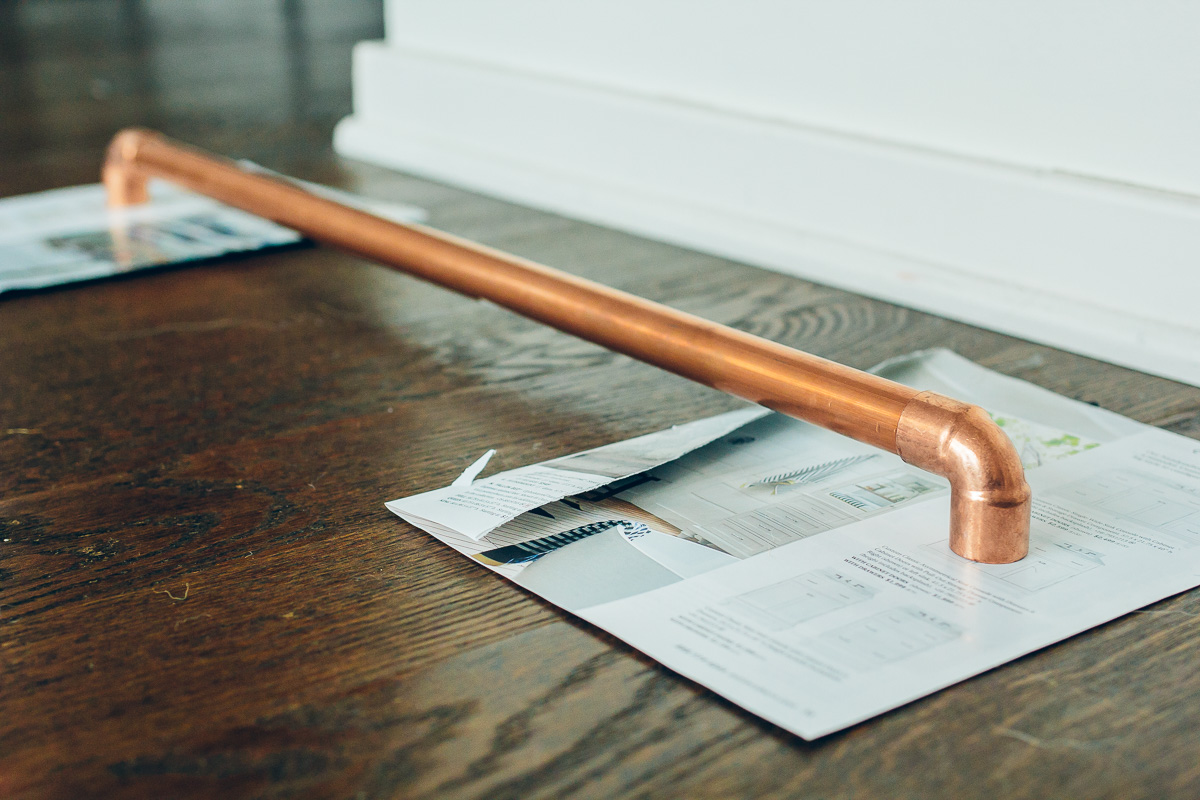
Meanwhile, start on the top! You have to pay a little bit more attention here! Grab your top pipe—the one that the clothes will hang from—and the two elbow connectors. Mix more epoxy and connect the first elbow. Before it sets, connect the second elbow and make sure that both elbows are level. I just stood them up on the ground to make sure they’d be level. If they’re not, the base will not sit properly! Wait 30 minutes for these to set as well.
Step 5: Complete the Clothing Rack
Again, pay attention here because you want the base pieces to be parallel to each other, and perpendicular to the top piece. Mix more epoxy and apply it to one of the elbows from the top piece. Attach one of the base pieces and make sure that they’re turned perpendicular to each other.
Do the same to the other side. Stand up the clothing rack and make sure that the bottoms are parallel to each other and that the whole thing looks right. The epoxy doesn’t set for 5 minutes, so you can tweak it a little before it’s totally stuck.
Let is dry like this for another 30 minutes. Once dry, move to it’s final location and hang your clothes on it!
Do like DIY projects? If so, what DIY projects have you completed lately?
P.S. I was recently featured over at Rank & Style! See my top picks for fall here!
BTW, how to make a DIY abstract painting, and DIY pom pom beach bag.





You must be logged in to post a comment.