Learn how to clean your makeup brushes properly so you can maintain healthy clear skin and have the best makeup application as well.
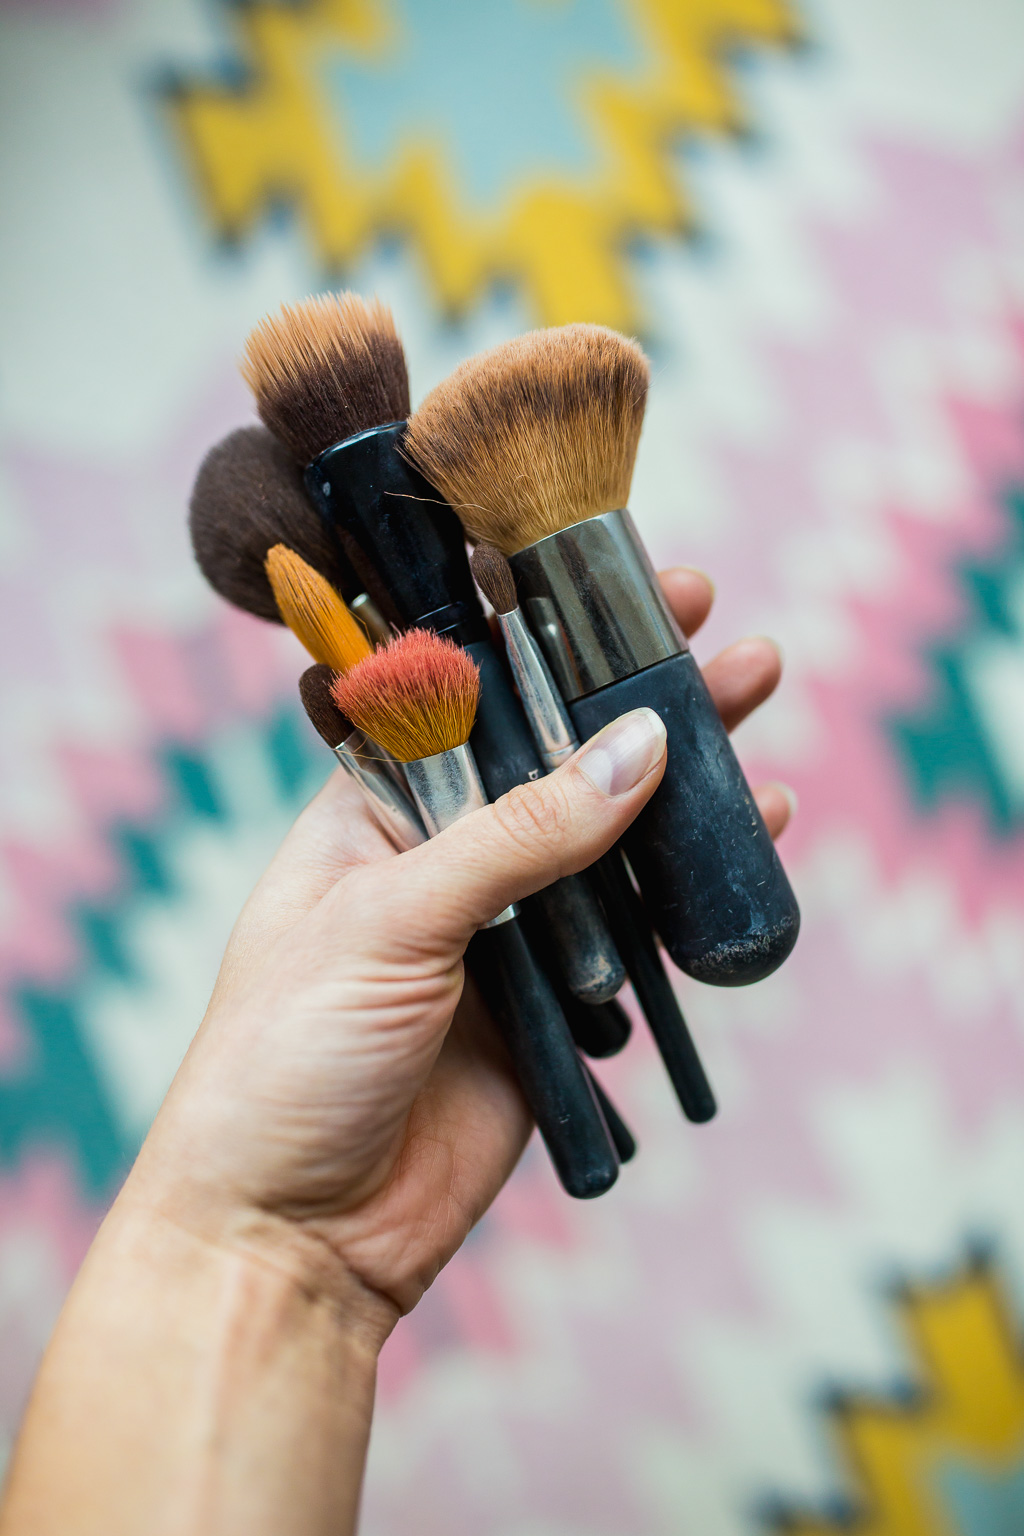
Are your makeup brushes feeling a little gritty, oily or sticky? Does your makeup go on and feel heavy and gross? It’s time to face the dirty truth about your beloved beauty tools.
While makeup brushes may seem innocent enough, they can actually harbor some not-so-pleasant surprises. From caked-on foundation to leftover eyeshadow, these brushes are a breeding ground for bacteria and germs. But fear not! With the right cleaning techniques, you can keep your brushes pristine and your skin healthy.
In this post, let’s reveal the dirty truth about makeup brushes and teach you with step-by-step instructions on how to clean them properly. We’ll explore why regular cleaning is essential for maintaining the longevity of your brushes and the health of your skin. Whether you use synthetic or natural brushes, I’ve got tips and tricks to help you tackle the task effectively and efficiently.
Let’s dive into the world of brush cleaning and discover the secrets to keeping your brushes clean, your skin happy, and your makeup looking its best.
The Importance of Cleaning your Makeup Brushes
If you’re like me, having oily, acne-prone skin means I’m constantly thinking of ways to help my skin not breakout. We buy fancy creams, lotions and even pay for expensive in-office treatments, but one simple thing that’s often overlooked and can make a big difference in keeping your skin healthy is the cleanliness of our makeup brushes.
As simple as it may seem, this practice is not just about maintaining a pristine set of tools; it’s a skincare essential and a key factor in ensuring the longevity of your favorite cosmetics.
Makeup brushes, like any other tools we use daily, accumulate bacteria, oils, and residual makeup over time. When neglected, these brushes become breeding grounds for harmful bacteria that can lead to skin irritations, breakouts, and other dermatological issues (the same goes for your hair tools too!).
Regularly cleaning your brushes helps eliminate these nasties, promoting healthier skin and preventing potential infections. Think of this an extension of your self-care ritual!
Beyond the health benefits, cleaning your makeup brushes also plays a pivotal role in the performance of your products. When brushes are caked with old makeup, they become less effective, hindering your ability to achieve that flawless finish you desire. Clean brushes ensure the true color payoff of your cosmetics, allowing you to unleash the full potential of your favorite eyeshadows, blushes, and foundations.
Moreover, investing time in cleaning your brushes can save you money in the long run. By extending the life of your tools, you reduce the need for frequent replacements. Proper maintenance not only preserves the quality of your brushes but also safeguards the financial investment you’ve made in your makeup collection. It’s a win-win situation—your skin stays healthy, your makeup looks impeccable, and your wallet thanks you.
Cleaning your makeup brushes is an indispensable practice that goes beyond aesthetics. It’s a commitment to your skin’s well-being, a better experience for applying makeup, and a smart financial move.
So, can we agree to make cleaning our cosmetic brushes a non-negotiable step in our beauty routine?
How to Tell if You Need to Clean your Cosmetic Brushes
Now you know why you need to clean your brushes, but how do you know if they need a cleaning?
A simple visual inspection can reveal telltale signs of dirt and grime buildup. If your brushes appear discolored or have a noticeable residue of old makeup, it’s a clear indicator that they are in need of a thorough cleanse.
Run your fingers through the bristles—if they feel stiff, sticky, or clumped together, it’s a sign that oils, bacteria, and product residue have accumulated. Additionally, an unpleasant odor emanating from your brushes is a surefire signal that it’s time for a cleaning session.
How Often Should you Clean your Makeup Brushes
Experts recommend cleaning your brushes at least once a week, especially for those used with liquid or cream products. Brushes used for powder products can be cleaned every two weeks. However, if you have sensitive or acne-prone skin, consider cleaning your brushes more frequently to minimize the risk of breakouts and skin irritations.
I totally get that we have busy lives and thinking about adding one more thing to our weekly schedule is a lot. At the very least, I think every two weeks is great if you don’t have the time do it more often. I couple it with cleaning my hair brushes, doing a hair oil treatment and a face mask on Sunday to kickstart my week!
Okay, now onto the good stuff—here’s how I quickly and easily clean my makeup brushes at home:
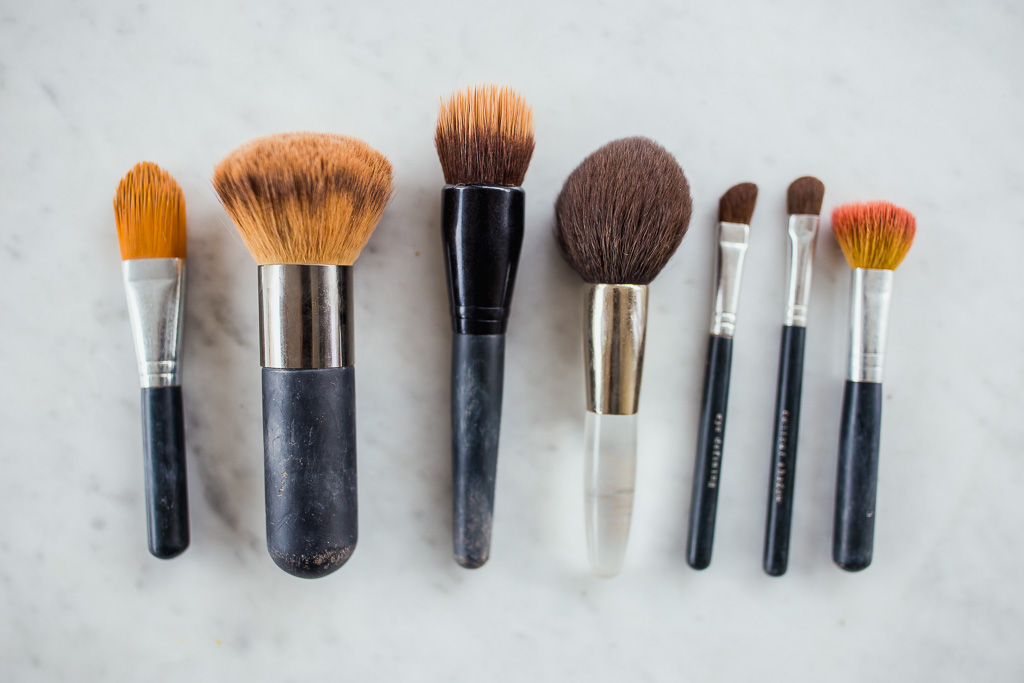
Step-by-Step Guide: How to Easily Clean Your Makeup Brushes at Home
Step 1: How to Clean Cosmetic Brushes—Start with a Gentle Cleanse
Makeup brushes have soft, delicate bristles, so it’s best to wash them gently!
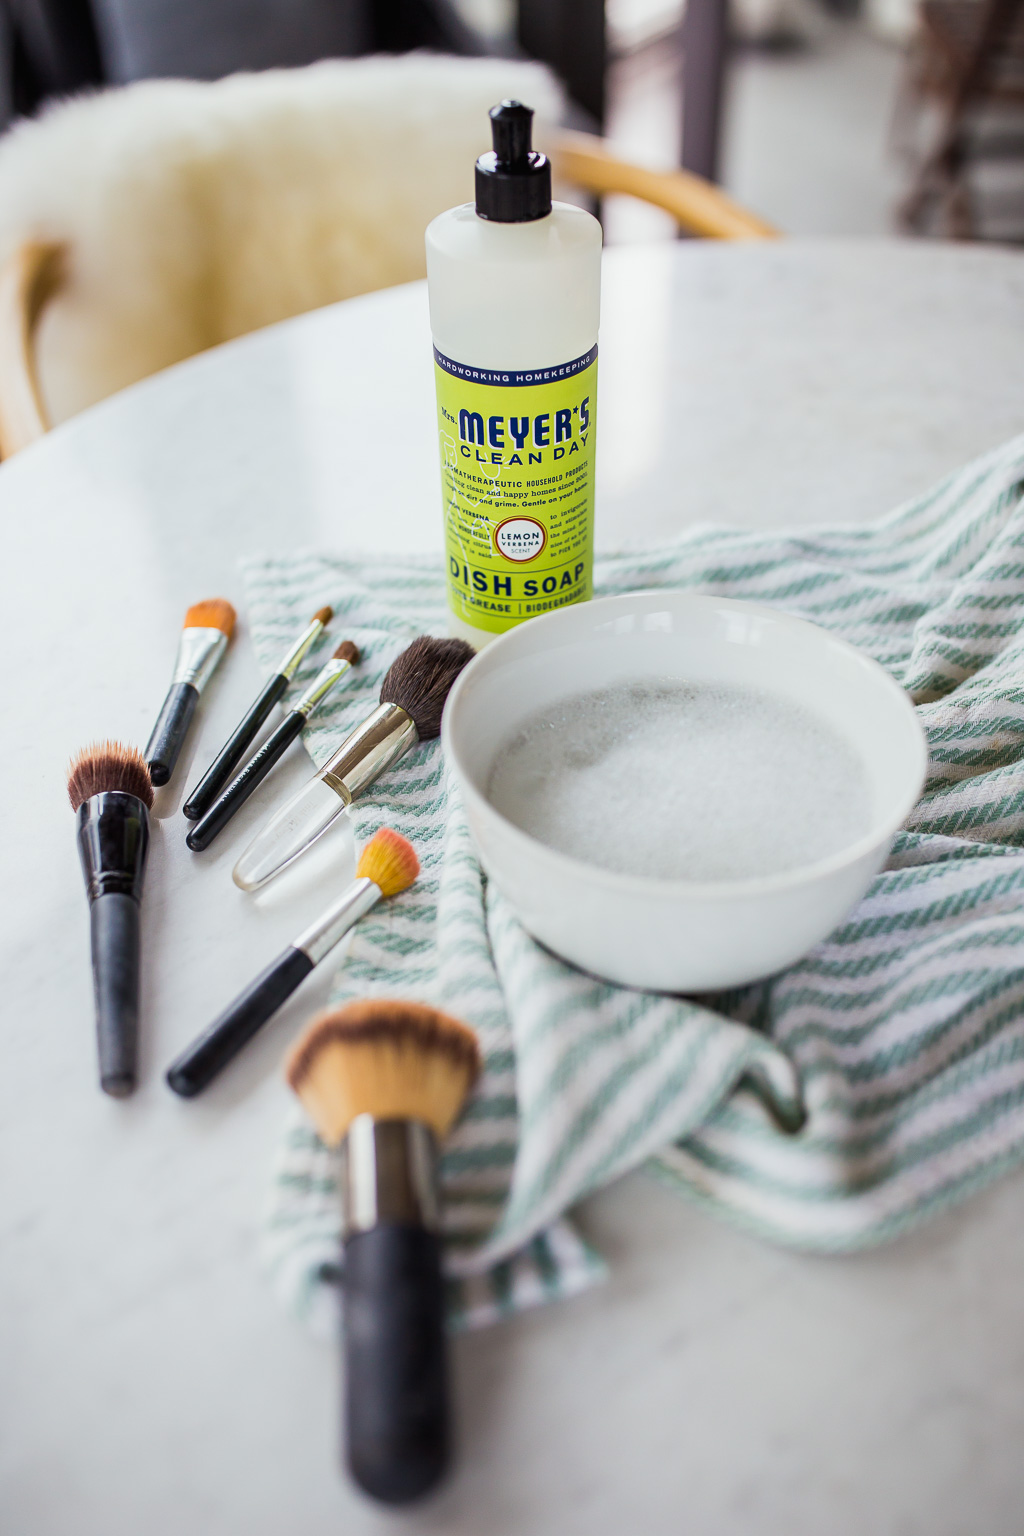
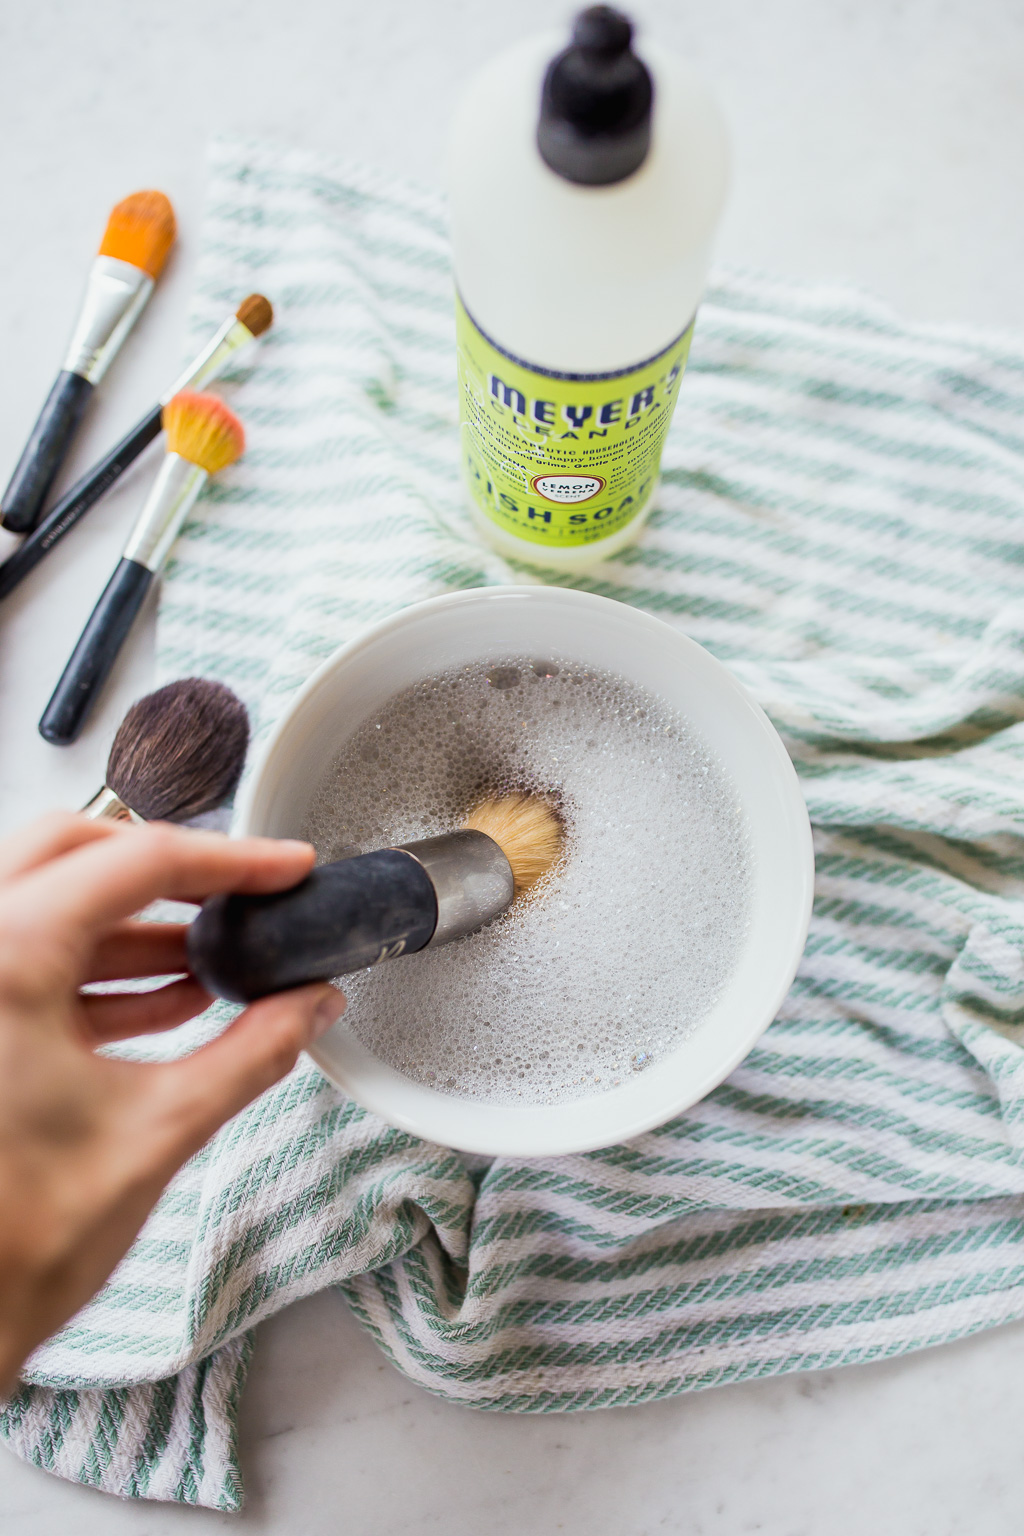
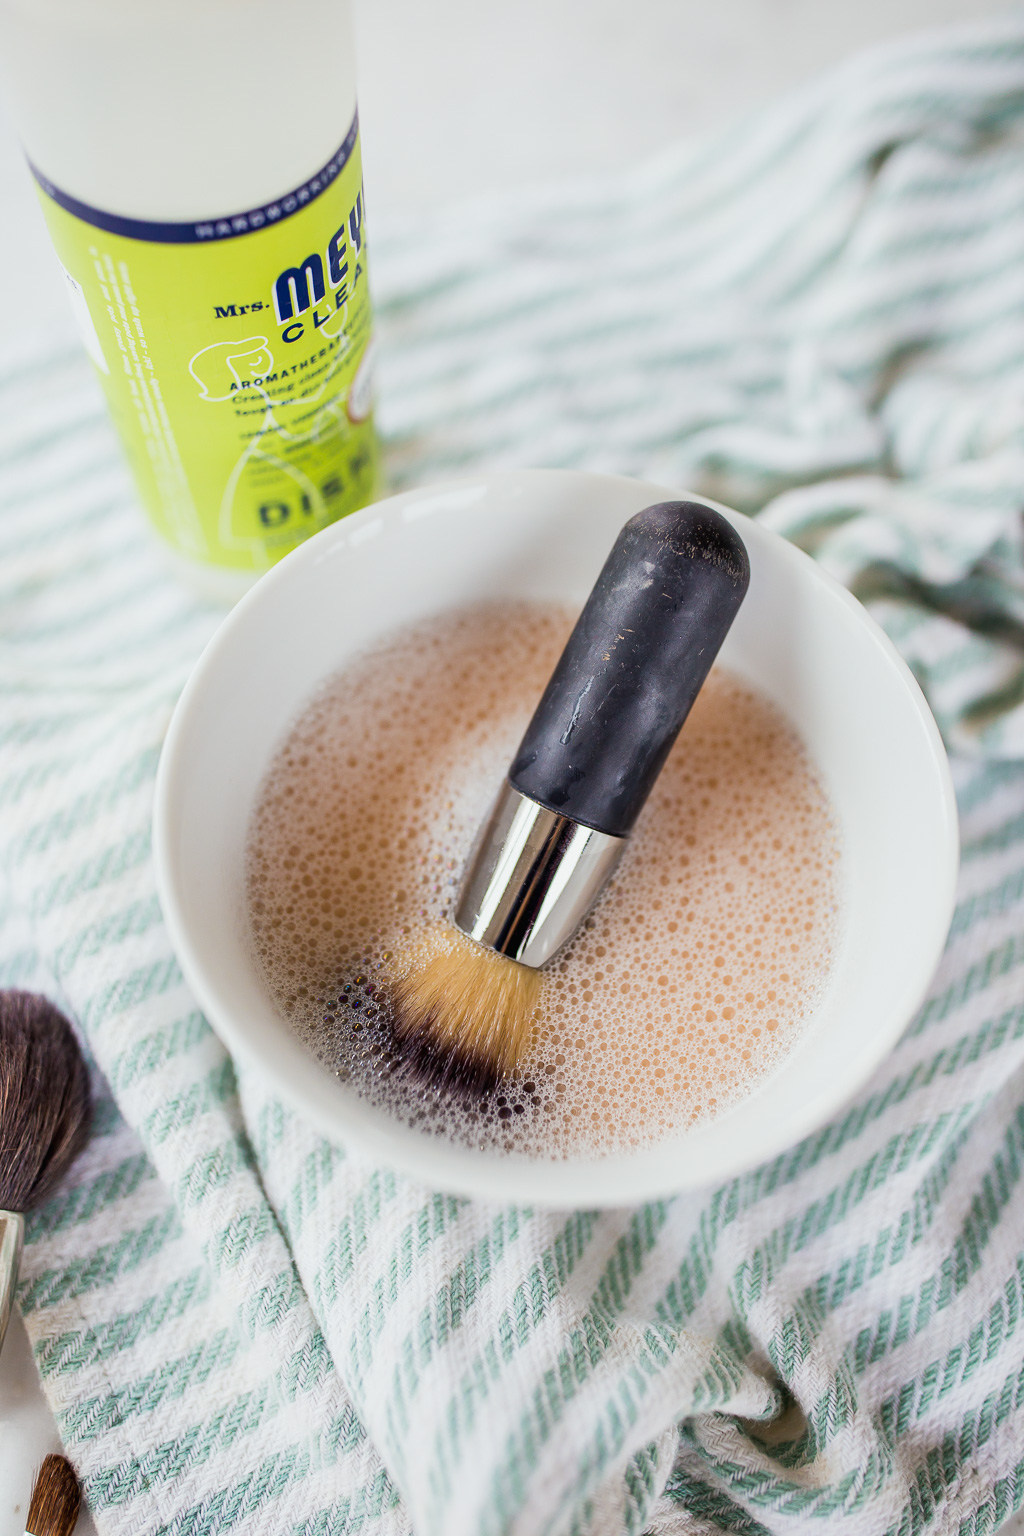
Mix a little soap into a small bowl with warm water. Wash one brush at a time, swirling the brush in the warm, soapy water until clean. If they’re really dirty, you might have to empty the bowl and do this a few times until it’s clean. You can also use a silicone cleaning mat for getting all that build-up out.
Rinse brushes with warm water. With each brush, start with clean soapy water so you’re not transferring bacteria.
Step 2: Reshape your Cosmetic Brushes
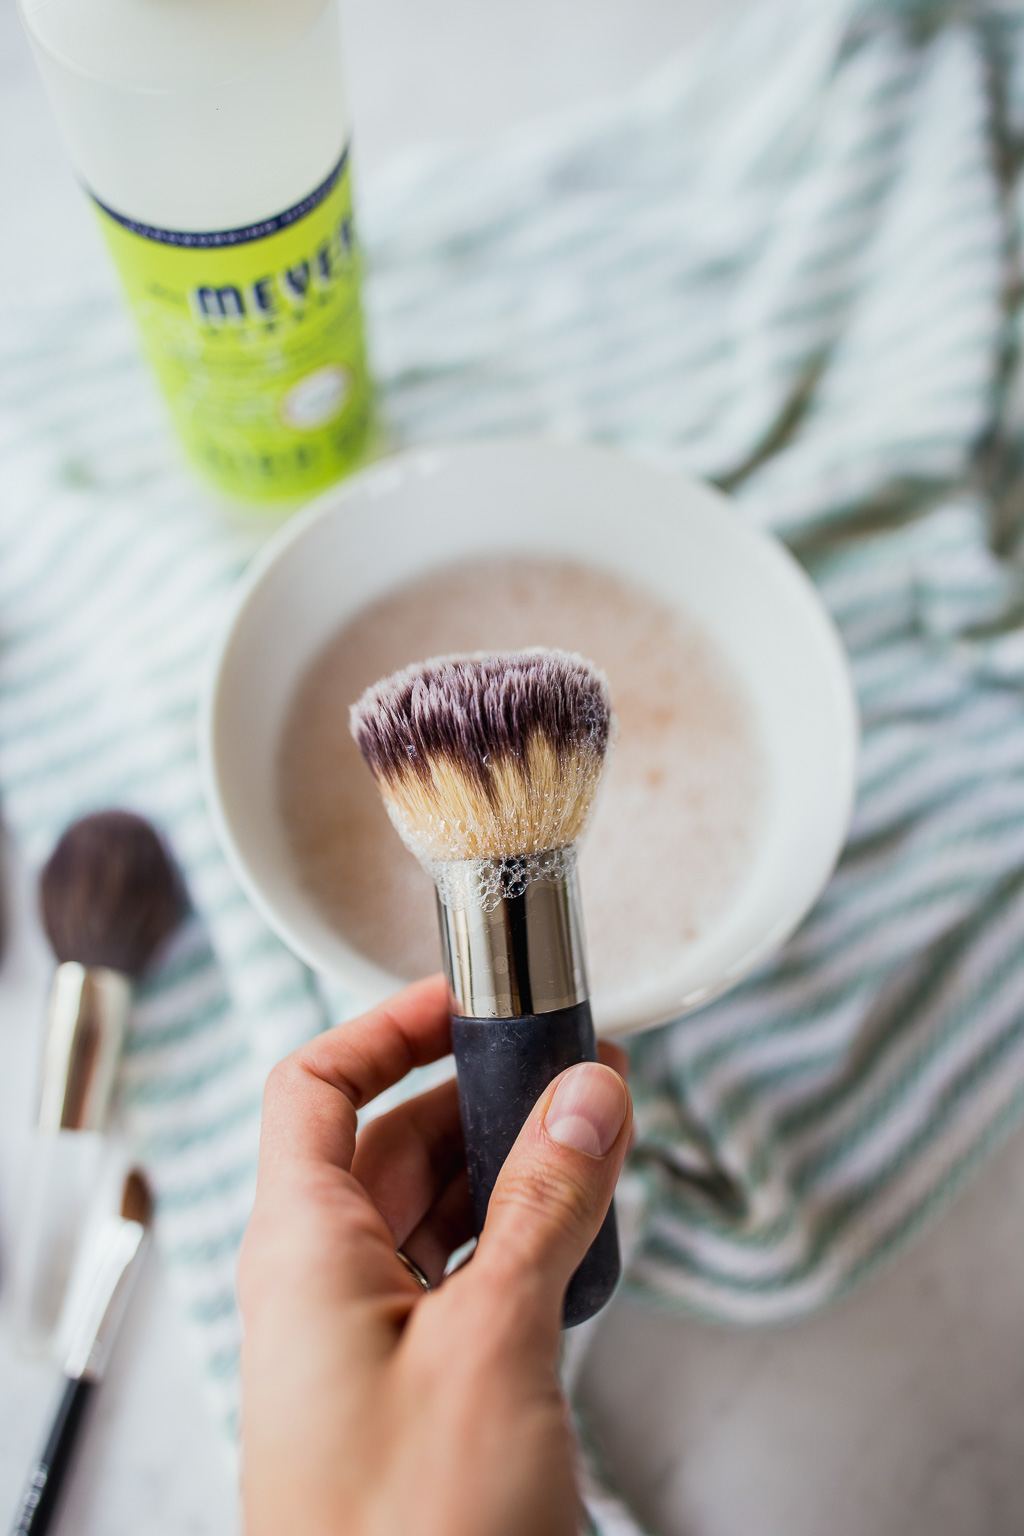
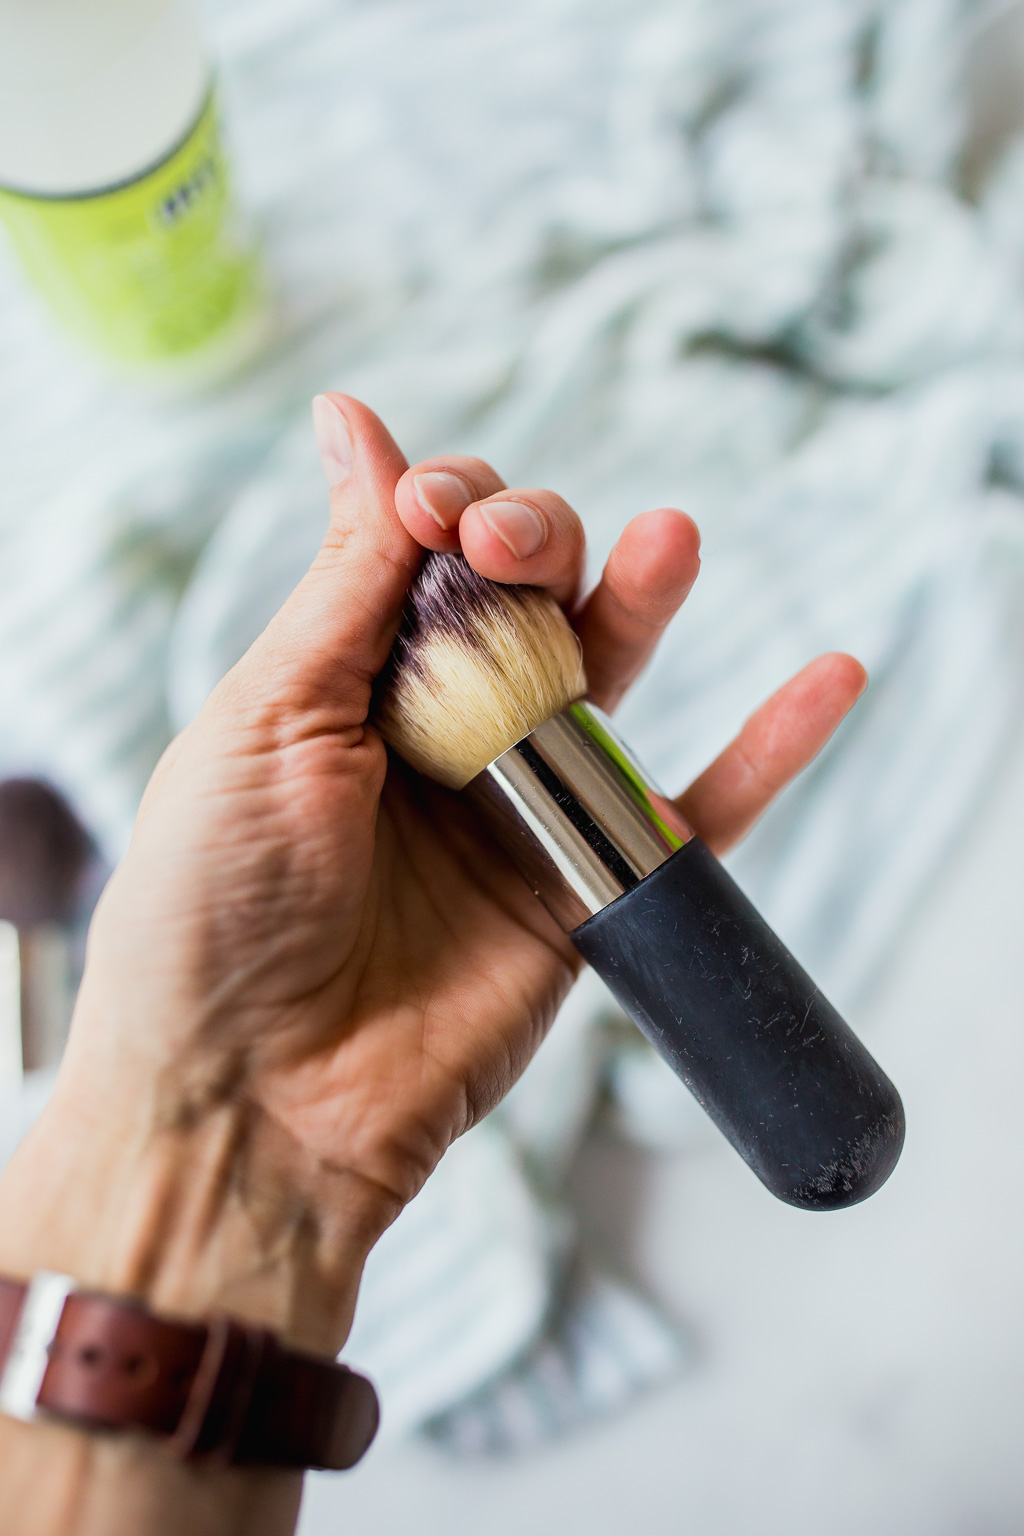
Before you just lay your brushes down to dry, make sure you’ve squeezed (gently) most of the water out of them and make sure you reshape them. You don’t want them drying in bizarre shapes or with the bristles poking out every which direction.
With clean hands, gently squeeze the top of the brush to reshape.
Step 3: Fully Dry your Makeup Brushes
Once you’ve reshaped them, lay them on a clean dish towel or paper towel to dry. You can turn them once throughout the day too.
Wait until they are completely dry to use them again. I usually wash mine in the morning and won’t use them again until the next day, which gives my face a day off of makeup!
This is the simplest way how to clean your cosmetic brushes at home with no fancy tools!
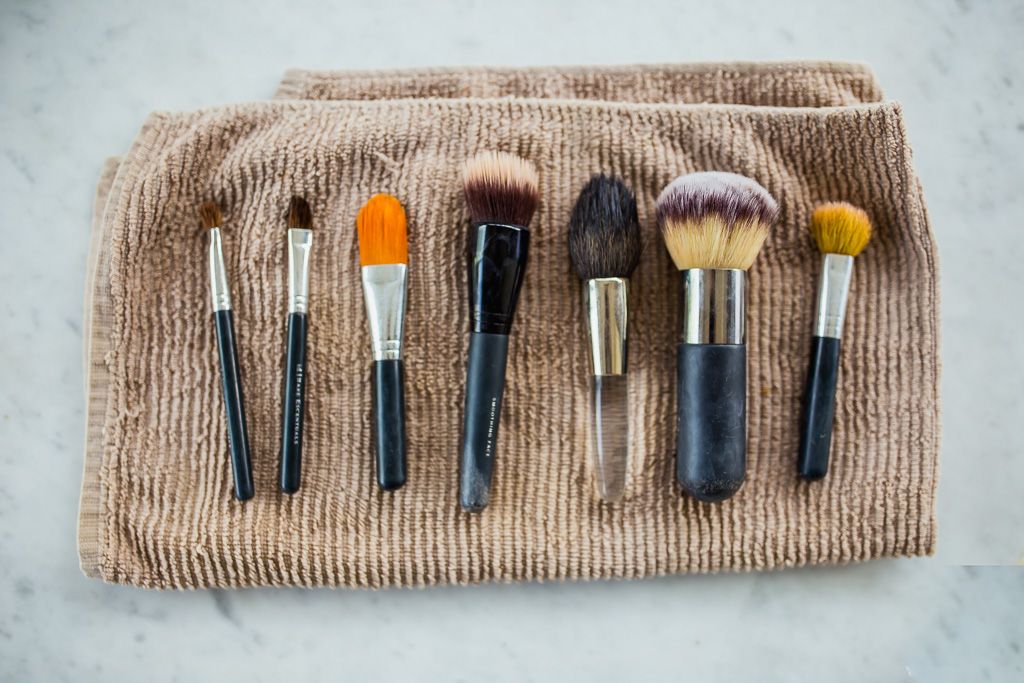
DIY Brush Cleaning Solutions
There are makeup brush cleaning solutions you can purchase, but you can easily make your own cleaning solution at home. It’s cheaper, works just as well and you won’t have to have anything special.
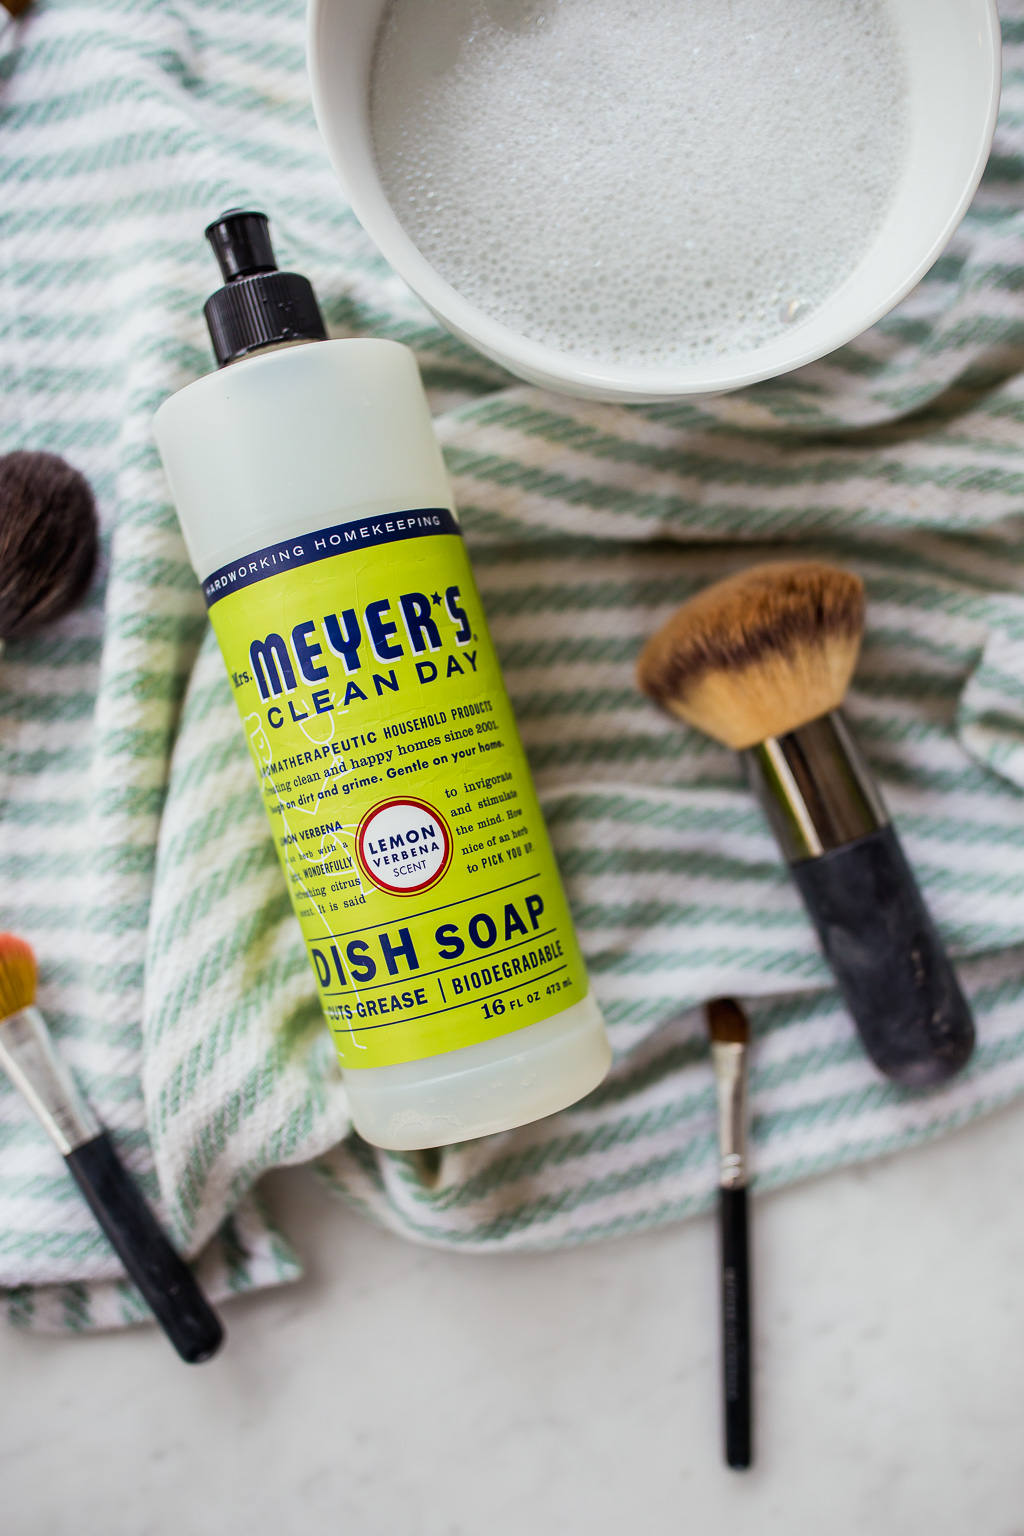
I used to use Mrs. Meyer’s liquid dish soap, which is mostly plant-derived. Lately, also have used Branch Basics—just a capful of the concentrate mixed with warm water. Any all-natural or organic soap would do the trick, but I’d recommend staying away from any dish soaps that have harsh chemicals or artificial fragrance that might irritate your skin.
Those chemicals aren’t good for your skin and second, they’ll likely dry out your brushes, shortening their lifespan.
You can also use an all-natural or organic bar of soap. Just get it wet and swirl your brushes directly on the bar of soap, rinsing in between. Just make sure you fully rinse the bar of soap when you’re finished if you go that route.
These same techniques would work with a beauty blender or beauty egg as well.
Tools and Accessories for Cleaning Makeup Brushes
While you don’t really need anything other than a bowl and some soap, there are some great tools out there that can help you clean your makeup brushes and beauty blenders effectively and quickly!
Silicone Brush Cleaning Mat
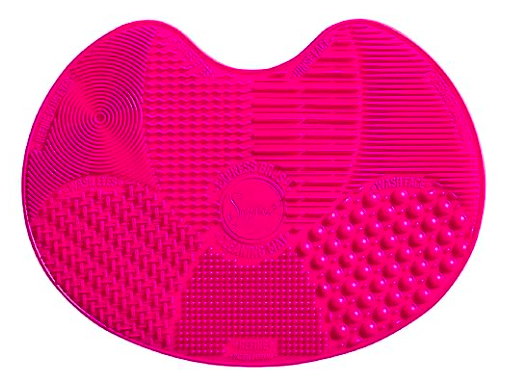
These cleaning mats can help remove buildup and grime from makeup brushes gently. When you’re done with your mat, make sure to clean it thoroughly before storing.
Portable Cleaning Pad
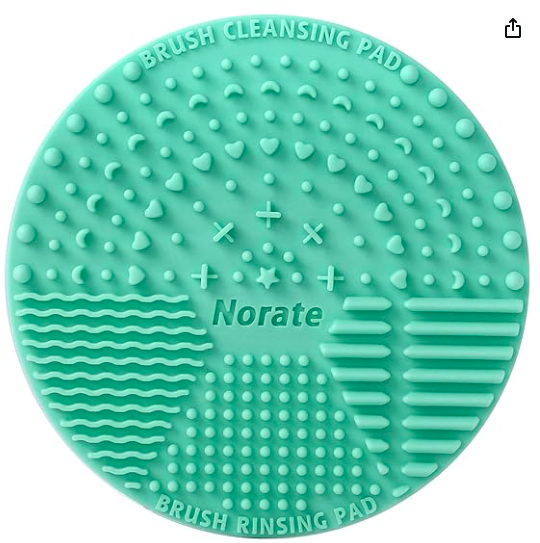
This mini mat is great if you’re traveling or just want something smaller.
Electric Makeup Cleaning Machine
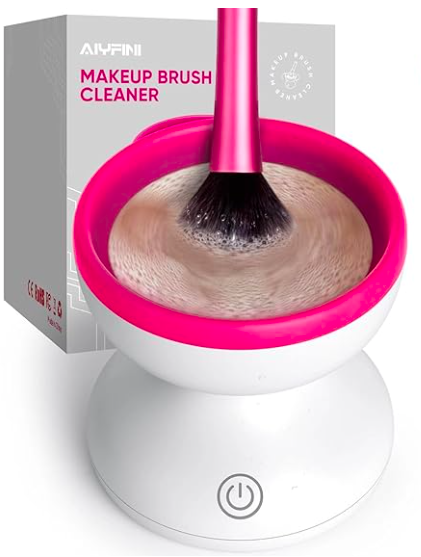
With thousands of positive reviews, this electric brush cleaner does all the work for you.
Makeup Brush Cleaner & Dryer
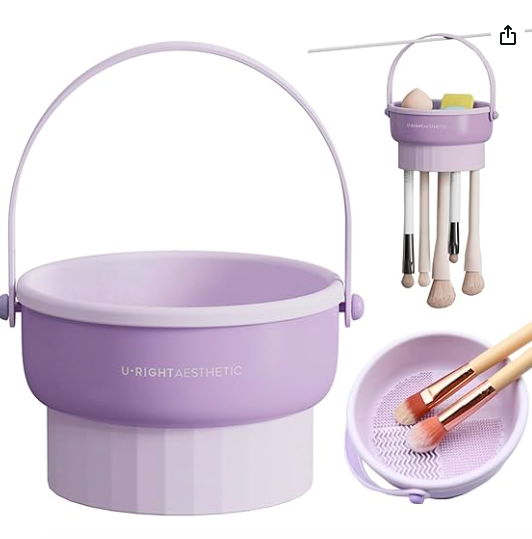
This final product is an all in one cleaner, dryer and storage device for your makeup brushes. It has amazing reviews as well and is compact for storing under your sink or in a cabinet when you’re not using it.
Drying and Storing your Makeup Brushes
Properly storing your makeup brushes not only preserves their shape but also maintains hygiene and prolongs their lifespan—all the things we want!
To keep them in pristine condition, consider investing in a brush holder or organizer with separate compartments to prevent bristle deformation and cross-contamination. Make sure you’re regularly wiping these clean to keep them from transferring bacteria.
If you’re looking for a budget-friendly option, glass jars or cups work well, too. I love using old pretty candle jars for countertop storage. Make sure to store brushes upright, with the bristles facing upward, to allow them to air-dry and maintain their form. Avoid overcrowding to prevent bristle bending!
If you’re on the go, consider using a makeup brush roll or case to protect your brushes from damage. By implementing these storage practices, you’ll ensure that your makeup brushes are always ready for use and last a long time.
Signs that It’s Time to Replace your Makeup Brushes
While regularly cleaning your cosmetic brushes can greatly increase the lifespan of them, eventually they will need replacing. If your brushes are having any of these issues even after you’ve cleaned them, it may be time to replace them:
- Frayed Bristles: If you notice the bristles of your makeup brush becoming splayed, frayed, or losing their original shape, it’s a sign that the brush is past its prime.
- Shedding: Excessive shedding of bristles, where you consistently find hairs on your face during makeup application, indicates that the brush has reached the end of its usable life.
- Unpleasant Odor: If your brushes emit a foul or musty smell, even after cleaning, it may be a sign of accumulated bacteria and product residue, signaling the need for replacement.
- Persistent Breakouts: If you’ve been experiencing unexplained breakouts or skin irritations despite maintaining a regular cleaning routine, it might be time to switch out your brushes as they could be harboring bacteria.
- Discoloration: Brushes that have changed color, either due to product staining or discoloration of the bristles themselves, may not only affect the aesthetics but also indicate a decline in the brush’s overall condition.
- Loose Ferrule: If the metal part (ferrule) that connects the bristles to the handle becomes loose, wobbly, or detached, it compromises the structural integrity of the brush, making it less effective and more prone to damage.
- Rough Texture: Brushes that once felt soft and luxurious but now have a rough or scratchy texture can compromise the comfort and effectiveness of your makeup application.
The importance of cleaning your makeup brushes is more than mere cosmetic upkeep. It is a fundamental aspect of both skincare and makeup application hygiene. Regular cleaning not only safeguards your skin from potential breakouts and irritations caused by bacteria and product residue but also ensures the longevity and effectiveness of your favorite beauty tools.
The investment of time and care in maintaining clean brushes pays off in a radiant, clearer complexion and flawless makeup application. I hope this inspired you to add this essential self-care ritual to your routine.
Have you ever cleaned your makeup brushes? How often do you clean them and how do you clean them?
BTW, my current Beautycounter skincare routine, and 3 daily skincare non-negotiables.



You must be logged in to post a comment.