Looking for an easy way to curl your hair with a flat iron? Learn how in my tutorial, plus all my best tips.
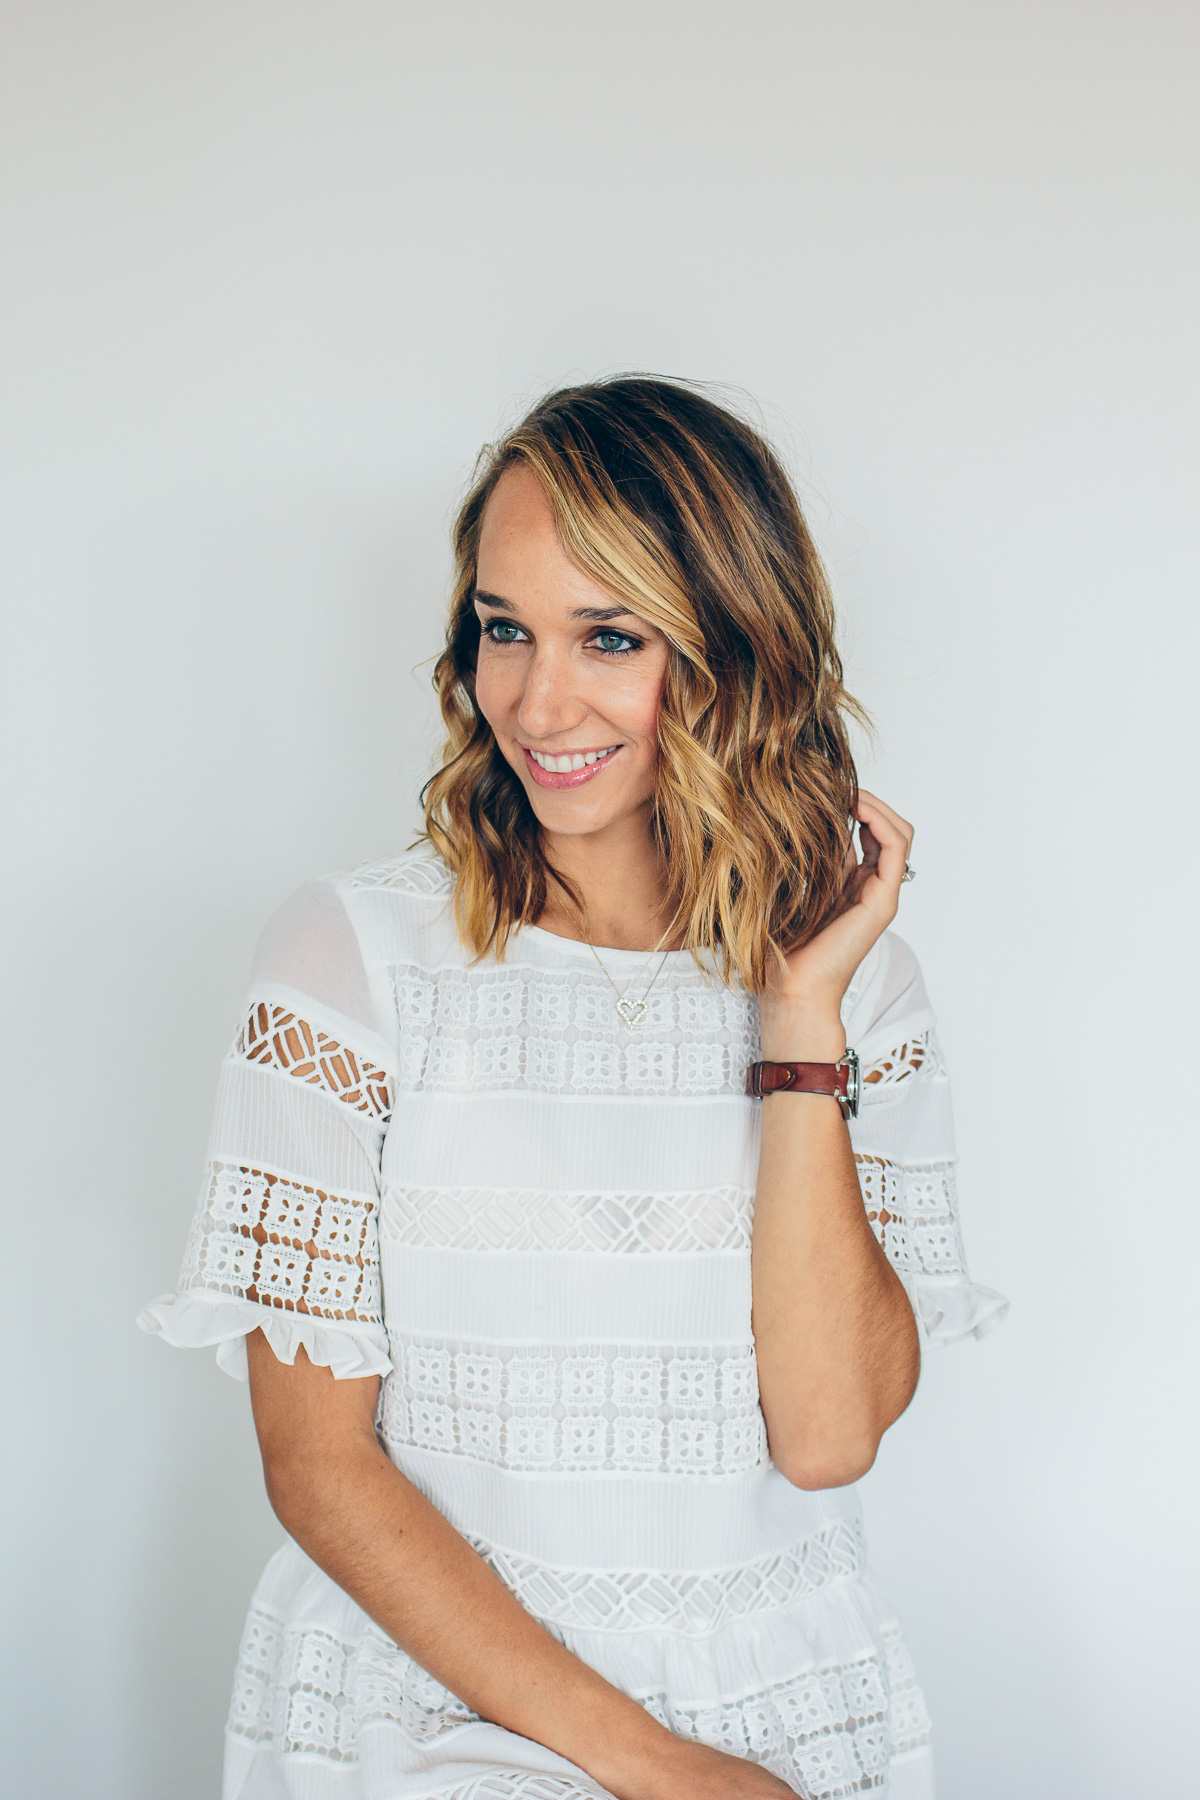
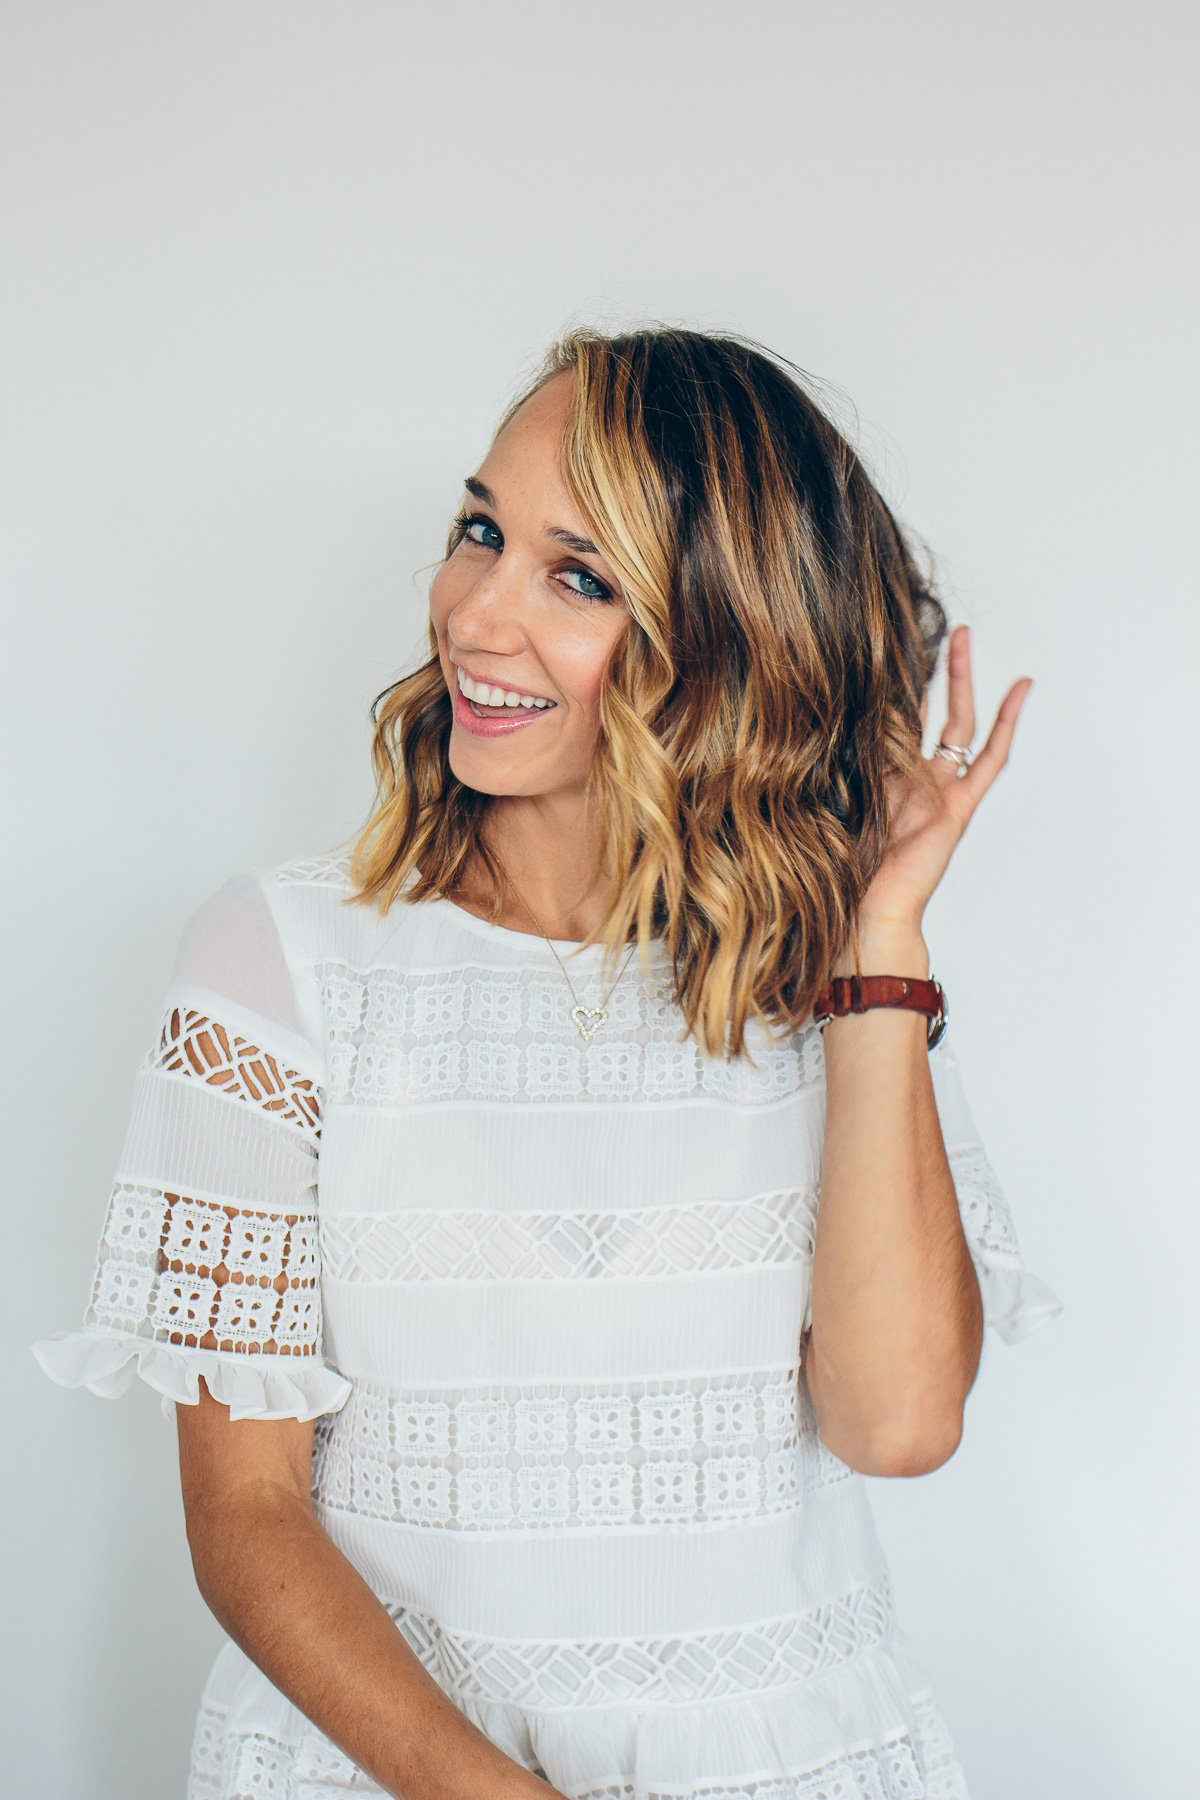
If you’ve been around my blog for a while, you’ll know that I love a drastic cut. I’ve gone from super long to super short numerous times in my life, and while I’m currently growing out my locks, I can’t help but be tempted to chop it again because I love this hairstyle so much. It took me a while to learn how to curl my hair with a flat iron, but I finally nailed it down.
In this post, I’ll show you exactly how to curl your hair with a flat iron so you can avoid all the trial and error, because believe me—there was plenty of it!
The only reason I’ve regretted past haircuts like this is because I never took the time to learn how to properly style my mid-length cut. I’d wake up with crazy hair, or try using a curling iron, only to end up looking more like I had ringlets instead of the loose waves I was going for.
What I learned from my hairstylist was that a flat iron was the perfect tool for getting the look I wanted with this length of hair.
What I love about curling my hair with a flat iron is that you don’t need a separate tool just to do curls! It’s quick and easy once you master it too. You’ll be well on your way to pretty soft waves in just a few minutes—let’s go!
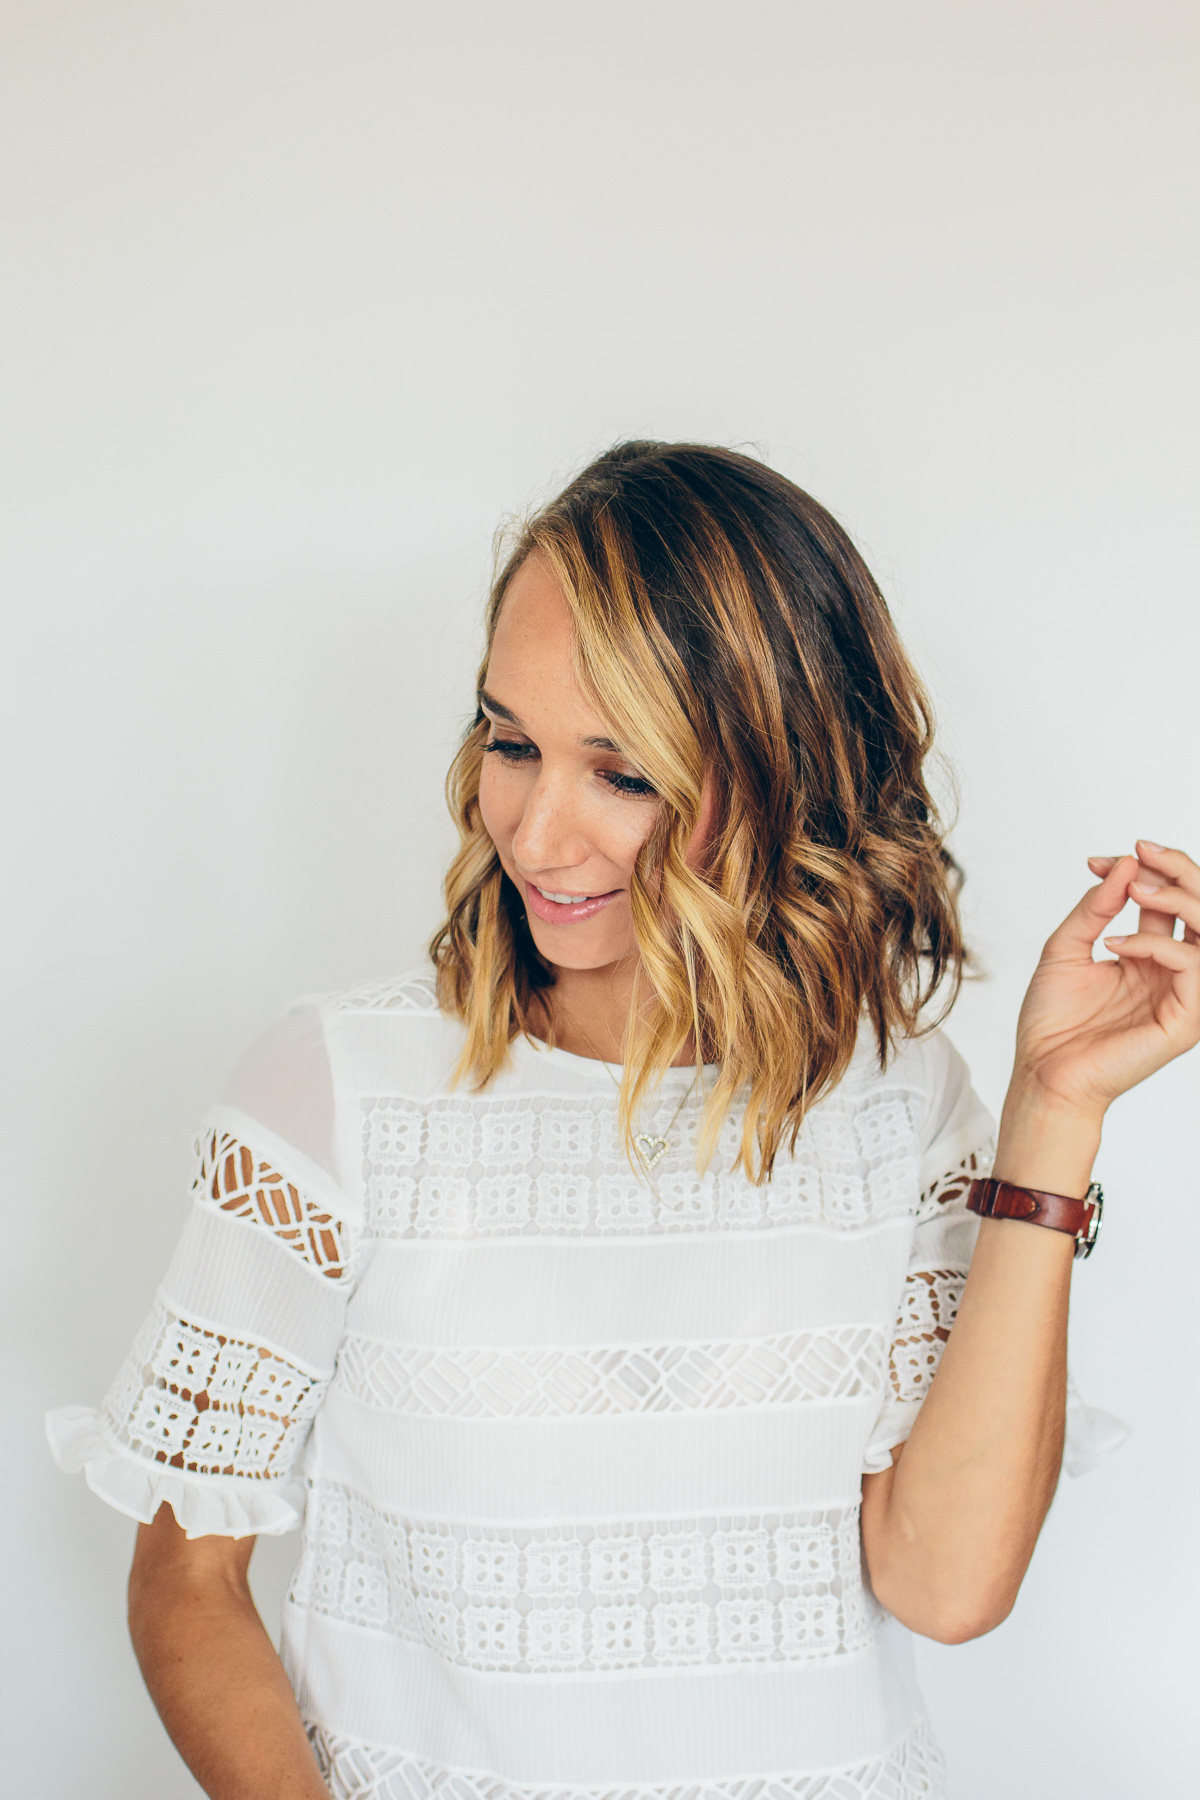
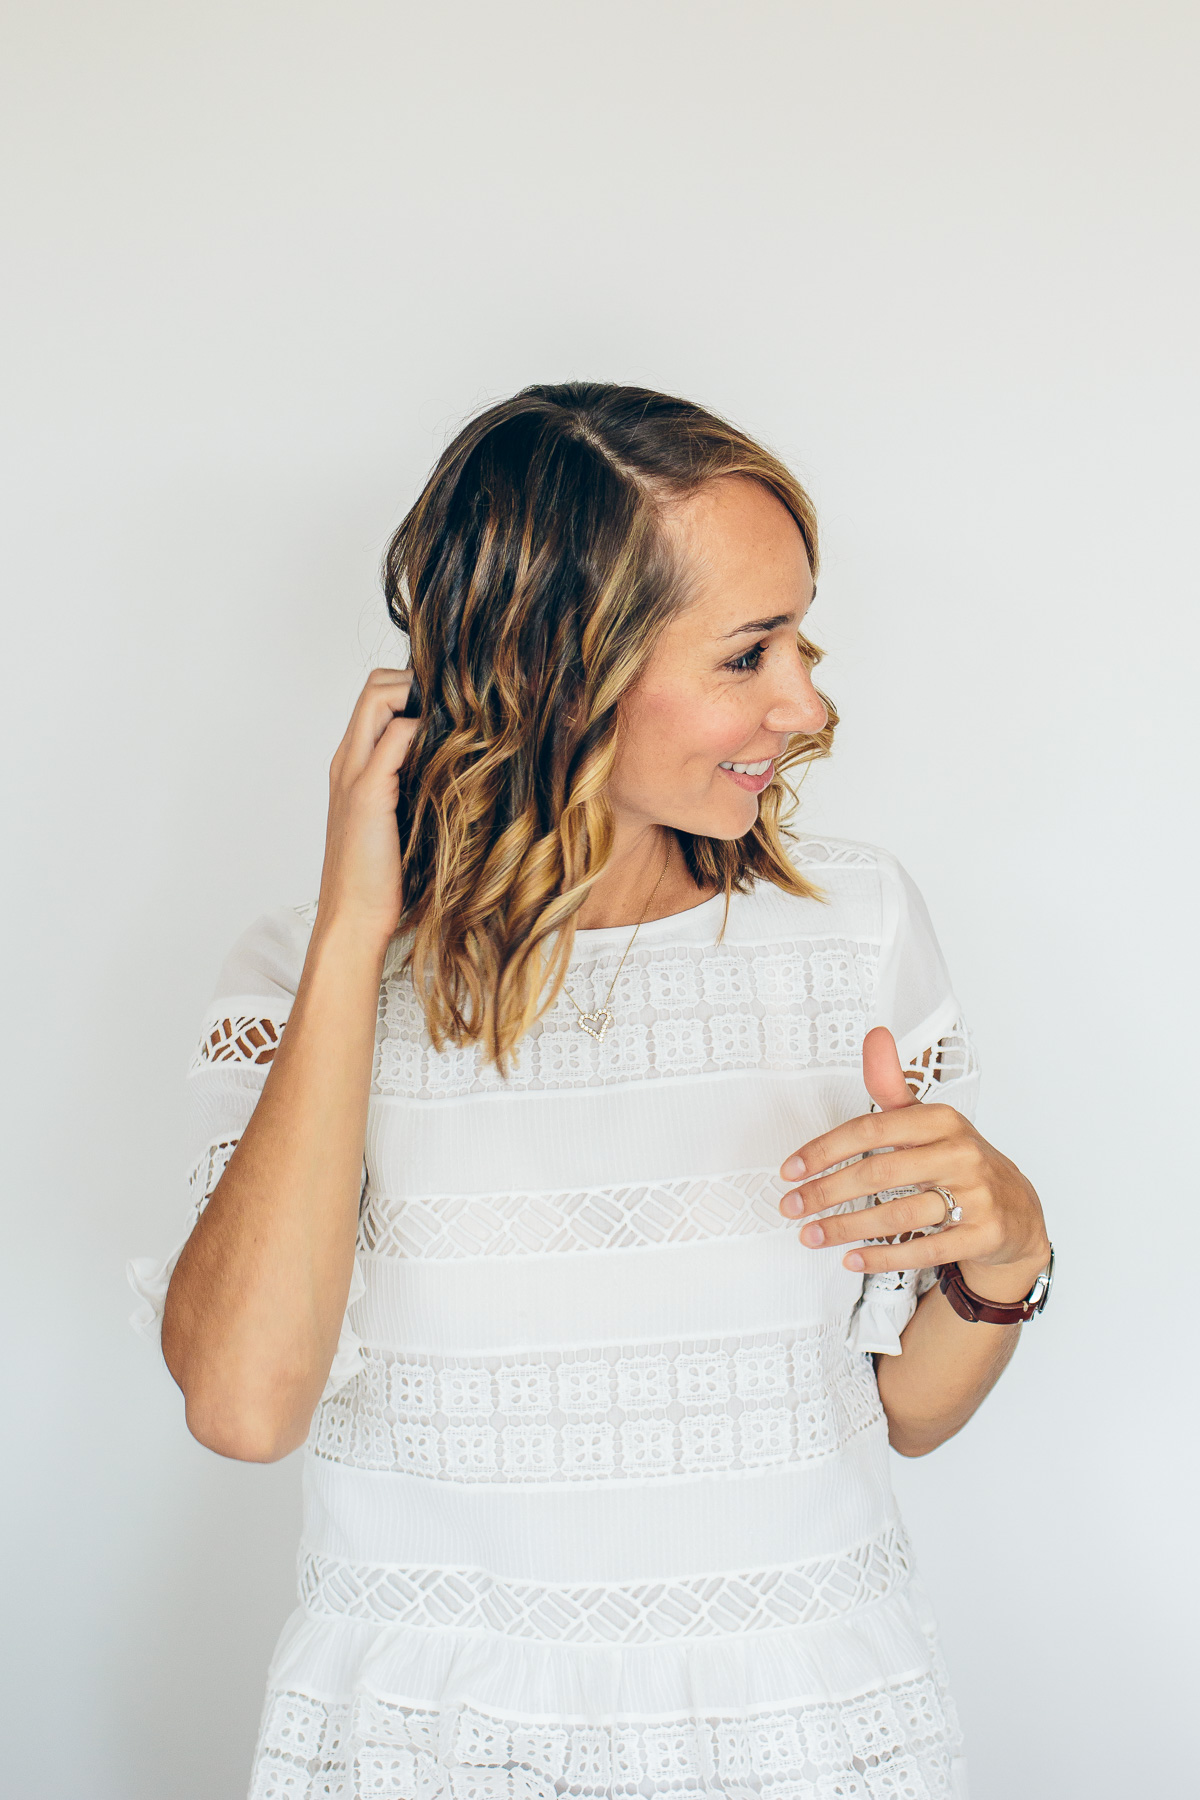
How to Curl Your Hair with a Flat Iron
Benefits of Using a Flat Iron to Curl your Hair
Here’s a few more reasons why I love using a flat iron to curl my hair:
- You might already have one: after years of trying to make my hair only straight, I have a great straightener, so I didn’t need to go out and buy another tool
- It’s quick & easy: my straightener heats up quickly and this method doesn’t require much time, especially for short or medium haircuts
- Curls last longer: I find that when I use a curling iron, my curls fall quickly, but when I use my straightener, they hold much longer
- Touch-ups are a breeze: After a day or two, you can easily touch up your curls and make your hairstyle last longer
Types of Flat Irons Suitable for Curling
When choosing a flat iron for curling your hair, you want to pick one that’s narrow. If it’s too wide, you’ll end up with weird kinks. A small one allows for more natural curls.
I have this one from T3 and absolutely love it. It’s lasted me years and has variable heat settings so you can turn the temperature up or down for looser or more defined curls.
How to Prepare your Hair
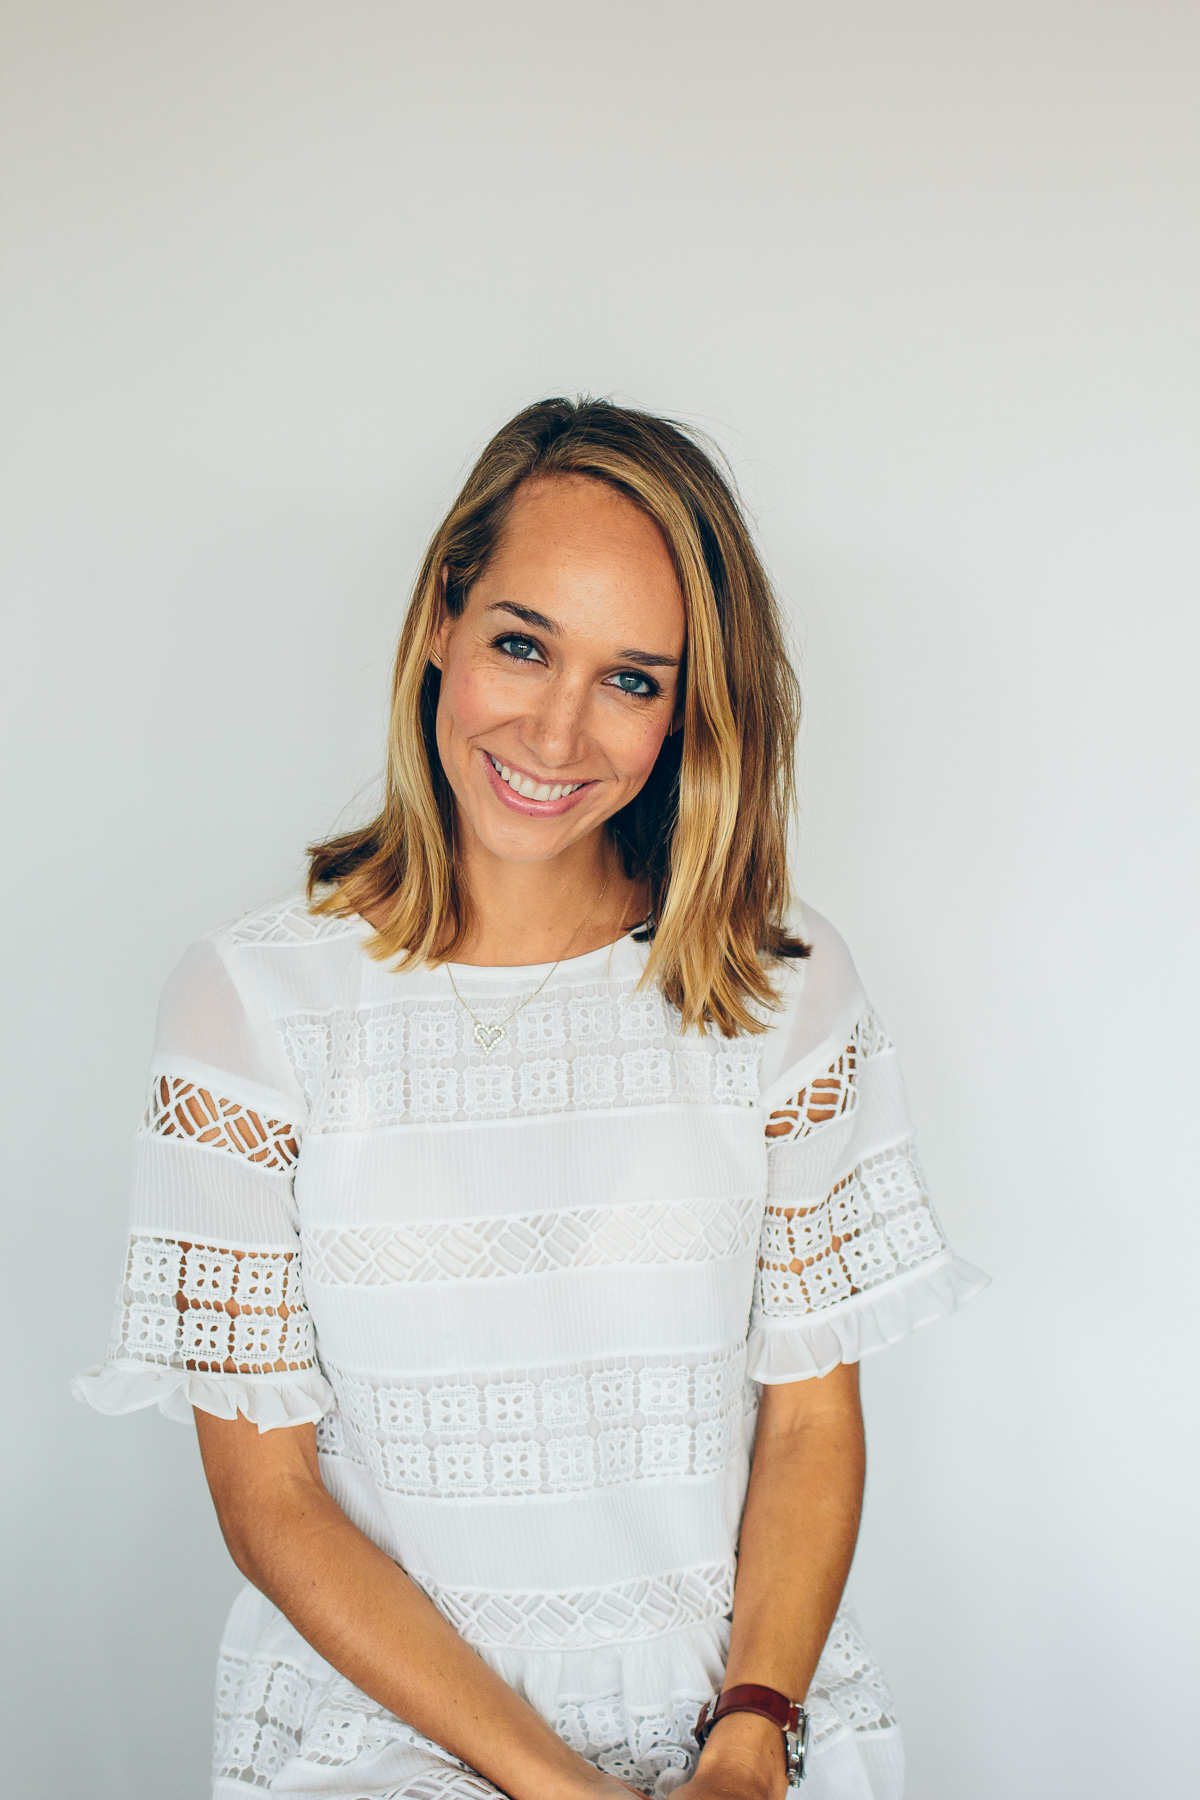
While you can start with clean hair, I find that second (or third) day hair works best and holds a curl longer. Make sure it hasn’t been heat-treated before you start curling—like no previous straightening or curling. Again, you can still try, but it may not hold as well.
Blow drying is totally fine! In fact, if I plan on curling my hair, I have to blow dry it because my hair is naturally wavy. Starting with somewhat straight hair is better and gives you a better end result.
Prep with a Heat Protectant
Before curling, brush through your hair to get rid of any tangles and spray on a heat protectant on hair, while not totally necessary, this will help protect your locks and give your healthier hair in the long run. These also combat frizz and dryness and will leave your hair looking silkier and smooth!
Here are some great options to try:
Step-by-Step Guide to Curling your Hair with a Flat Iron
1. Heat your Flat Iron
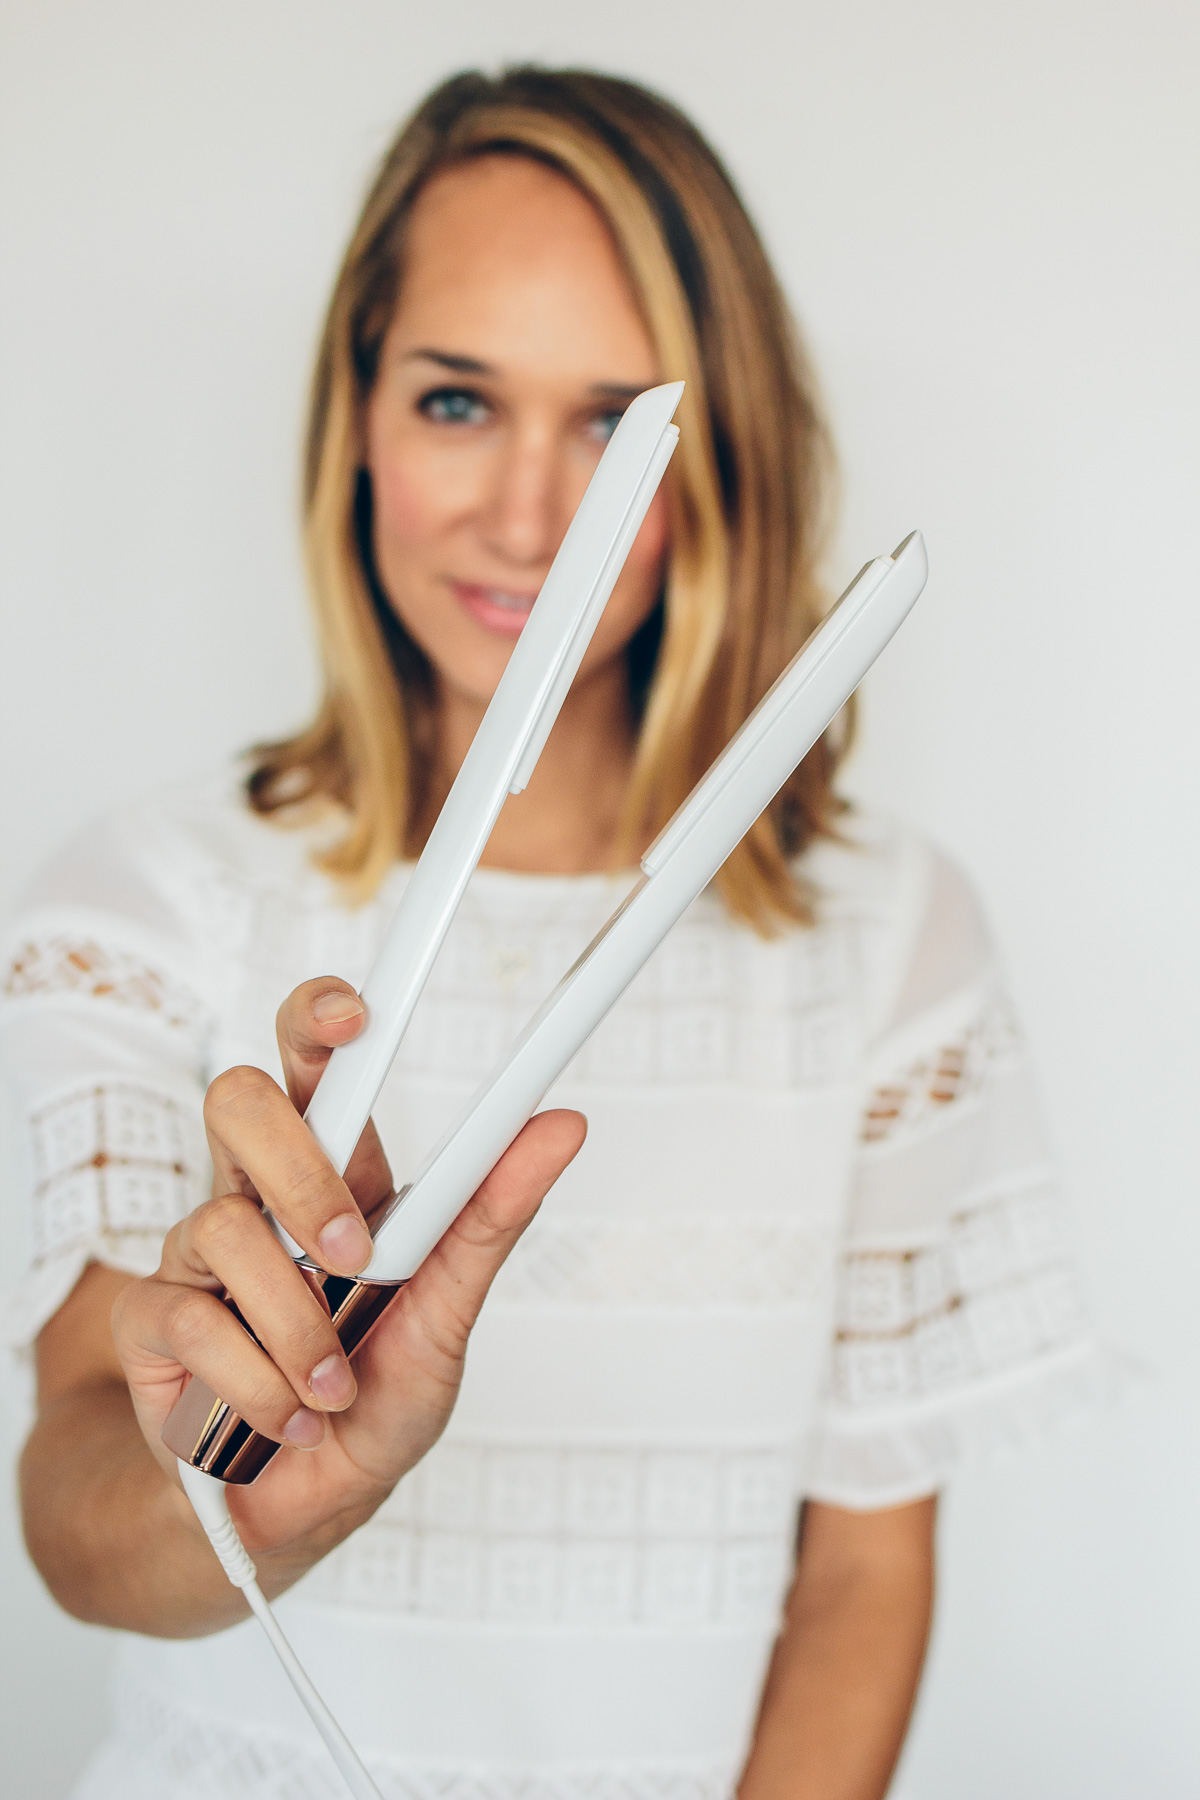
I typically choose the lowest heat setting so that I don’t get overly set curls, but if your hair doesn’t hold a curl well or you want more pronounced curls, you can turn up the heat a bit more until you find the right temperature for your hair.
2. Curl your Hair
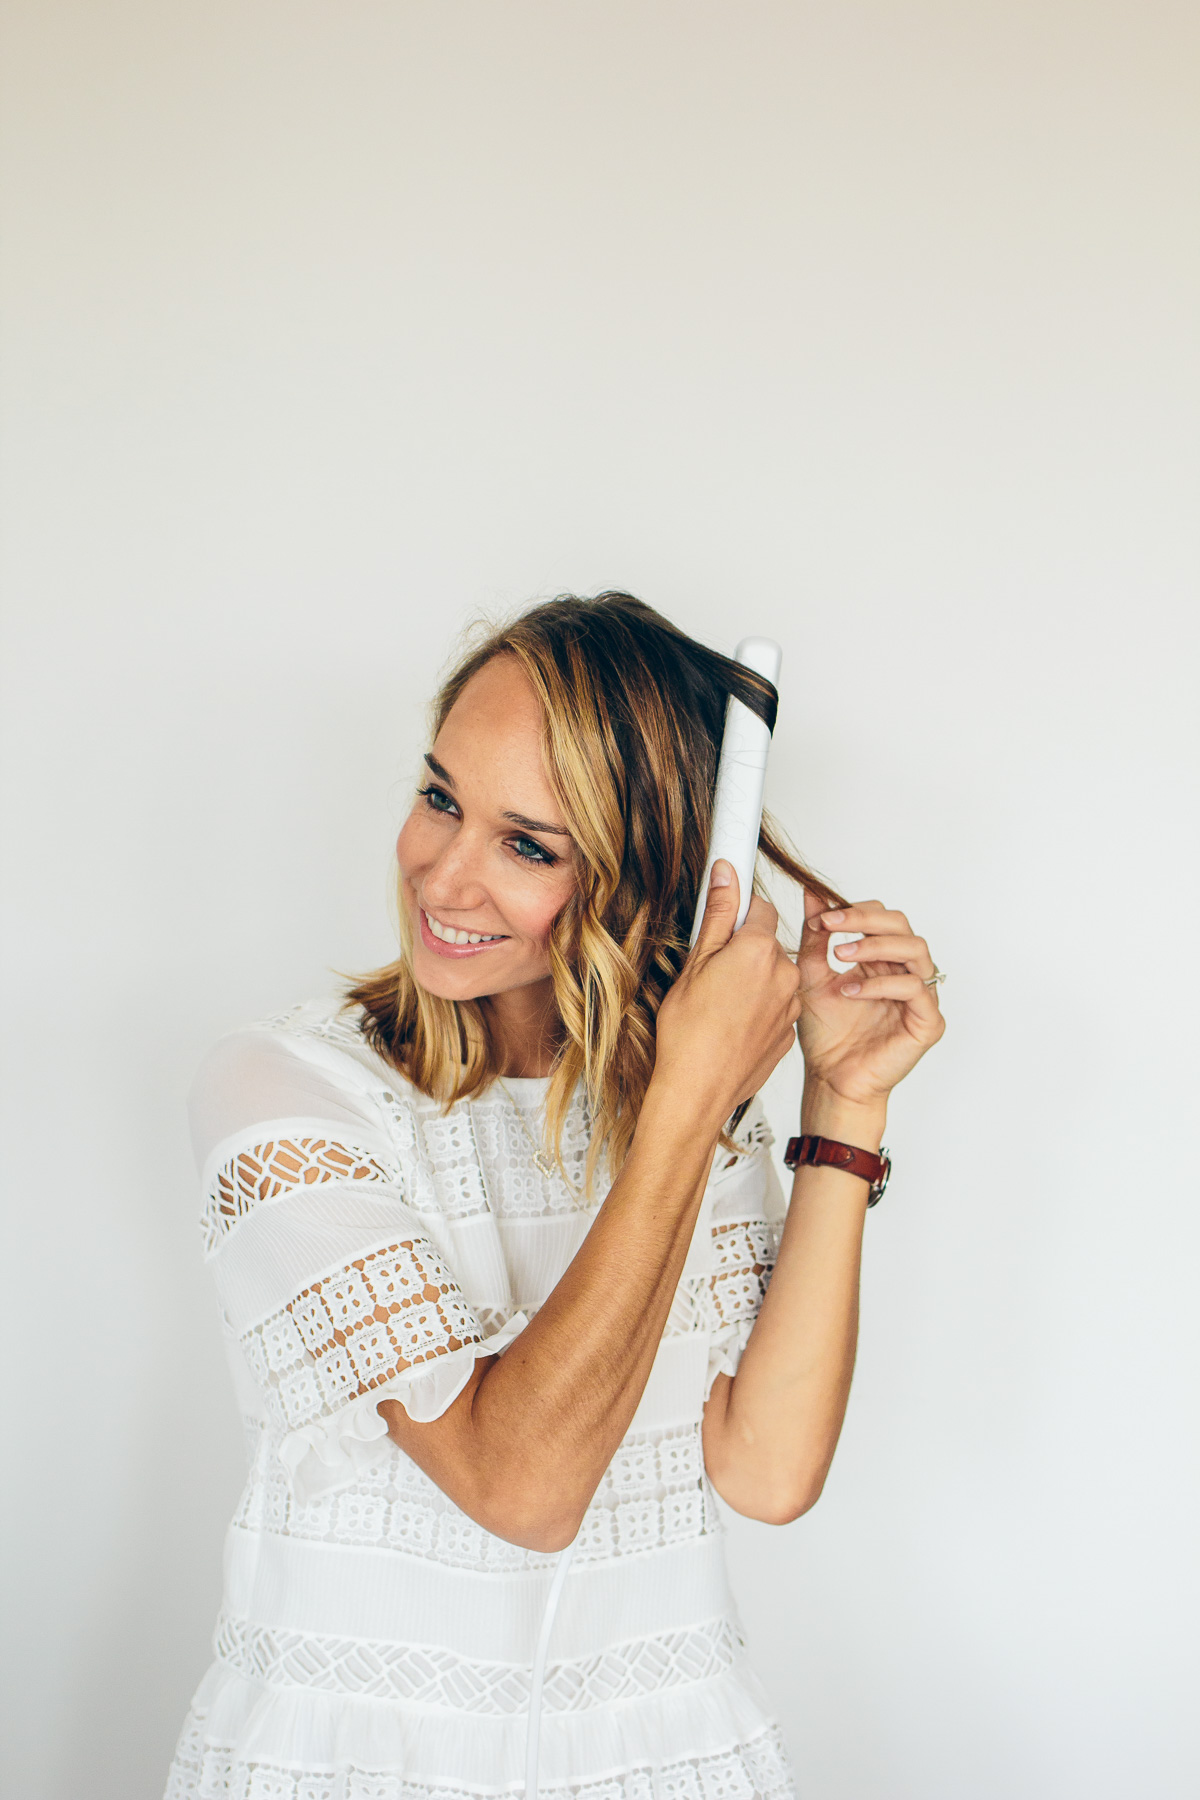
I like to clip up my top section of hair and start underneath.
Hold your flat iron, I’m using the T3 SinglePass Luxe Flat Iron, at an angle. Clamp a small section of hair between the flat iron and twist away from your face and gently pull down and away from your head without clamping too tight. Release your grip right before you get to the ends. There’s no need to hold the flat iron in one place for a long time because it’s so hot.
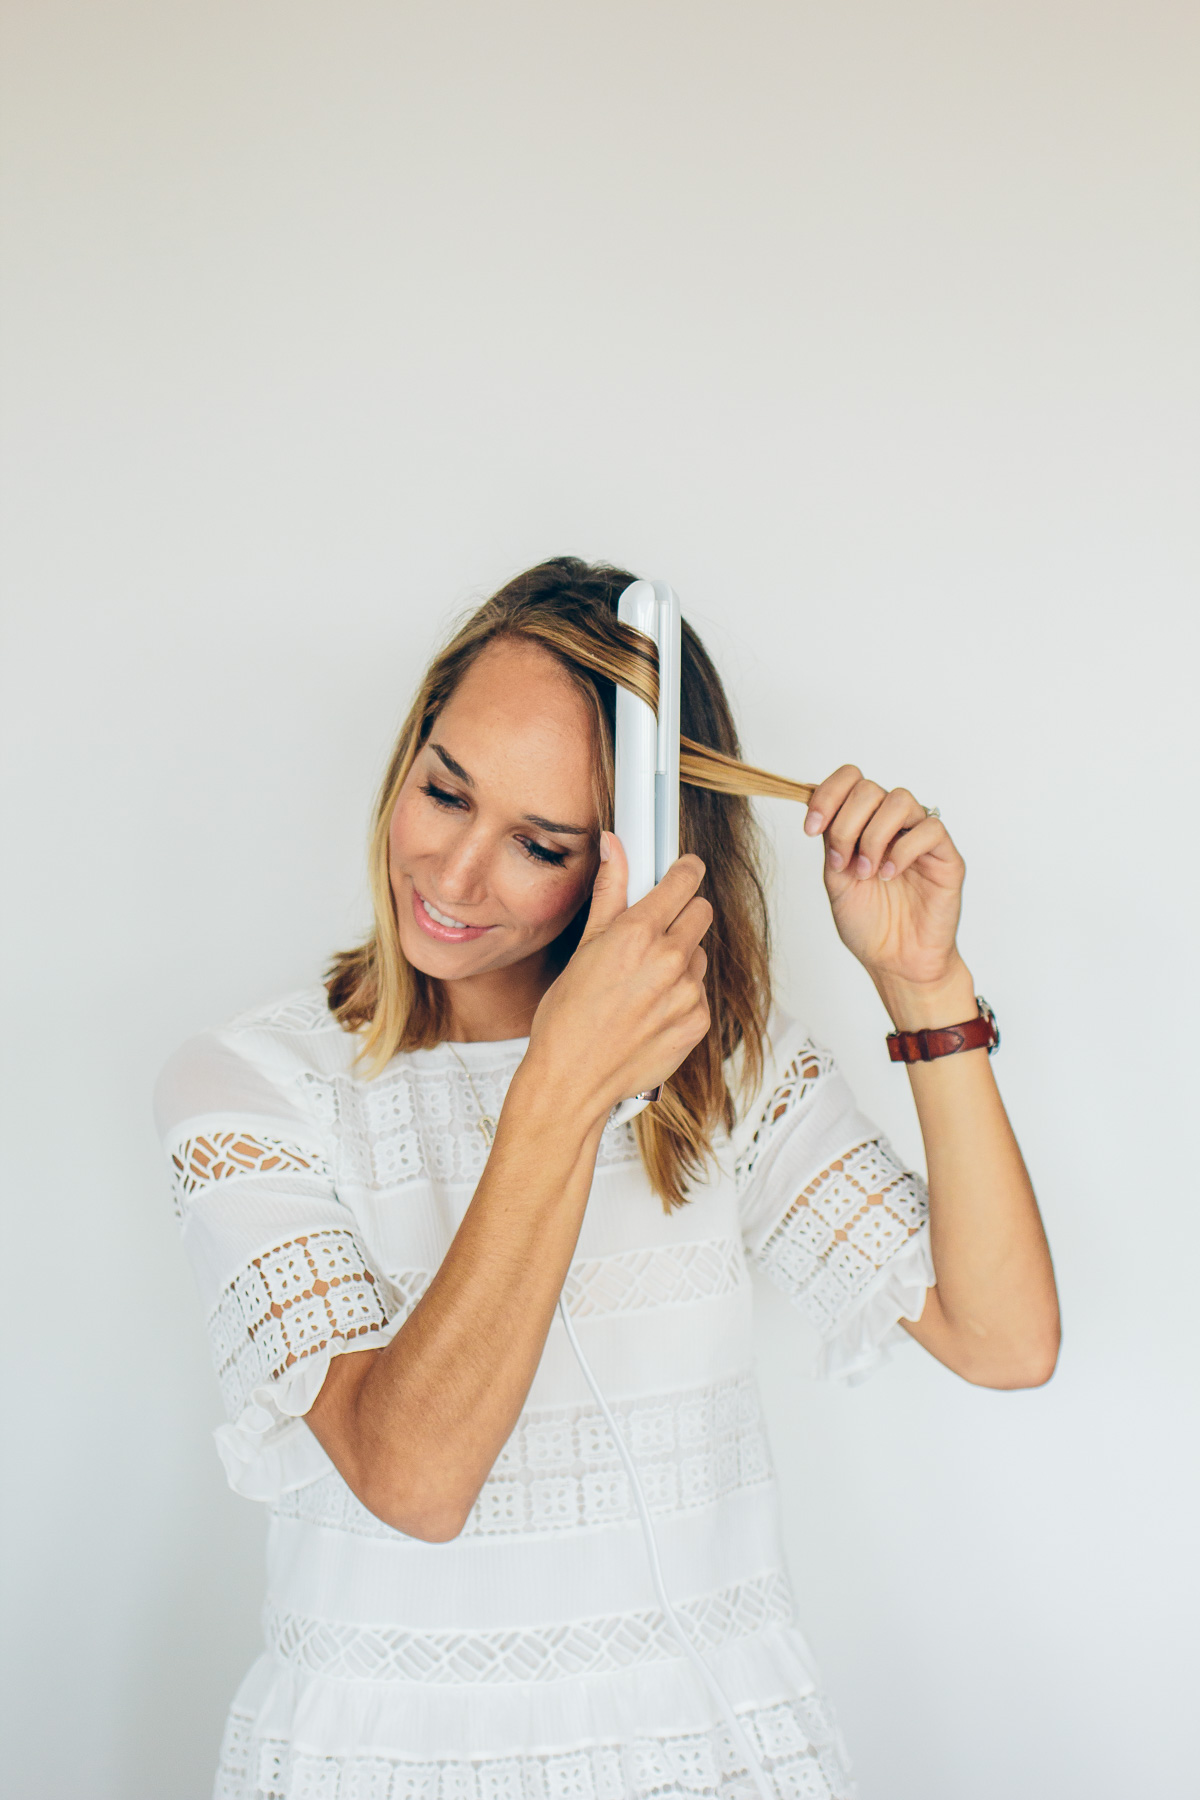
Also, holding it in one spot like a curling iron will give you a funny sharp kink in your hair. Continue to do this all around your head. Once you’re finished with the bottom section, take another section from the clip and continue.
If you want looser curls, curl larger chunks, and for tighter curls, take smaller chunks of hair.
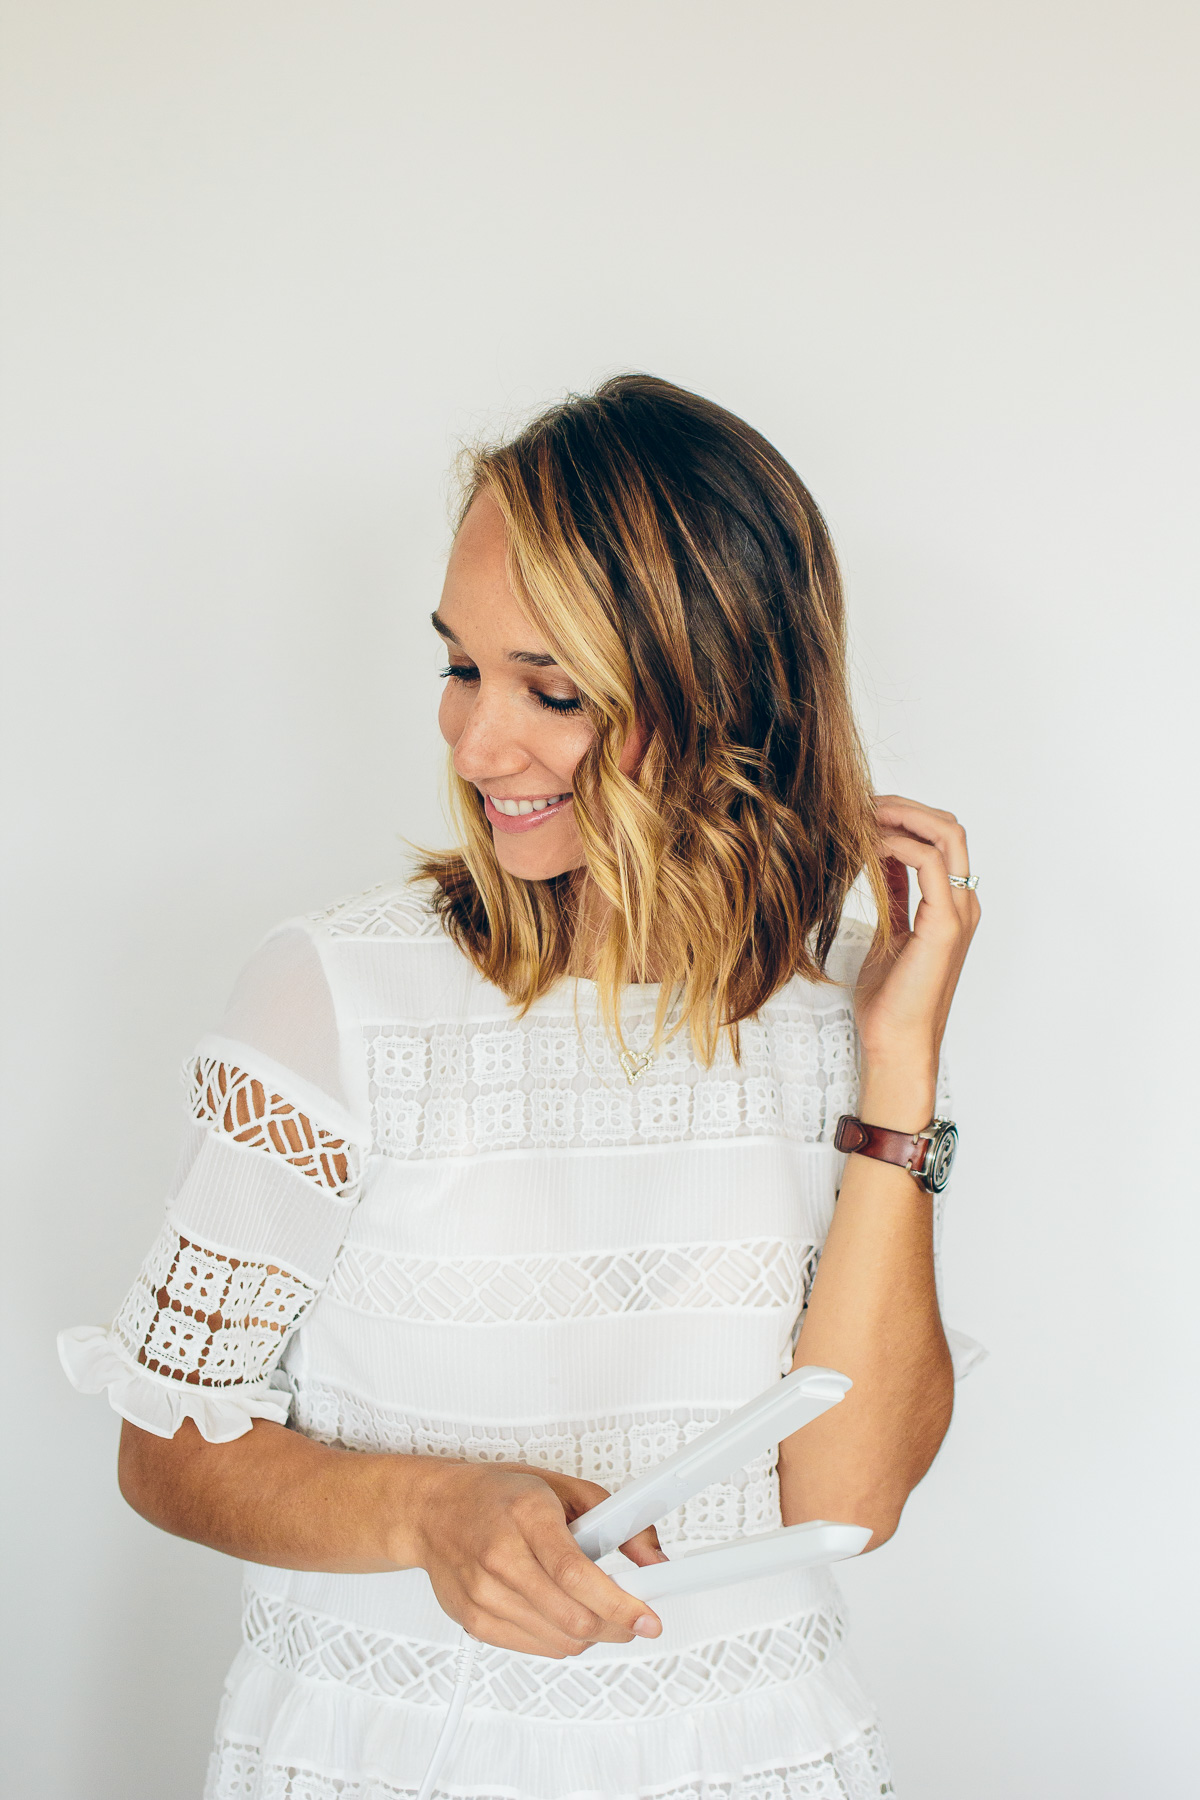
On the other side of your head, you’ll reverse the direction—always twist away from your face!
3. Loosen Curls
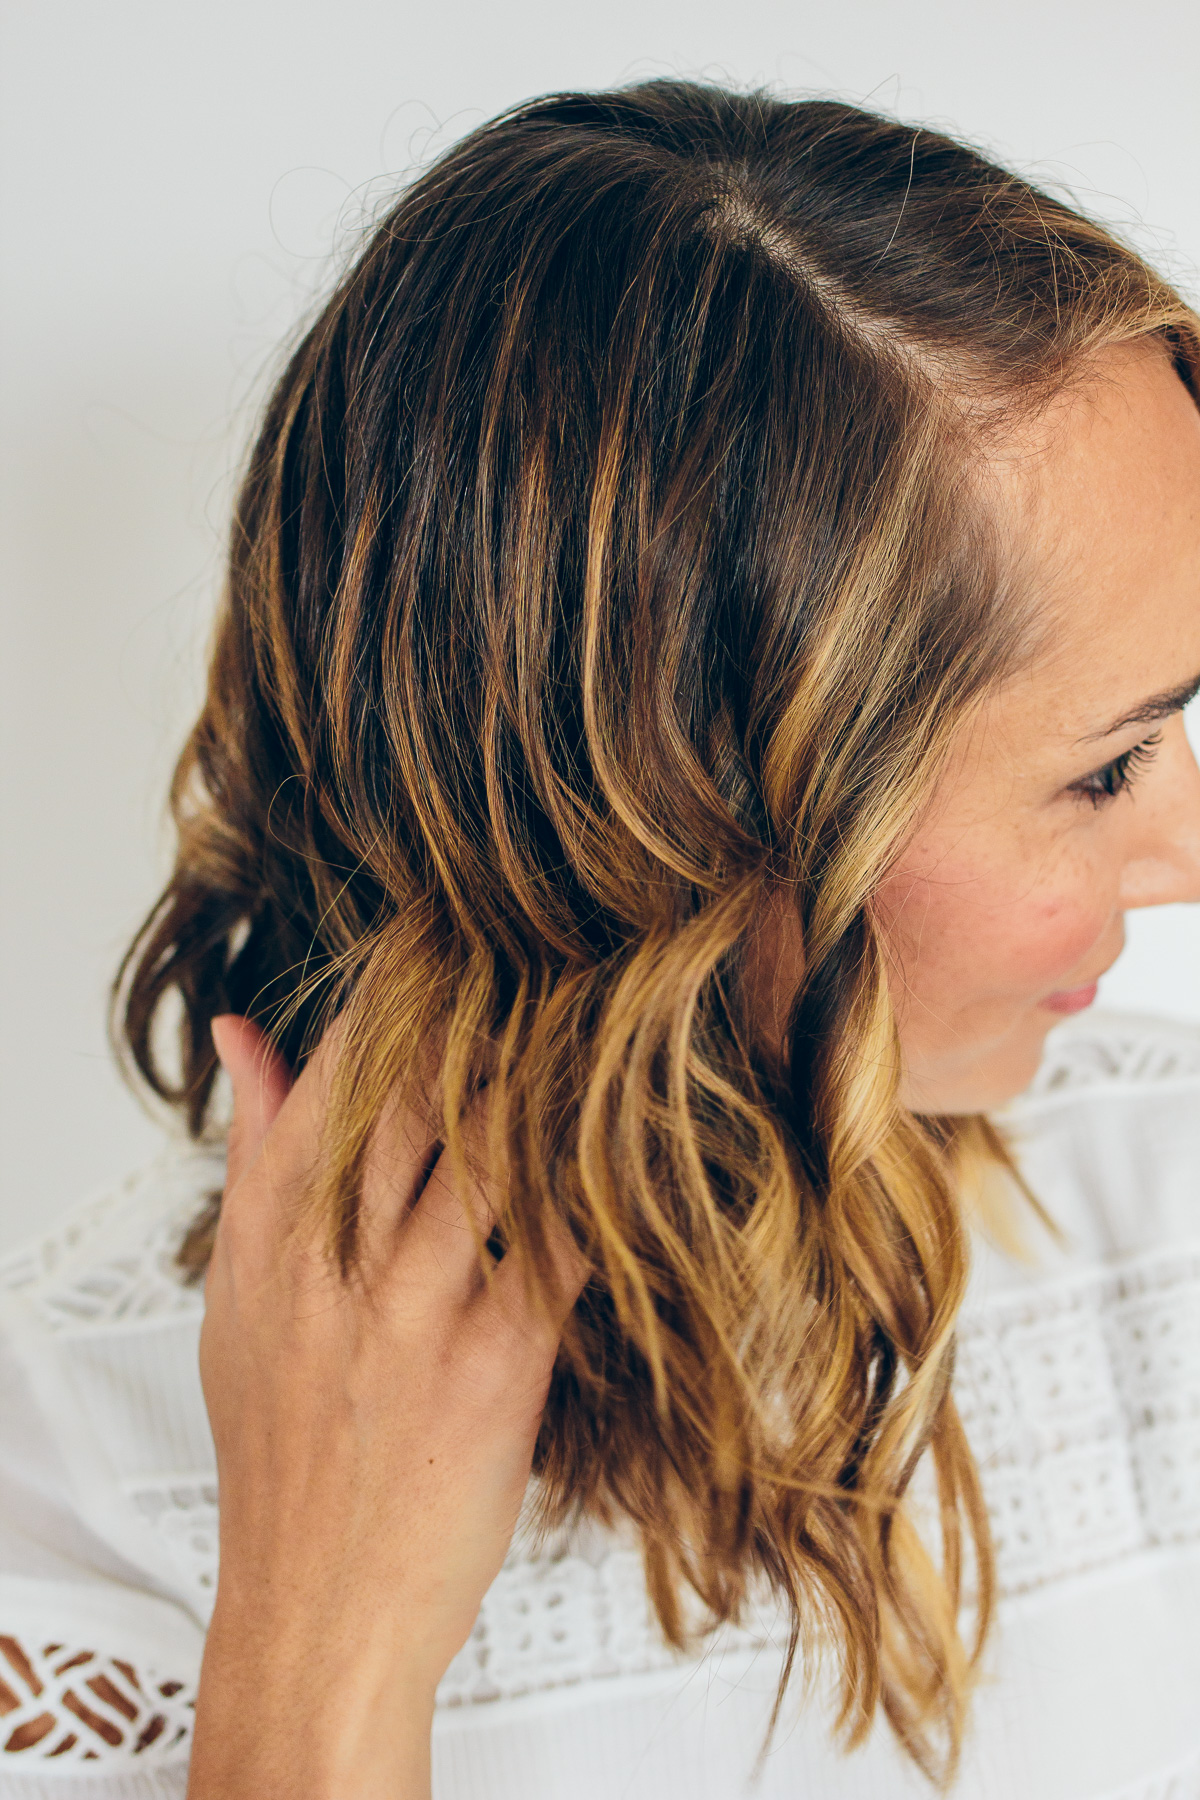
To avoid looking like you just pulled rollers out of your hair, run your fingers through the curls to loosen them up and make them look more natural. This will help them fall a bit too which keeps them more natural looking.
Tips for Achieving Long-Lasting Curls
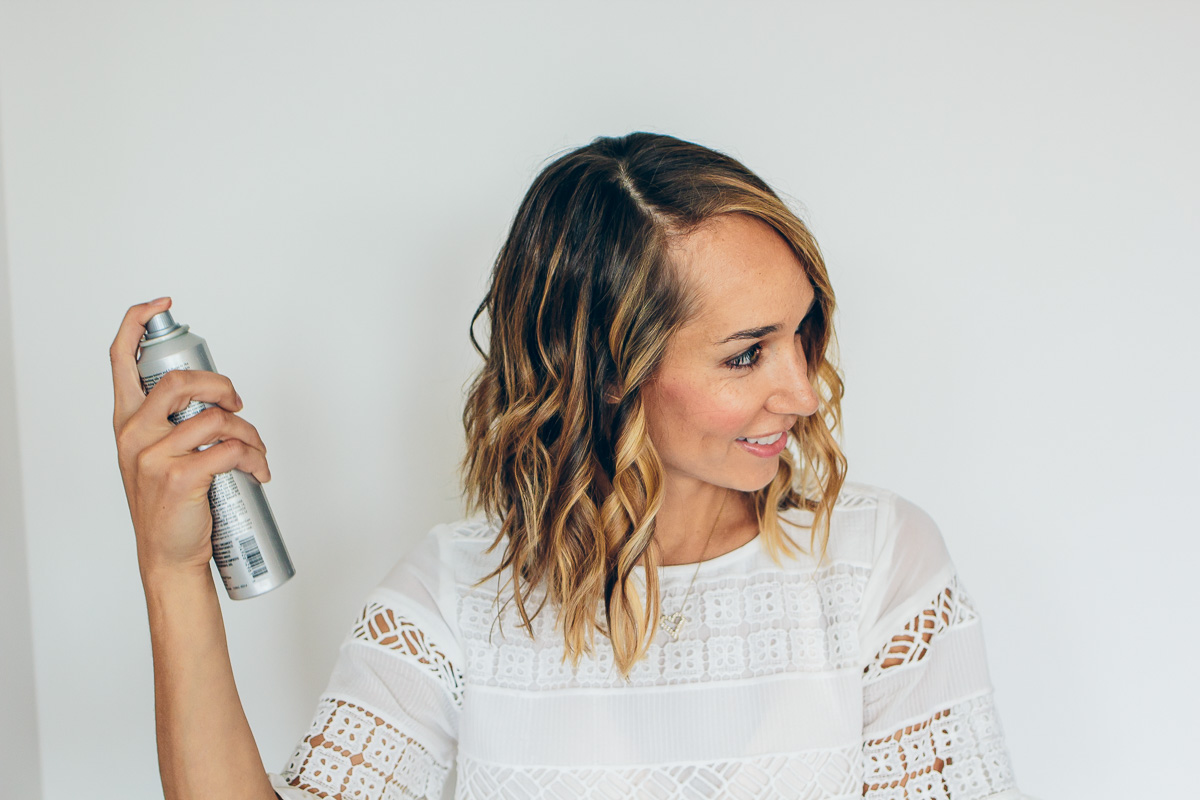
Personally, I skip hairspray for this style because I like how they look when they loosen up a bit! It turns more into a more natural wave than tight curls. But, I do like to use a texturizing spray that gives a little hold and volume. Here I’m using Kenra Professional Dry Texture Spray, and I love it!
Another one of my favorites is Oribe Dry Texture Spray—both smell amazing and help to create volume and movement within your hair.
Avoid running your hands through your hair too much as this will also weigh them down and make them fall faster. This will also add more oils to your hair, making your hair look dirtier sooner.
Maintain Your Curls for a Few Days
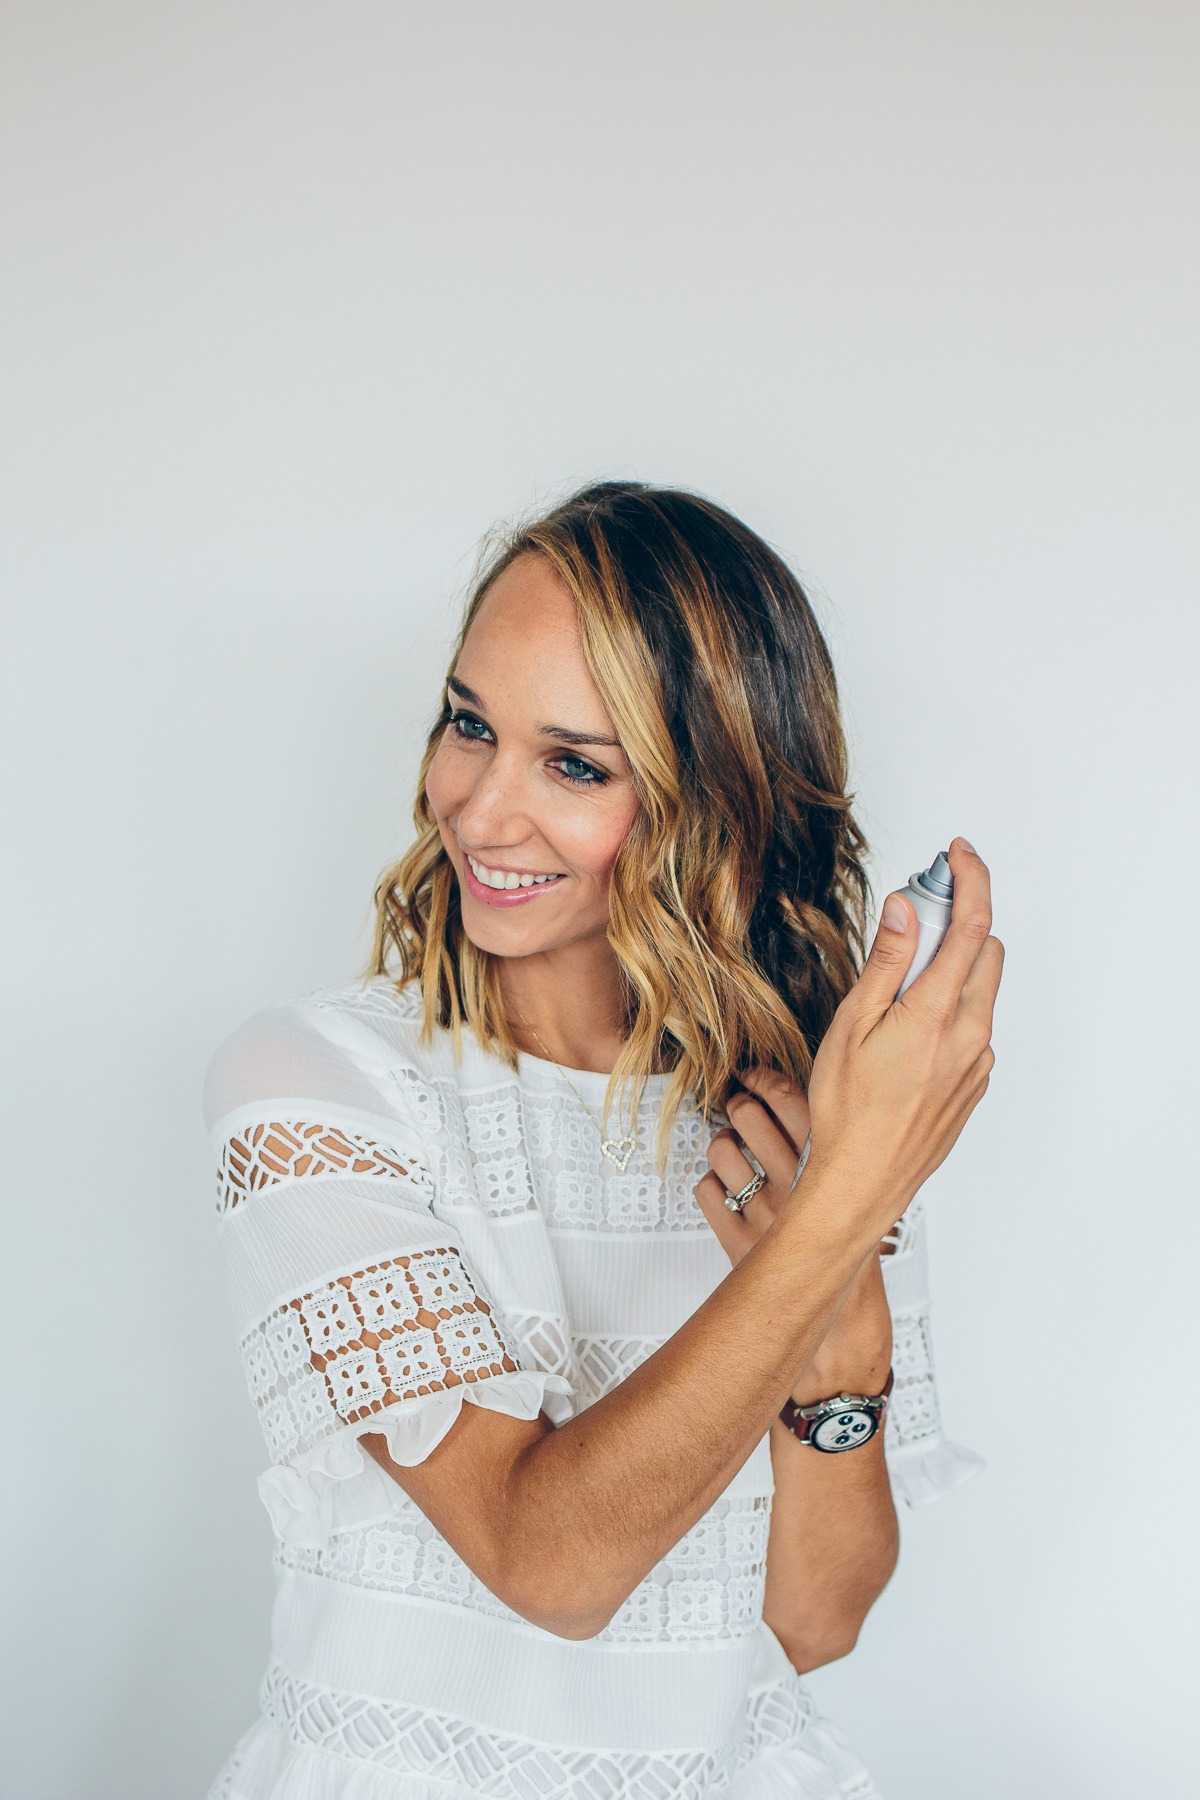
I don’t like to style my hair every day, so I do my best to stretch out the hairstyle for as long as possible. I recommend using dry shampoo when your hair starts feeling or looking a bit oily to get another day or two out of your curls. I only like to wash my hair twice a week and dry shampoo saves me!
The front pieces tend to fall faster for me because I’m tucking my hair behind my ear, so if you need to do quick touch-ups, don’t hesitate!
Common Mistakes to Avoid when Curling with a Flat Iron
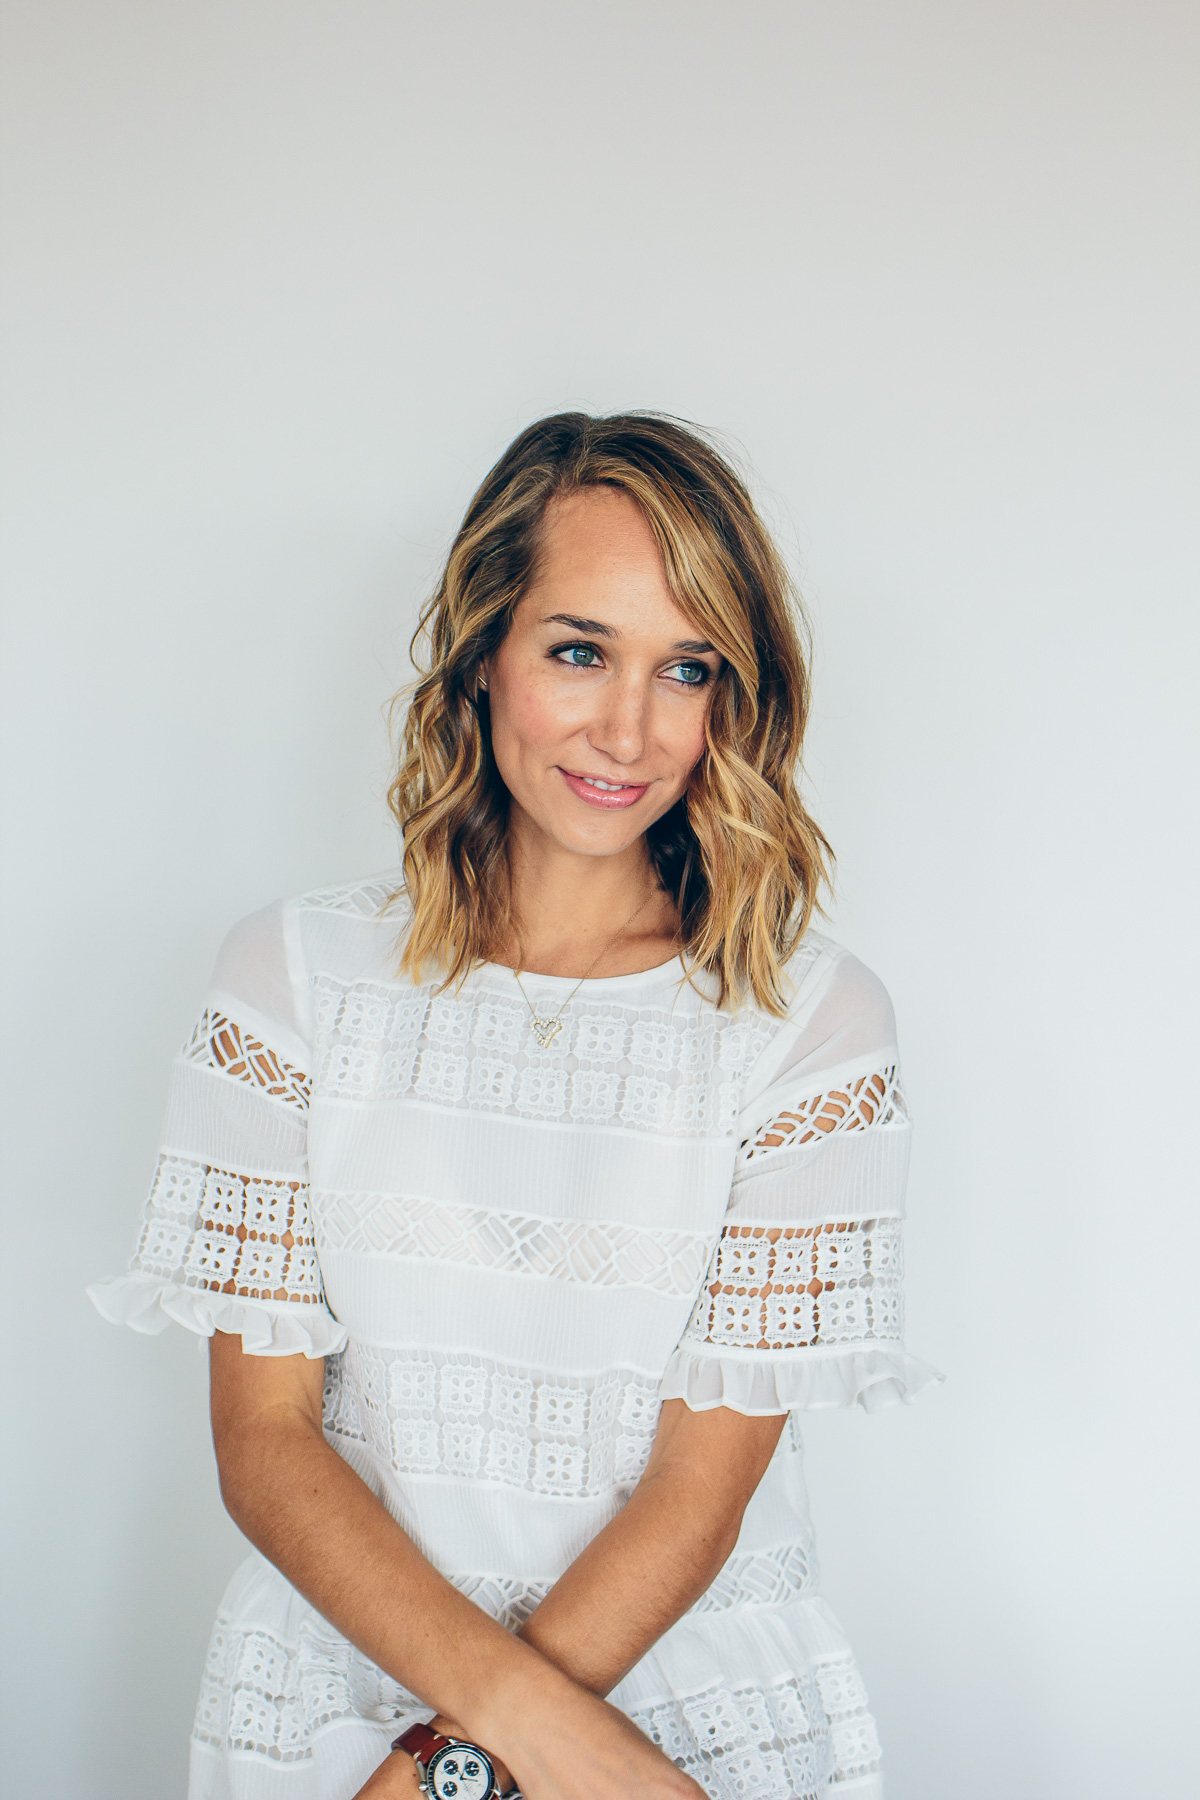
This method for curling your hair is easy, but does take a little bit of practice. I always suggest testing it out on a day where you don’t have big plans in case you over do it!
A few mistakes I commonly see that I recommend avoiding:
- high heat—a lower temperature will give you softer curls and healthier hair
- holding the curling iron instead of moving it—this will give you weird kinks when we want a softer look
- working in small sections—this will take forever and won’t look as natural
I hope this guide helped you learn how to curl your hair with a curling iron and gave you the confidence to try it out. It works on many different lengths of hair and can last or days. Now it’s time to go try it out on your own hair!
BTW, how to make a diy hair oil for growth, and the 3 best non-toxic dry shampoos to make your hairstyle last longer.


You must be logged in to post a comment.