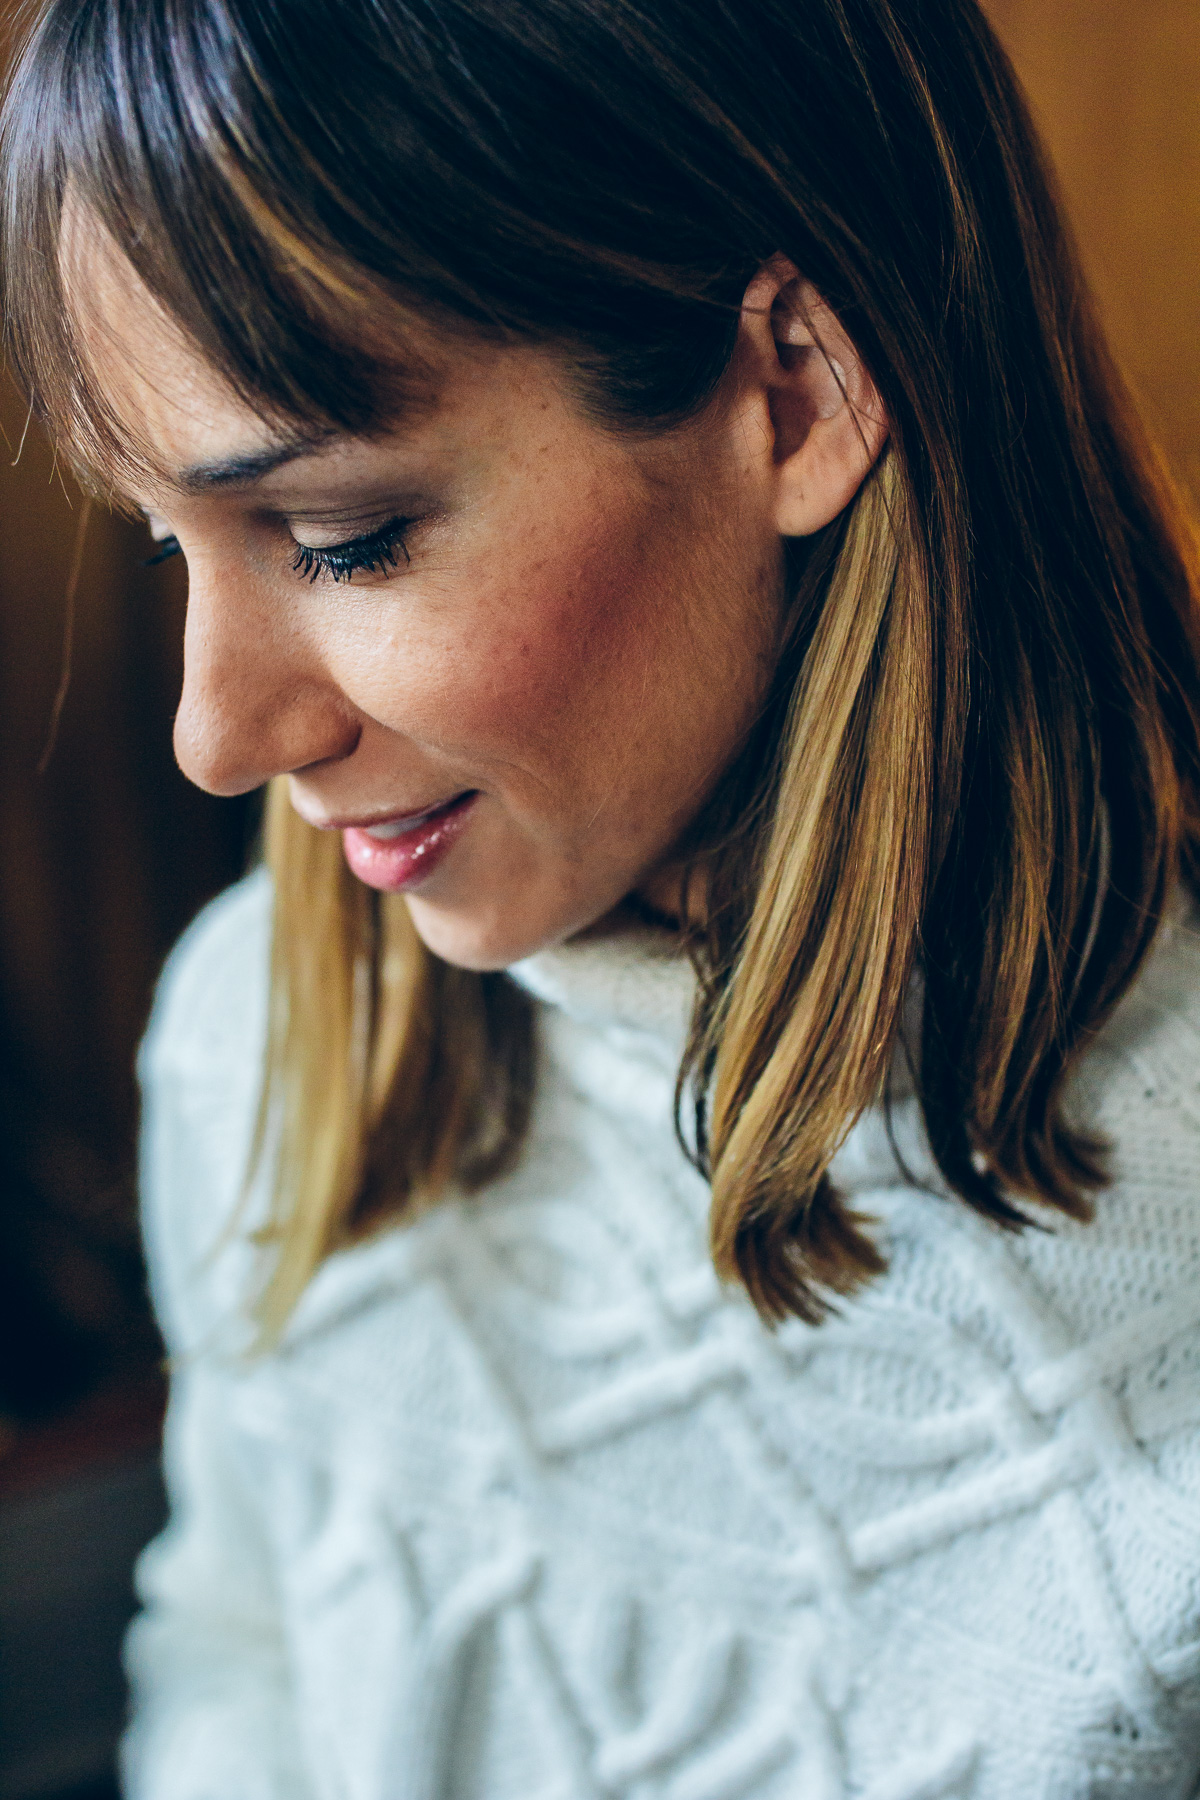
When it comes to makeup, my philosophy is the easier the better. For the most part, I apply the same makeup for pretty much everything, unless it’s the holidays, or maybe date night. There’s something magical about this time of the year that gets me motivated enough to try out something a little different in the makeup department.
I’ve always loved a good smokey eye, but the heavy dark makeup is always a little too dramatic for me. Can you imagine me sitting at my grandparents house for dinner with that on? Ha! They’d probably be wondering where I was headed to next.
But nonetheless, I do like the look, so I came up with a subtle smokey eye look that’s dramatic and sophisticated, but not over the top. And, it’s easy enough for anyone to do! Trust me, I have very little makeup experience. Here’s how to create the look:
1. Eyelids
I have a Clinique eye palette that I absolutely love. It has 8 colors on it, all good neutrals, that make it easy to get a number of different looks from the same palette! It’s no longer available, but I linked to a few similar palettes below.
Before you get overwhelmed, don’t worry, I only used three of the colors here. To start, I brushed a lightly shimmery bronze color on my lids. Next I took my angled brush and used the darker brown (you can decide how dramatic and dark you want it) and brushed that in the creases and on the outer edge of each eyelid. Lastly I use the lightest color under my brows to highlight them. Go easy here and avoid shimmery colors so that it looks like a natural highlight. I lightly blended the darker crease color with this one with my clean fingers—not the most professional, but it works best for me!
2. Eye Liner
I usually use an eye pencil, but I love the crisp line that liquid eye liner creates for this look. I’m using one I picked up at the drugstore. Apply this to your top lid only. To create the smokey look, I used a charcoal grey eye pencil on the bottom and smudged it into my bottom lid and under my lashes. Clean up any mistakes with a clean Q-tip.
3. Lashes
Before applying mascara, curl your eye lashes. Up until last year, I never curled my eye lashes—big mistake! They look so much longer when they’re curled and it only takes a few seconds.
After they’re curled, apply mascara, I’m using Mally More is More mascara. Then lightly touch mascara wand to the bottom lashes so that they have just enough mascara to make them dark. Personally, I don’t like doing lots of mascara on the bottom, just the top!
4. Finish the Look
Finish your look with a bold lip to make a statement! Usually I lean towards this one from Kevin Aucoin, but I love a good red during the holidays too!
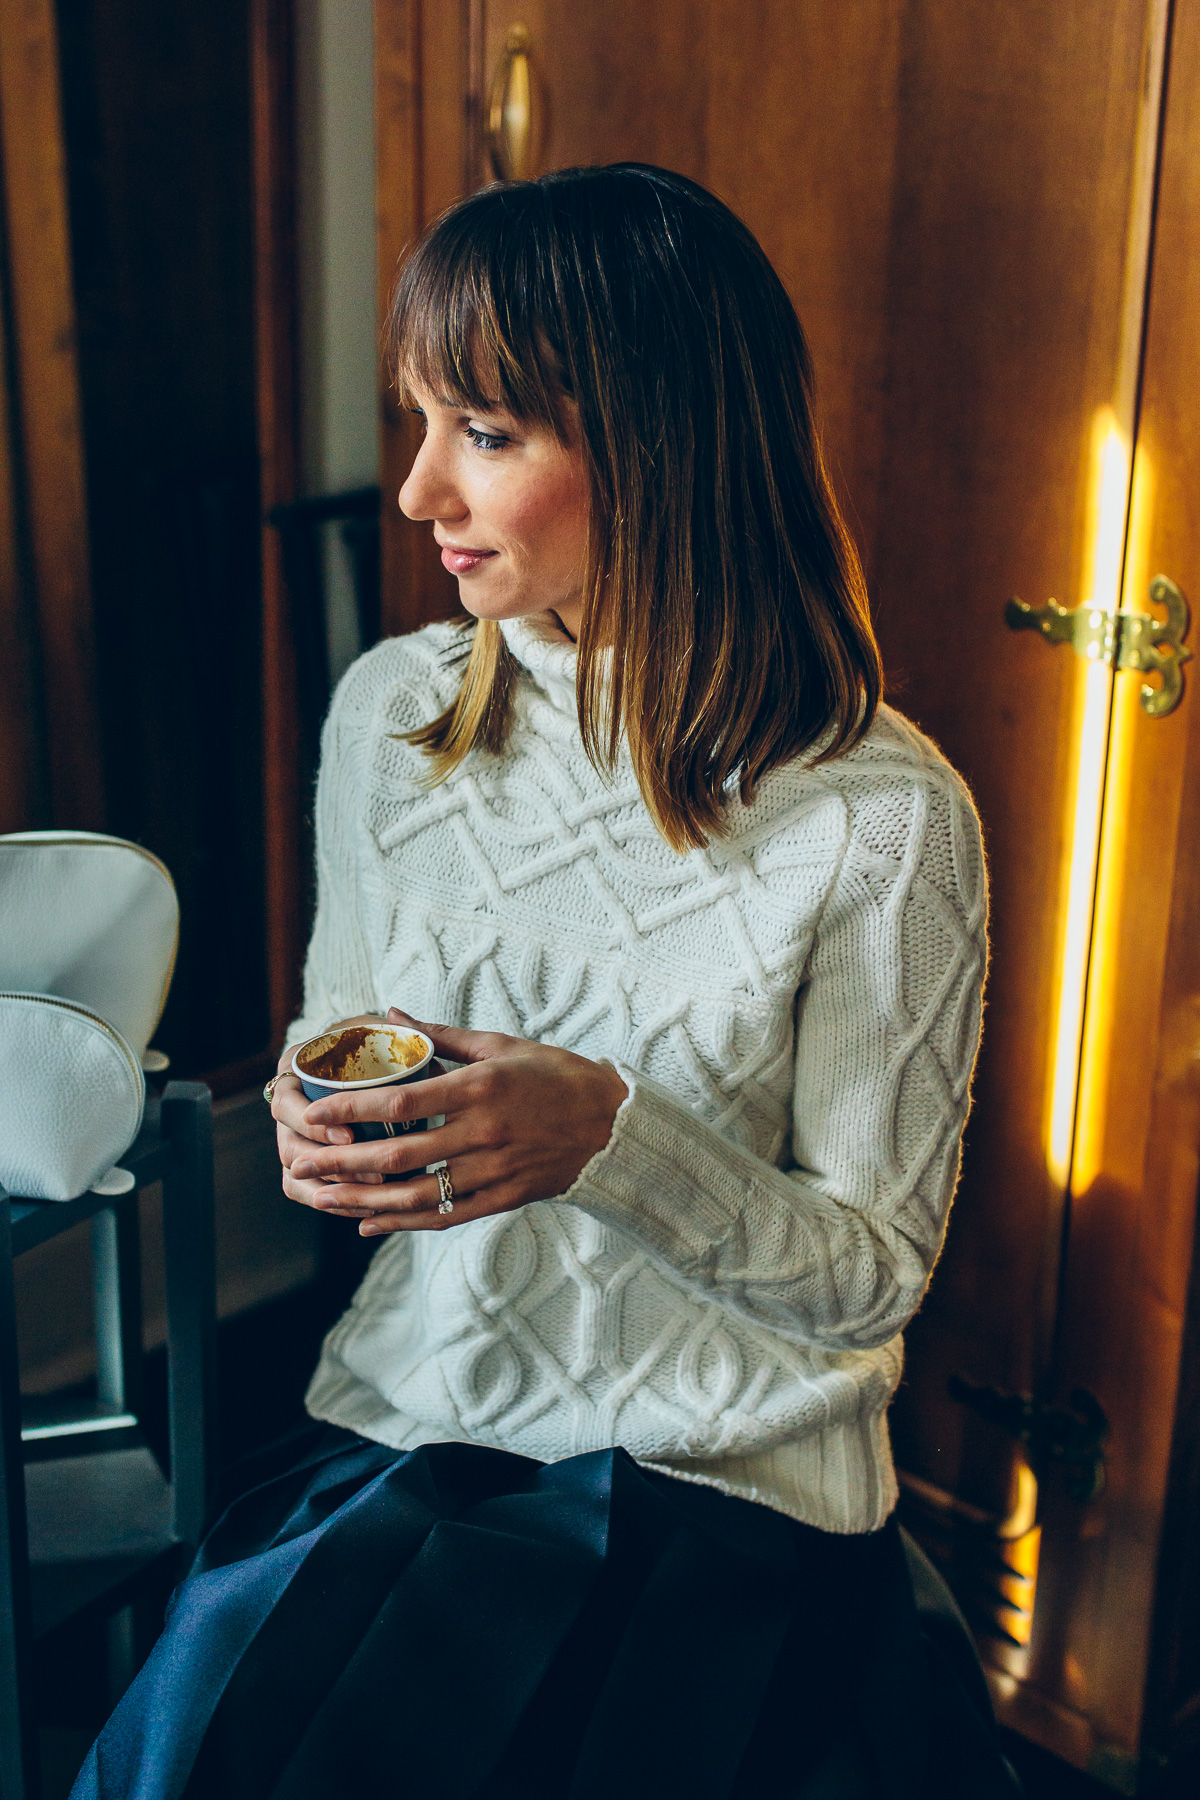
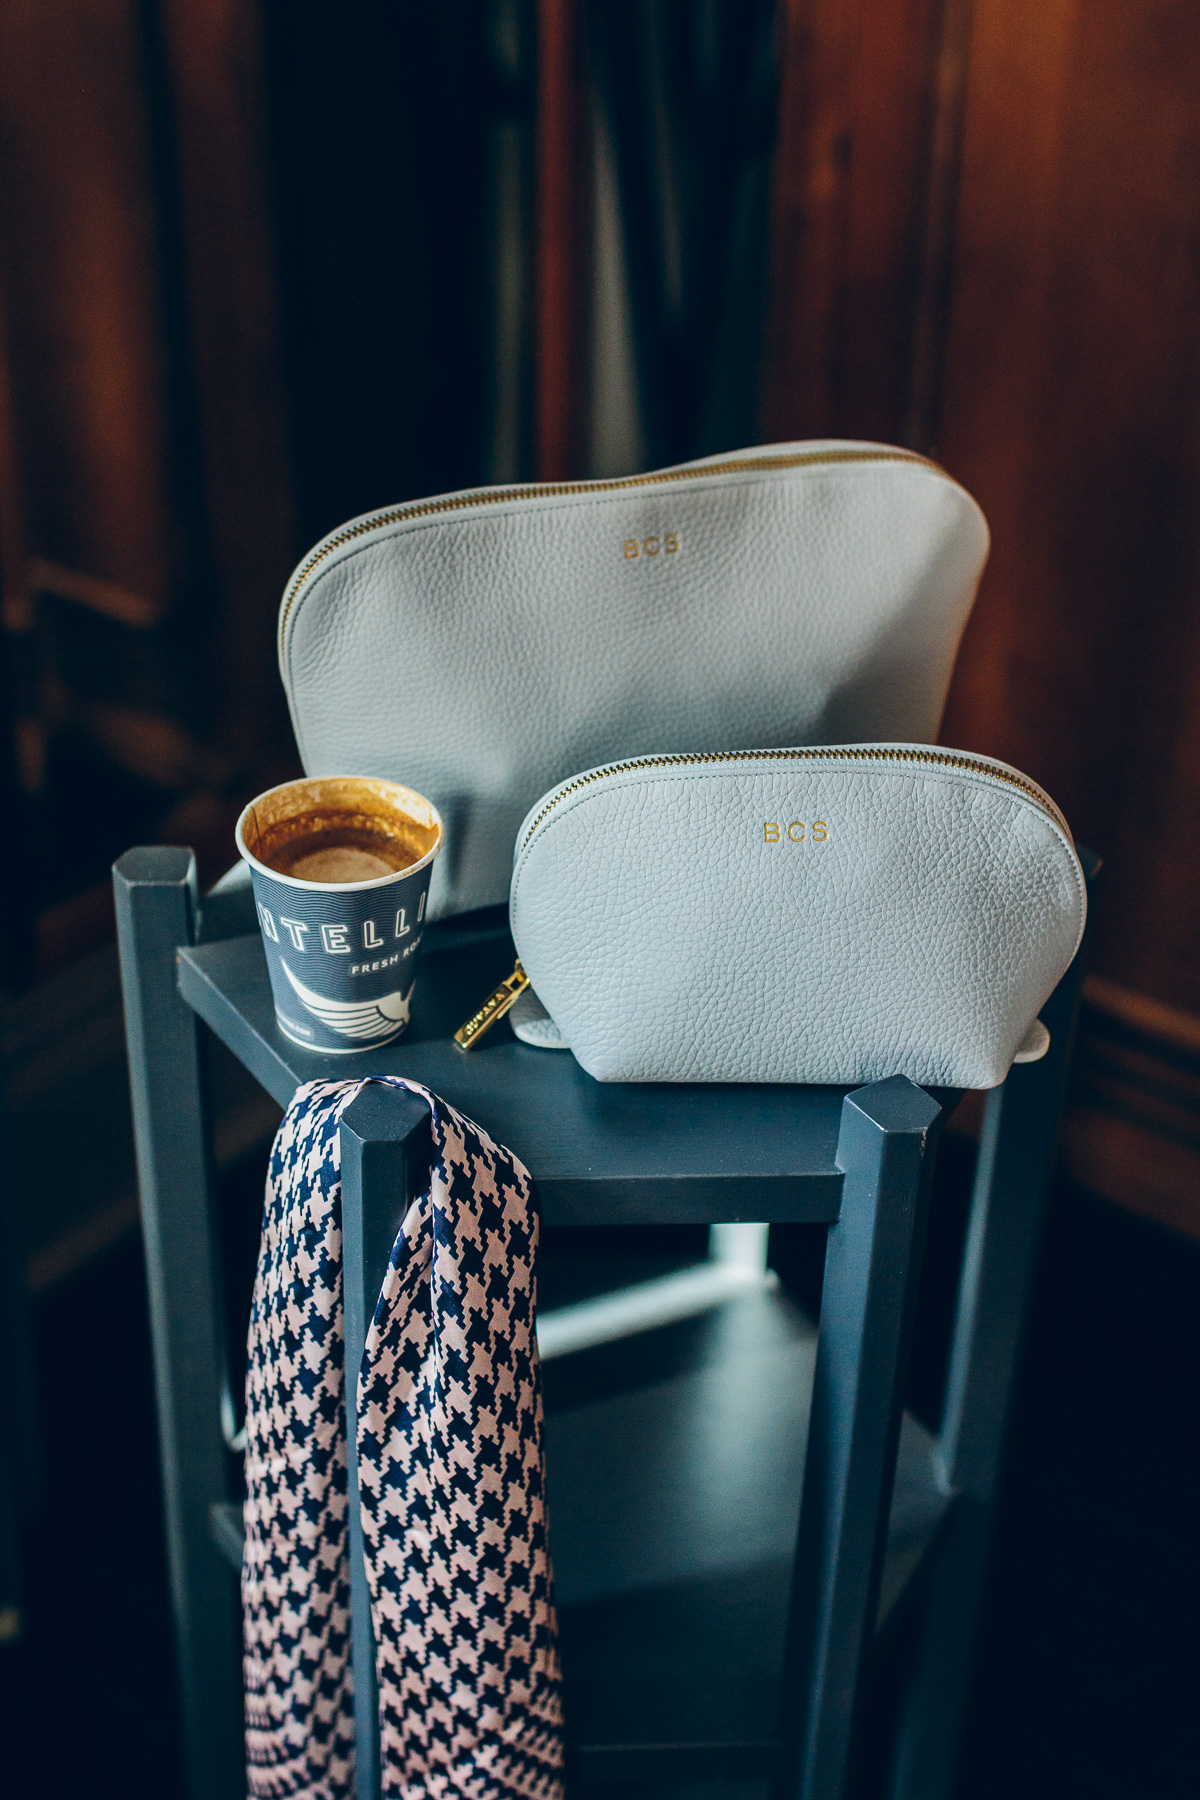
I wore this makeup look during our trip to New York (sweater details in this post too) a few weeks ago. You might have noticed my new makeup bag from Cuyana! My old one was dirty and outdated and had my old initials on it. I love this simplicity of these leather travel cases that come in a set two. They’d make for a great gift and come in a bunch of colors with the option to monogram!
Have you tried a smokey eye look? What holiday party would you wear this to?
BTW, how to easily clean makeup brushes, and 14 loungewear outfits to copy.


You must be logged in to post a comment.